


Alan950
Pack Dog
- Joined
- May 12, 2010
- Messages
- 224
- Reaction score
- 11
- Bike
- KTM 990 Adventure
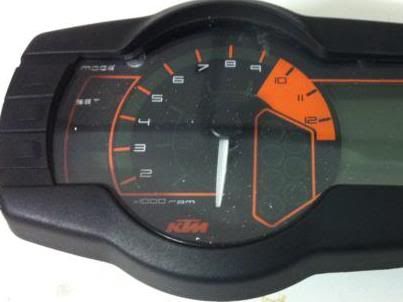
My 990R Adv since new had a problem of white dust particles appearing behind the bezel of the display. A 2nd problem began at about 8000km, the figures on the digital display began disappearing intermittently. So anyone with similar problems, here’s how to remove and dismantle the clocks.
Remove the side panels that hold the indicators. Disconnect the indicators connector plug
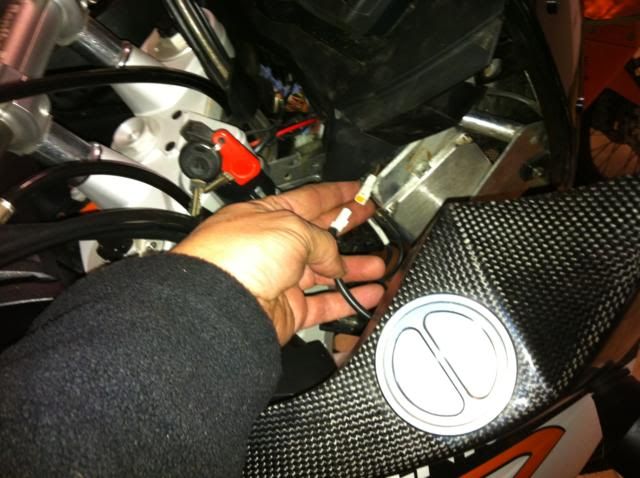
Lift the windscreen tabs over the locators, so the headlight unit can be moved forward. Unclip all the headlamp connectors.
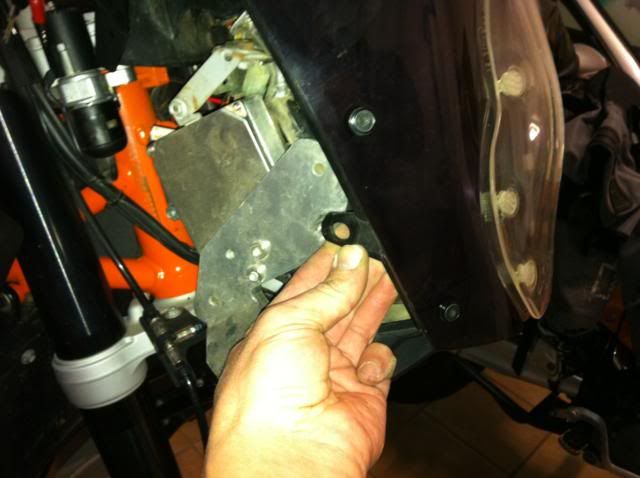
3 Torx screws hold the clock display down into the dash. A flexi or ‘wobble’ socket extender is required to remove these
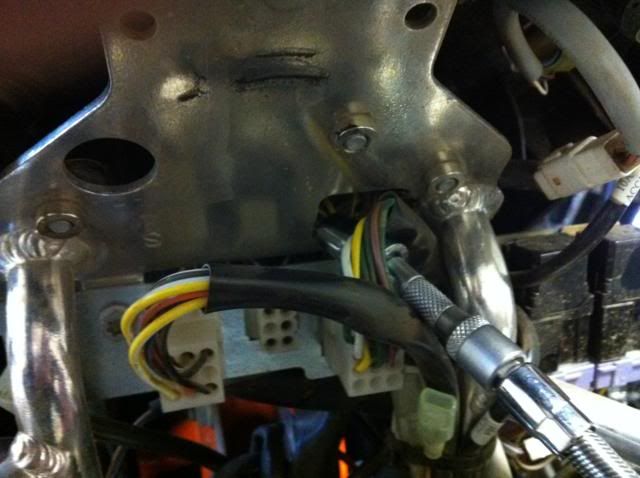
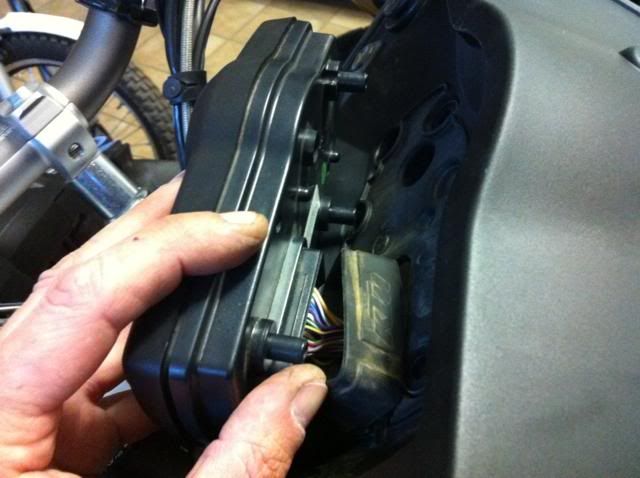
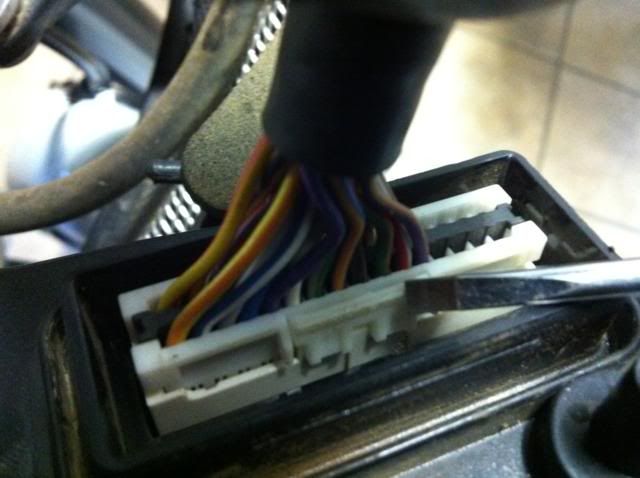
Pull the display unit out of the dash until the electrical connecter seal is exposed. Slide the rubber boot back to expose the socket. The centre of the connector has a latch which must be pressed down until it clicks. Then unplug it.
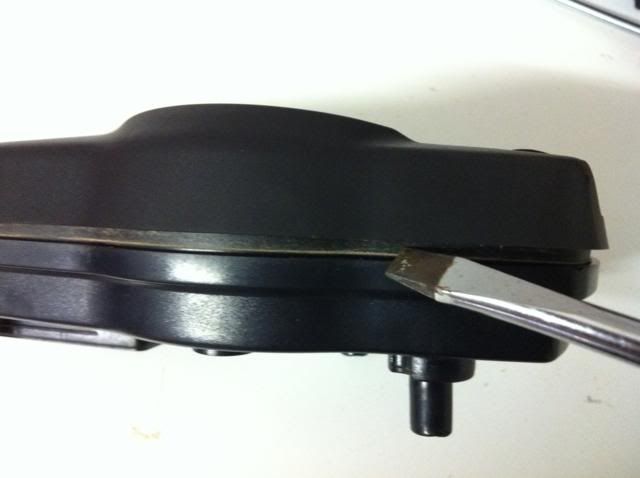
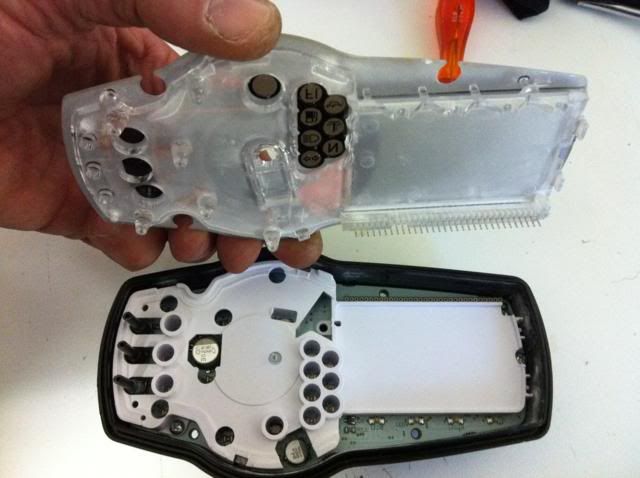
Remove the 4 screws from the back of the unit. Pry the two halves of the unit open using a large flat screwdriver.

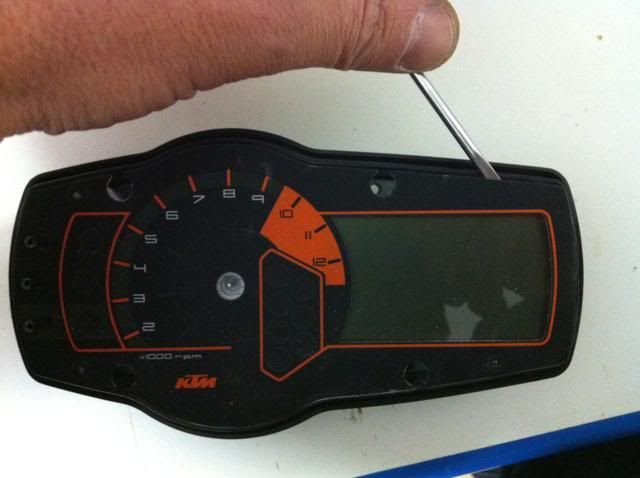
Remove the rev counter needle just by pulling it upward.
Hook a small screwdriver under the faceplate and gently pry the faceplate off. Work slowly around the faceplate, try to keep it uniform. There are long connector pins under the top right corner -they will bend if the faceplate is not removed parallel to the housing.
At this point I re-attached the faceplate, connected the electrics, and tested -it worked perfectly. Cleaned the faceplate and the inside of the bezel, re-installed everything and its problem solved. Still not sure whether the cause was the long connector pins not making contact, or whether the process of undoing these connectors does some sort of re-set on the lcd’s.
Ps. Remember to re-attach the rev-counter needle on re-assembly. (Yes, I forgot!!!)
Remove the side panels that hold the indicators. Disconnect the indicators connector plug
Lift the windscreen tabs over the locators, so the headlight unit can be moved forward. Unclip all the headlamp connectors.
3 Torx screws hold the clock display down into the dash. A flexi or ‘wobble’ socket extender is required to remove these
Pull the display unit out of the dash until the electrical connecter seal is exposed. Slide the rubber boot back to expose the socket. The centre of the connector has a latch which must be pressed down until it clicks. Then unplug it.
Remove the 4 screws from the back of the unit. Pry the two halves of the unit open using a large flat screwdriver.
Remove the rev counter needle just by pulling it upward.
Hook a small screwdriver under the faceplate and gently pry the faceplate off. Work slowly around the faceplate, try to keep it uniform. There are long connector pins under the top right corner -they will bend if the faceplate is not removed parallel to the housing.
At this point I re-attached the faceplate, connected the electrics, and tested -it worked perfectly. Cleaned the faceplate and the inside of the bezel, re-installed everything and its problem solved. Still not sure whether the cause was the long connector pins not making contact, or whether the process of undoing these connectors does some sort of re-set on the lcd’s.
Ps. Remember to re-attach the rev-counter needle on re-assembly. (Yes, I forgot!!!)