- Joined
- Feb 6, 2006
- Messages
- 12,286
- Reaction score
- 5,677
- Location
- Cape Town, deep in the lentils
- Bike
- KTM 990 Adventure
Can't be more than a handful of us here with these things, but anyway, here's something for those that do struggle with them.
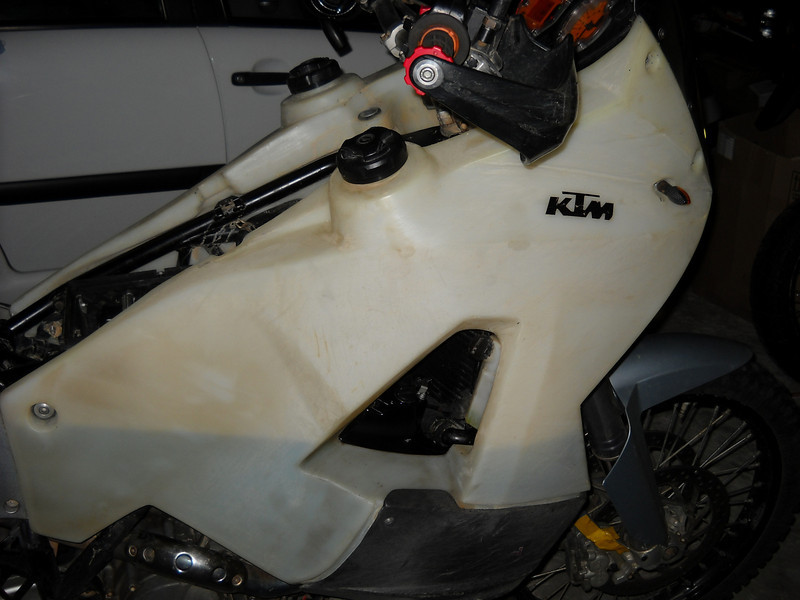
The Aqualine Safari Tanks have a bit of a reputation for being tough to get back on once they’re off. Theories abound about how they swell and go out of shape, weren’t well designed, etc. Well, I have done my fair share of wrangling and sweating before I think I figured out why they are so tough to get on.
Here’s my how to;
First, you need the 6x8mm main mounting bolts and 4x6mm fairing bolts to hand.
T piece in the tool kit,
A no 6 allen key for the fairing bolts (I use a posidrive Allen bolt extension)
A big flat end screw driver,
A medium size Phillips screw driver (can use the tool kits one but a longer one gives you a bit of leverage).
Also some silicone rubber lubricant.
Pliers.
This was the right hand side but the technique is the same for both side.
Make sure the rubber grommets and aluminium spacers are on the tanks before you start.
This...
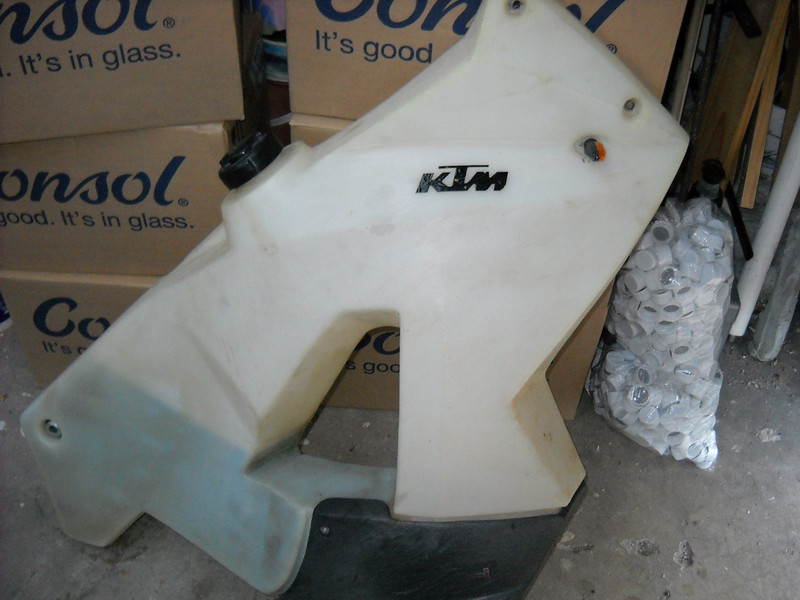
Obviously has to go here..
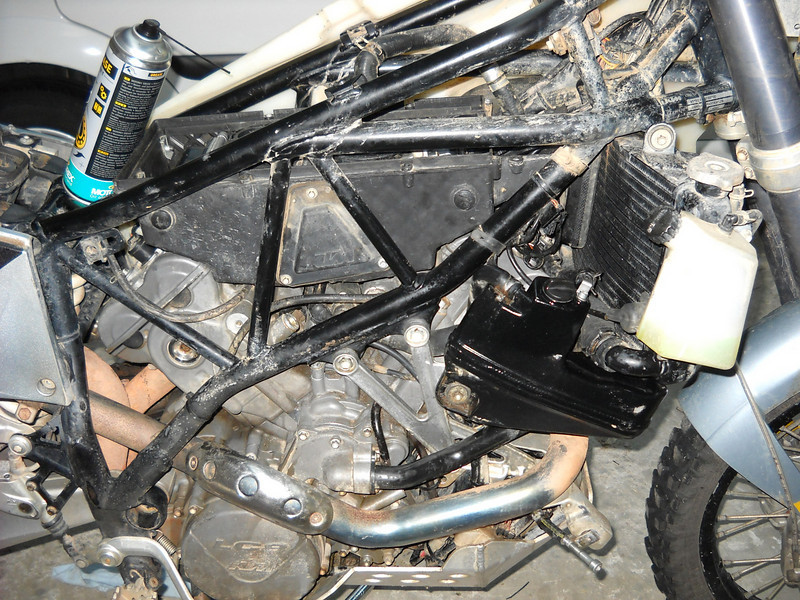
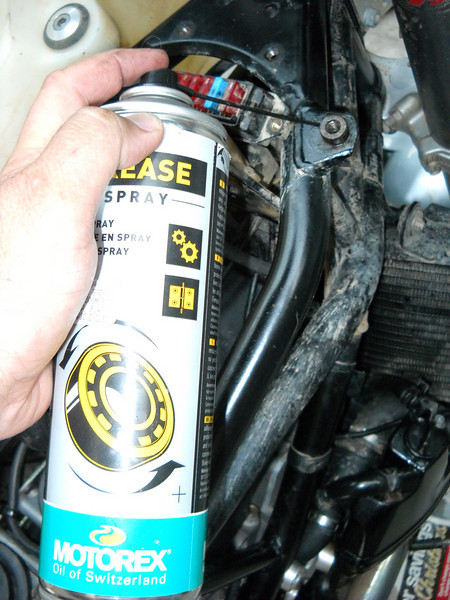
Put a slight amount of silicone lubricant on the top grommet locator, not this greasy shit I got here, (only need a tiny bit, it lasts for more than a few on and off’s)
Get the tank so that it is sort of in position, you can hold it in place with you knee while getting the indicator wires and breather tube connected.
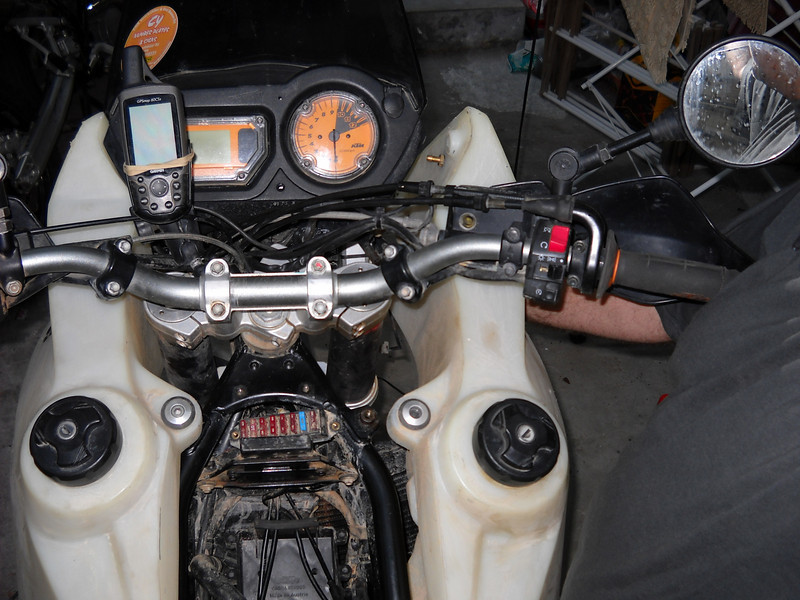
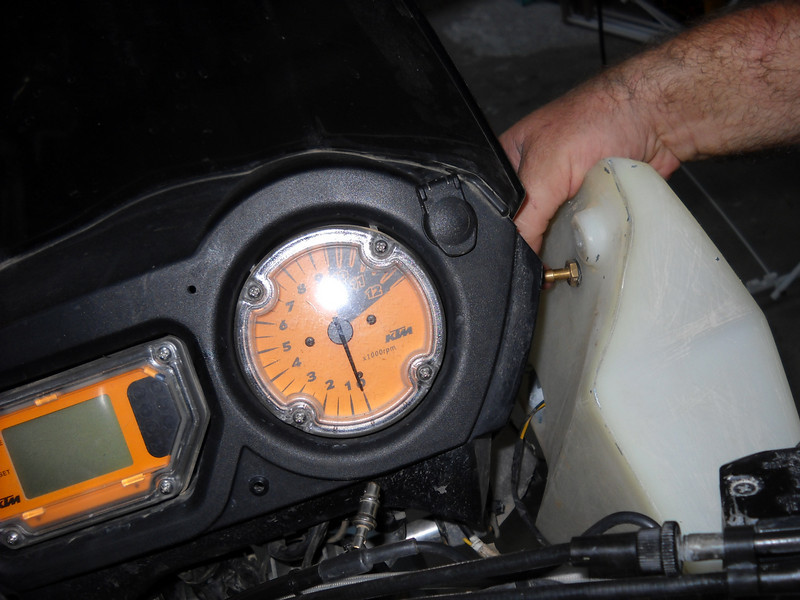
Now one of the tricks – get the medium Philips and locate the top bolt hole through the grommet. It will need a little leaning on the tank to find the hole. Also because of the rubber grommet, you can “lean” the screwdriver quite far off vertical to help find the stud.
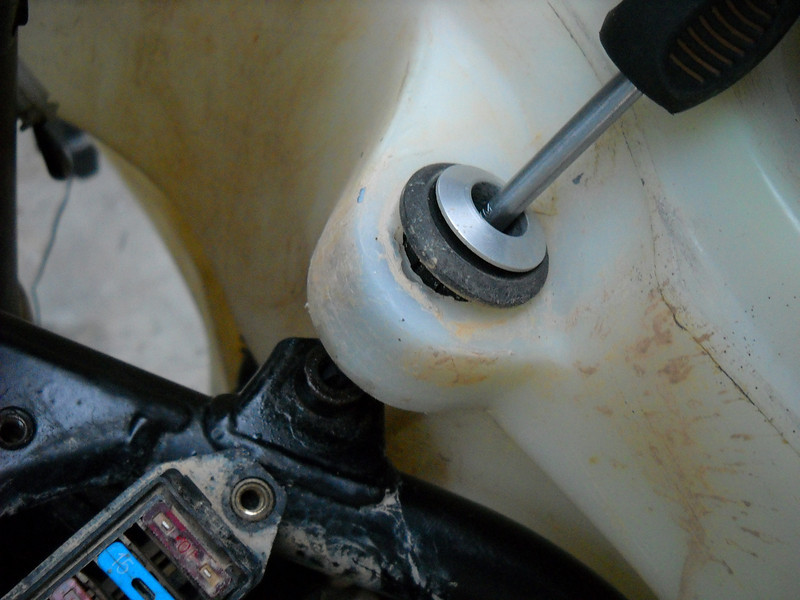
Once you’ve got a fair bit of the hole (so as not to damage the threads) lever the tank over the grommet locator stud. The top of the tank against the screen fairing snaps past the screen into place and can seem like you are forcing it a bit. Once the screw driver is vertical push down on the tank it should slide down the grommet stud and will now be sort of in place.
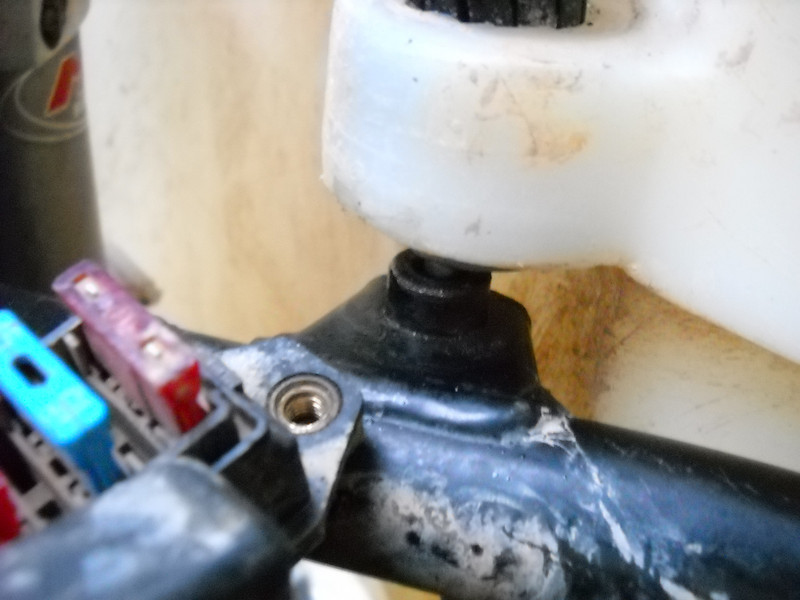
Get the shortest main bolt and get it in there. It needs a little action similar to what you were doing with the Phillips but nothing serious. Give it a few turns once into the thread but don’t cinch it down tight, maybe 3 or 4 rotations – about here.
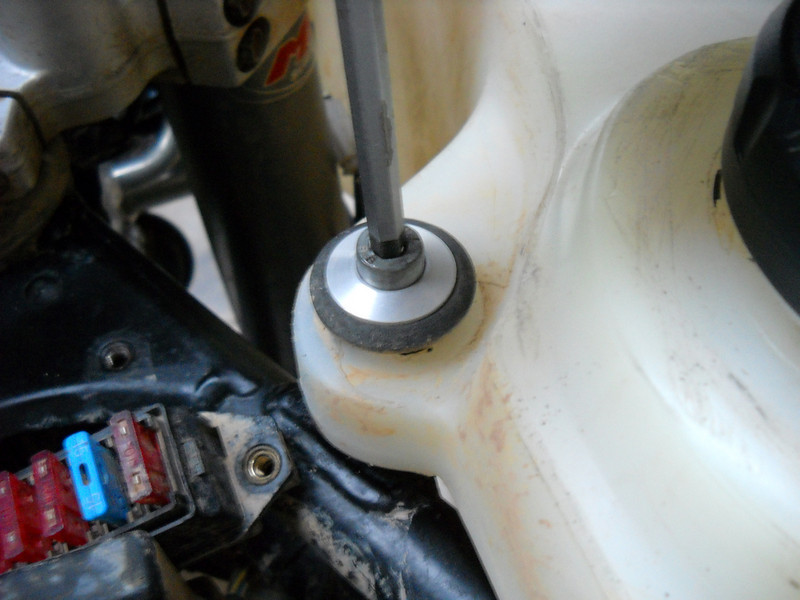
This next bit is the crux. Go the rear and pull it free from the frame.
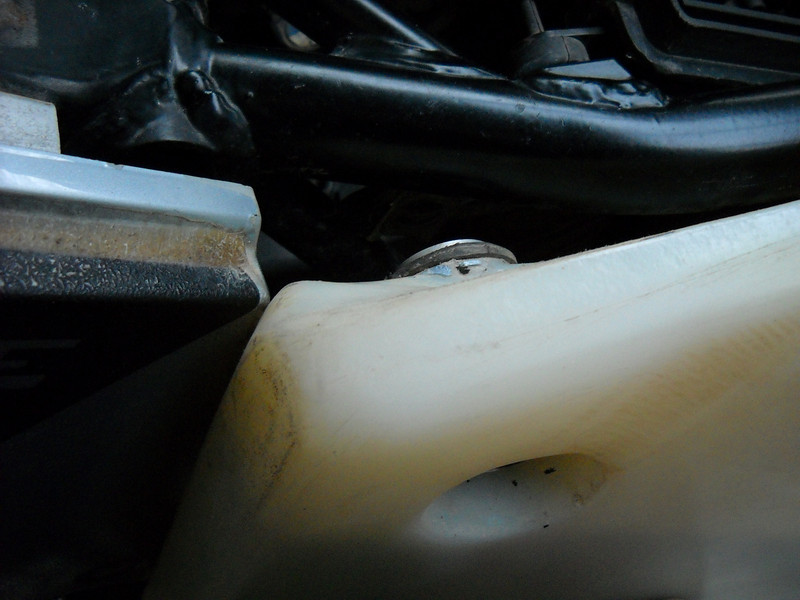
It sits up really tight against the rear quarter panel but you need to get it away so that if you pulled vertically up it would not snag the panel.
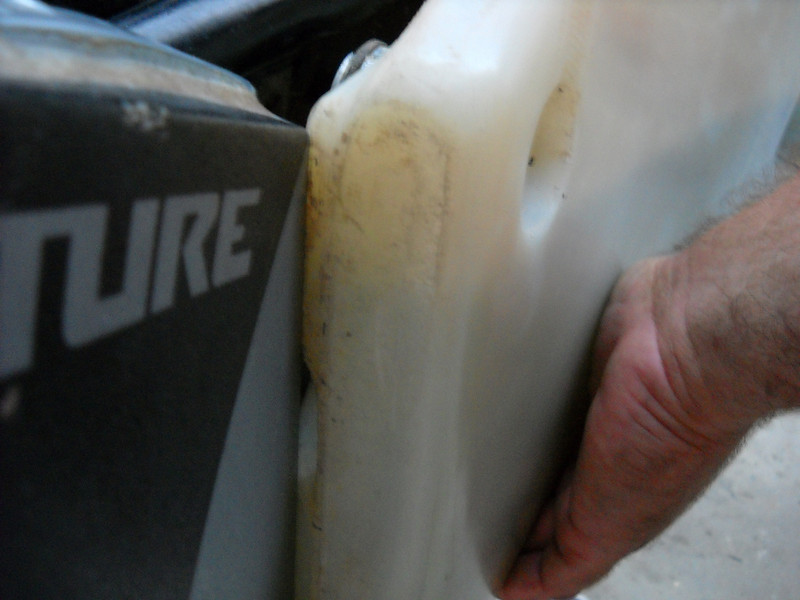
This is main reason why the lower bolt is such a bitch to get back in. It screws the whole story up and without doing this a lot of muscle power, beer and swearing is common.
Now get the longest main bolt and head down to the bottom locator. (don’t forget to connect the fuel pipe before you go any further... like I didn’t) Without pulling the rear away this bottom hole always sits way too far forward. It should now be vertically in line but will might need a little upwards push to get it to line up horizontally.
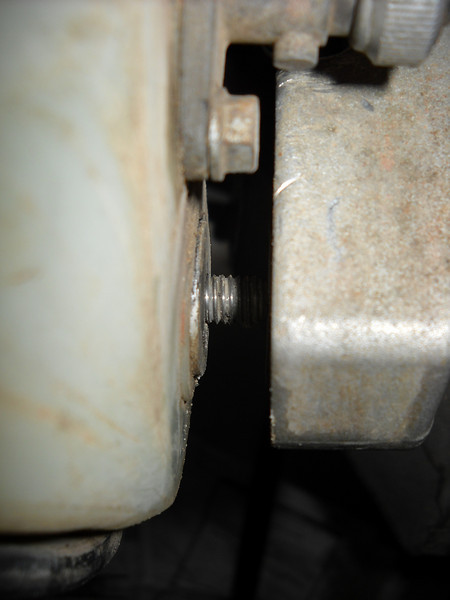
My tanks here are about 1/3 full and it was no stress at all. Keep the tank as far from the frame as the bolt will allow so that you can “aim” the bolt to the hole. Once the bolt starts to take give it 3 or so turns so that it is in but do not snug it up, leave lots of play.
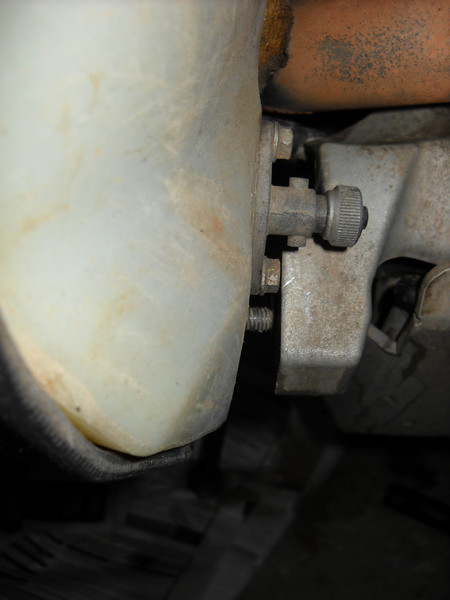
Now back to the rear,
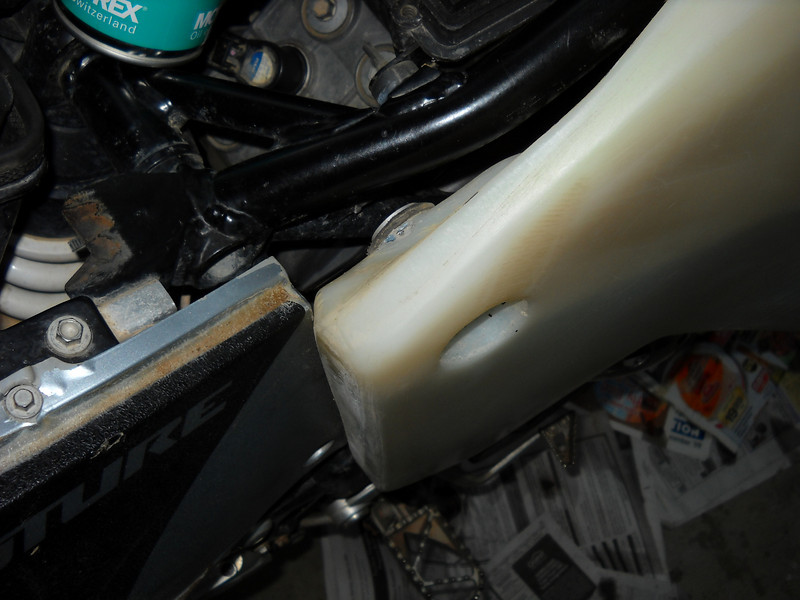
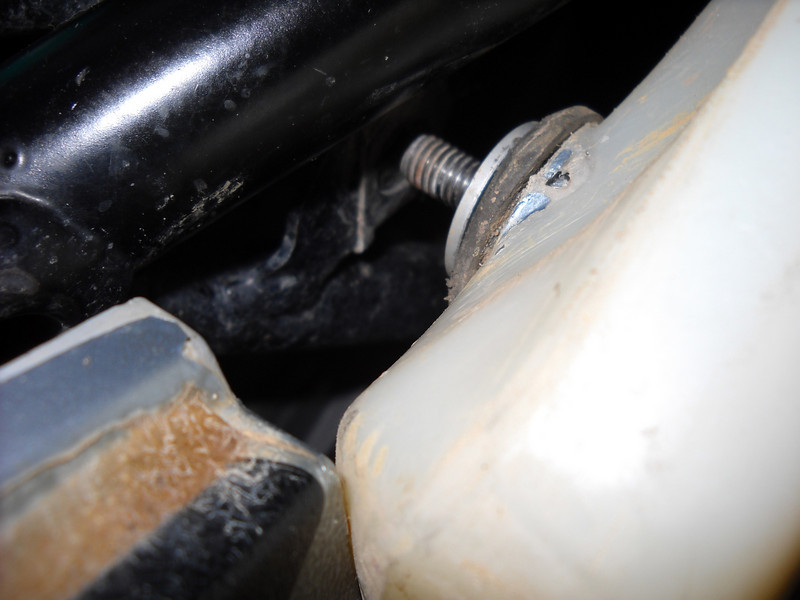
Get the last bolt and with a firm hold on the frame locate the hole and let the bolt pull the tank in. It might need a bump for motivation.
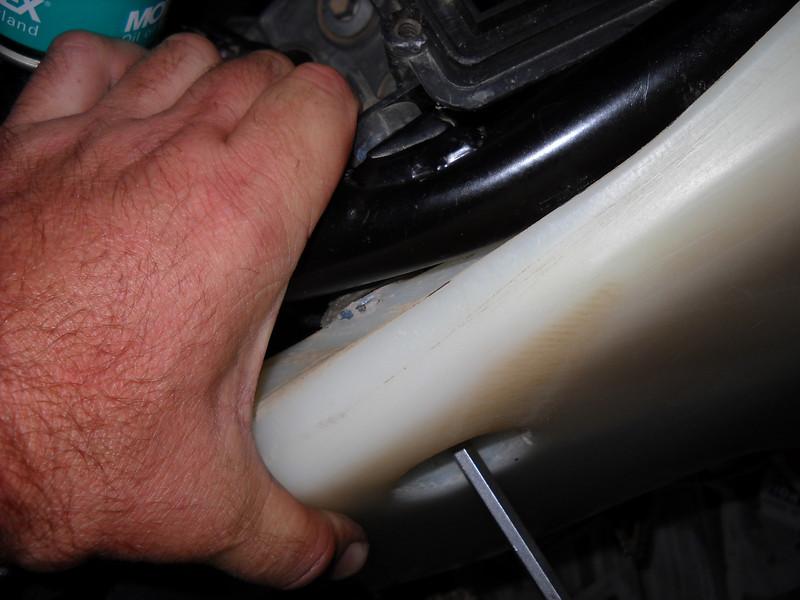
Again leave it a fair bit away from full in.
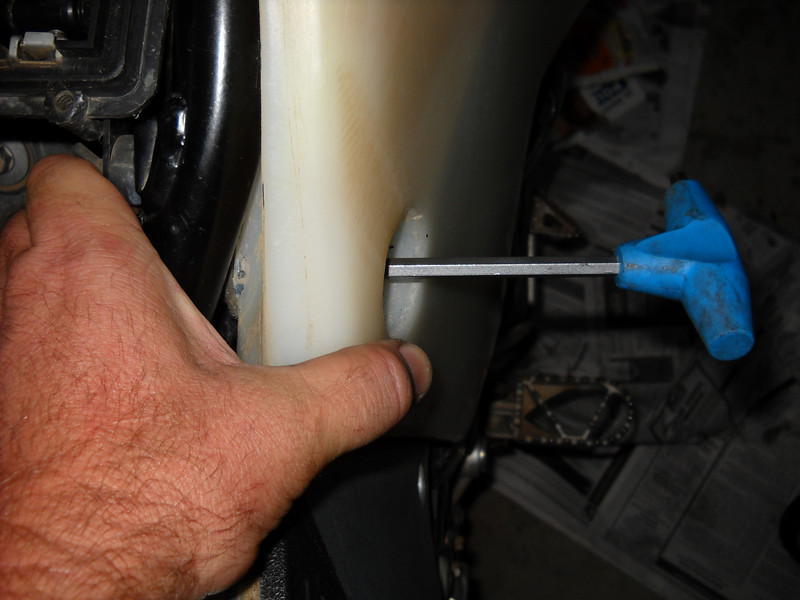
Now get the long handled flat blade and one of the fairing bolts and carefully lever the top part of the screen off the tank, it moves pretty easily. It is easy to locate the hole and lever the bolt straight before you start in so as not to cross thread them. Give it just enough to catch and hold a few threads.
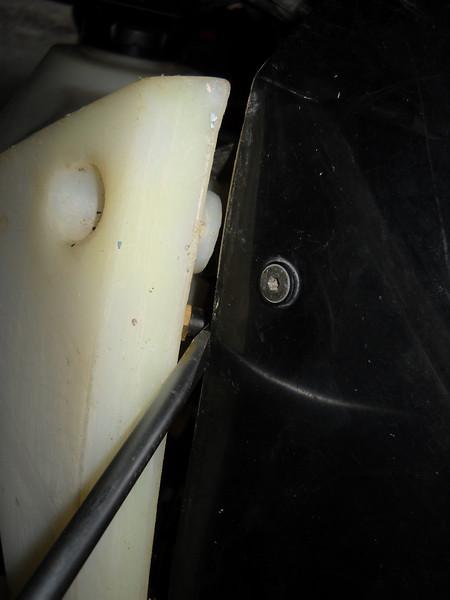
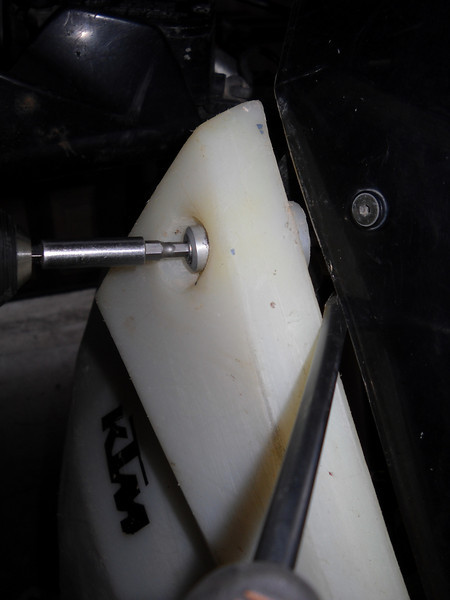
Do the same with the lower one.
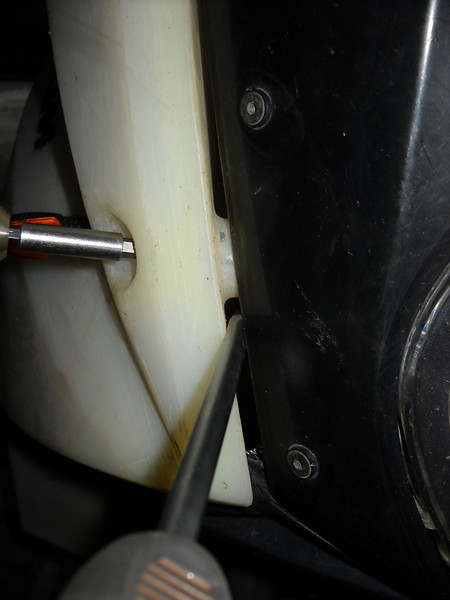
Once both are in you can tighten both to the end torque. Be careful not to over tighten them, you’ll know this as the screen starts to bow, just enough to be well snug.
Now you can cinch down the top, bottom and rear.
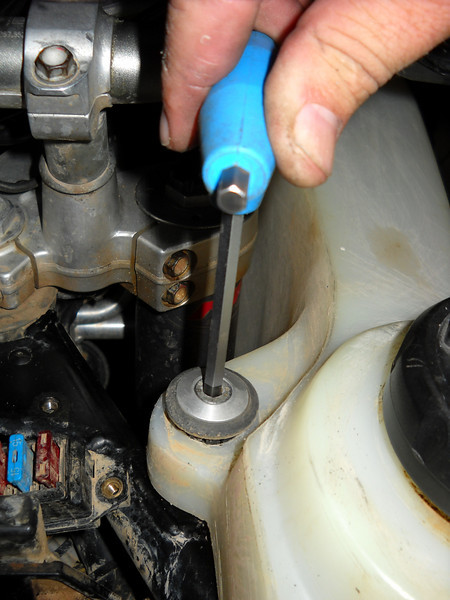
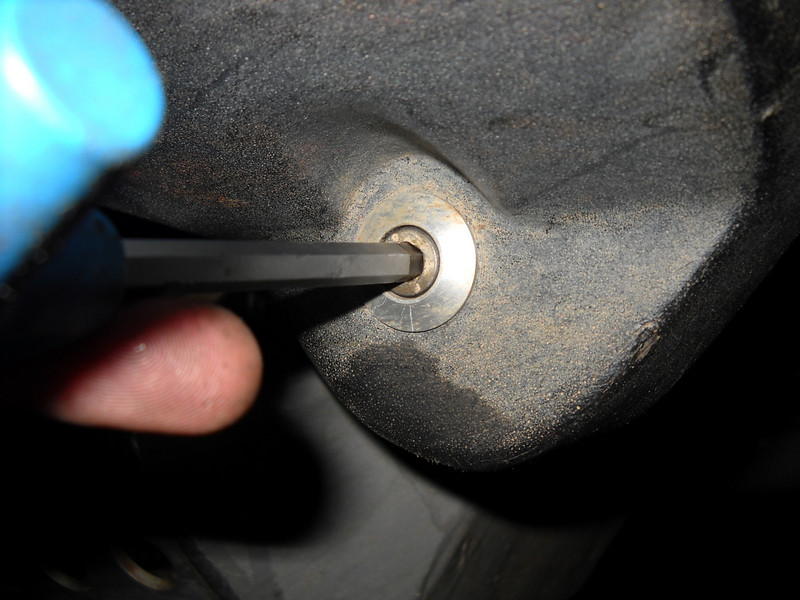
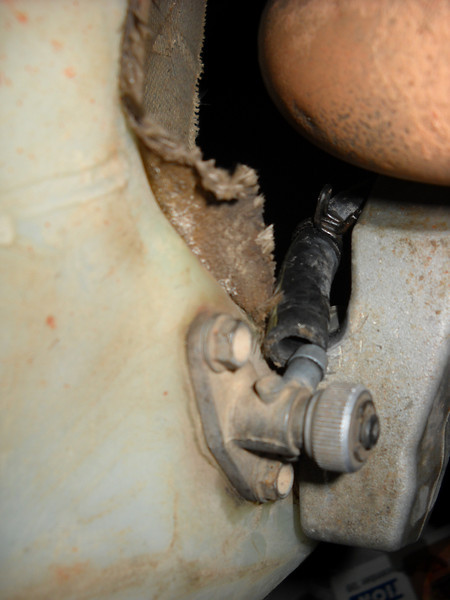
If you didn’t connect all the hoses and wires, now is the time to swear, as I did this time around, (I was concentrating on the camera too much). I didn’t get the lower fuel pipe on before I started. I got lucky and all that was needed was to take the bolt all the way out, lever the tank away and connect the pipe. The bolt went home easily. LUCKY!

I have used this method in the heat of the desert and with full tanks with no real hassle.
There you go.
The Aqualine Safari Tanks have a bit of a reputation for being tough to get back on once they’re off. Theories abound about how they swell and go out of shape, weren’t well designed, etc. Well, I have done my fair share of wrangling and sweating before I think I figured out why they are so tough to get on.
Here’s my how to;
First, you need the 6x8mm main mounting bolts and 4x6mm fairing bolts to hand.
T piece in the tool kit,
A no 6 allen key for the fairing bolts (I use a posidrive Allen bolt extension)
A big flat end screw driver,
A medium size Phillips screw driver (can use the tool kits one but a longer one gives you a bit of leverage).
Also some silicone rubber lubricant.
Pliers.
This was the right hand side but the technique is the same for both side.
Make sure the rubber grommets and aluminium spacers are on the tanks before you start.
This...

Obviously has to go here..

Put a slight amount of silicone lubricant on the top grommet locator, not this greasy shit I got here, (only need a tiny bit, it lasts for more than a few on and off’s)

Get the tank so that it is sort of in position, you can hold it in place with you knee while getting the indicator wires and breather tube connected.


Now one of the tricks – get the medium Philips and locate the top bolt hole through the grommet. It will need a little leaning on the tank to find the hole. Also because of the rubber grommet, you can “lean” the screwdriver quite far off vertical to help find the stud.

Once you’ve got a fair bit of the hole (so as not to damage the threads) lever the tank over the grommet locator stud. The top of the tank against the screen fairing snaps past the screen into place and can seem like you are forcing it a bit. Once the screw driver is vertical push down on the tank it should slide down the grommet stud and will now be sort of in place.

Get the shortest main bolt and get it in there. It needs a little action similar to what you were doing with the Phillips but nothing serious. Give it a few turns once into the thread but don’t cinch it down tight, maybe 3 or 4 rotations – about here.

This next bit is the crux. Go the rear and pull it free from the frame.

It sits up really tight against the rear quarter panel but you need to get it away so that if you pulled vertically up it would not snag the panel.

This is main reason why the lower bolt is such a bitch to get back in. It screws the whole story up and without doing this a lot of muscle power, beer and swearing is common.
Now get the longest main bolt and head down to the bottom locator. (don’t forget to connect the fuel pipe before you go any further... like I didn’t) Without pulling the rear away this bottom hole always sits way too far forward. It should now be vertically in line but will might need a little upwards push to get it to line up horizontally.

My tanks here are about 1/3 full and it was no stress at all. Keep the tank as far from the frame as the bolt will allow so that you can “aim” the bolt to the hole. Once the bolt starts to take give it 3 or so turns so that it is in but do not snug it up, leave lots of play.

Now back to the rear,


Get the last bolt and with a firm hold on the frame locate the hole and let the bolt pull the tank in. It might need a bump for motivation.

Again leave it a fair bit away from full in.

Now get the long handled flat blade and one of the fairing bolts and carefully lever the top part of the screen off the tank, it moves pretty easily. It is easy to locate the hole and lever the bolt straight before you start in so as not to cross thread them. Give it just enough to catch and hold a few threads.


Do the same with the lower one.

Once both are in you can tighten both to the end torque. Be careful not to over tighten them, you’ll know this as the screen starts to bow, just enough to be well snug.
Now you can cinch down the top, bottom and rear.


If you didn’t connect all the hoses and wires, now is the time to swear, as I did this time around, (I was concentrating on the camera too much). I didn’t get the lower fuel pipe on before I started. I got lucky and all that was needed was to take the bolt all the way out, lever the tank away and connect the pipe. The bolt went home easily. LUCKY!


I have used this method in the heat of the desert and with full tanks with no real hassle.
There you go.


