


Groenie
Grey Hound
- Joined
- Feb 6, 2006
- Messages
- 5,941
- Reaction score
- 1
- Bike
- Honda CRF-1000L Africa Twin
Is there something like that? You bet!
On Sunday, I helped D7 install his Vapor dash. For about R1000 you can bring your KLR into the 21st century.
How do you do it? Very easy actually. First, get the bike into the garage.
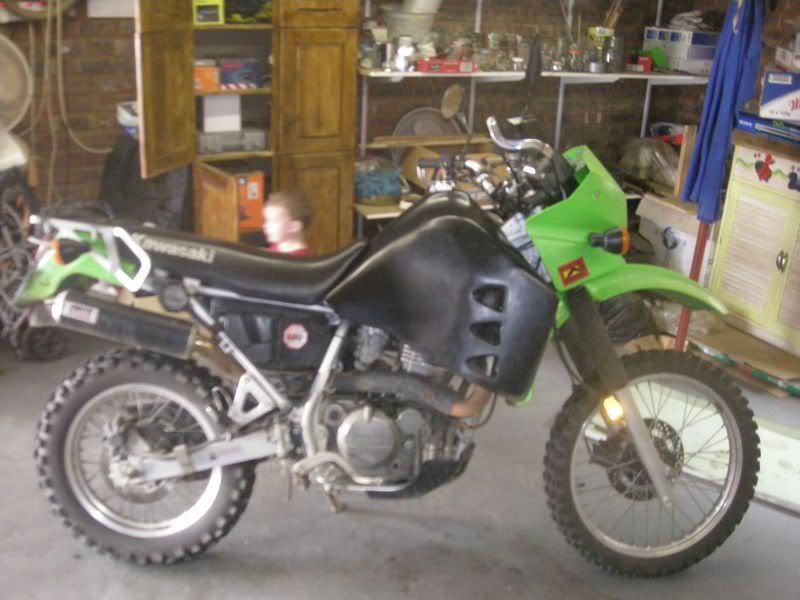
Then, remove tank and fairing
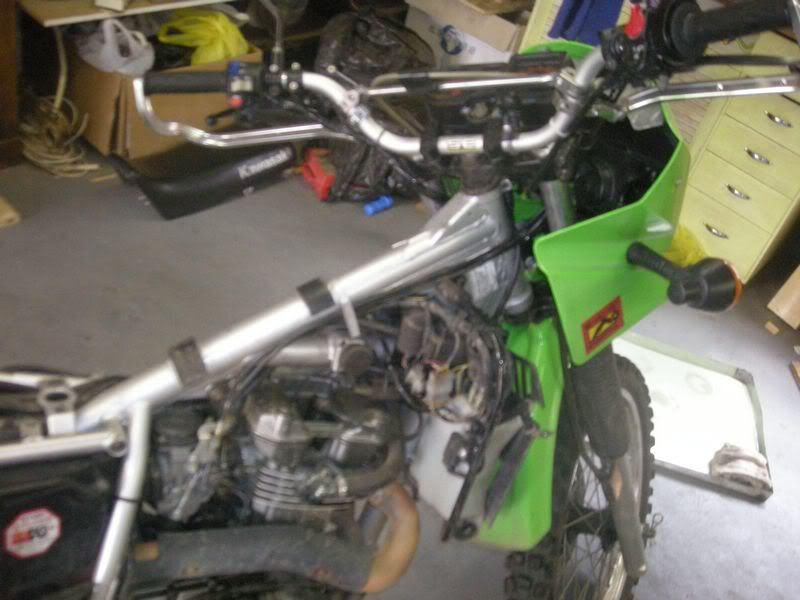
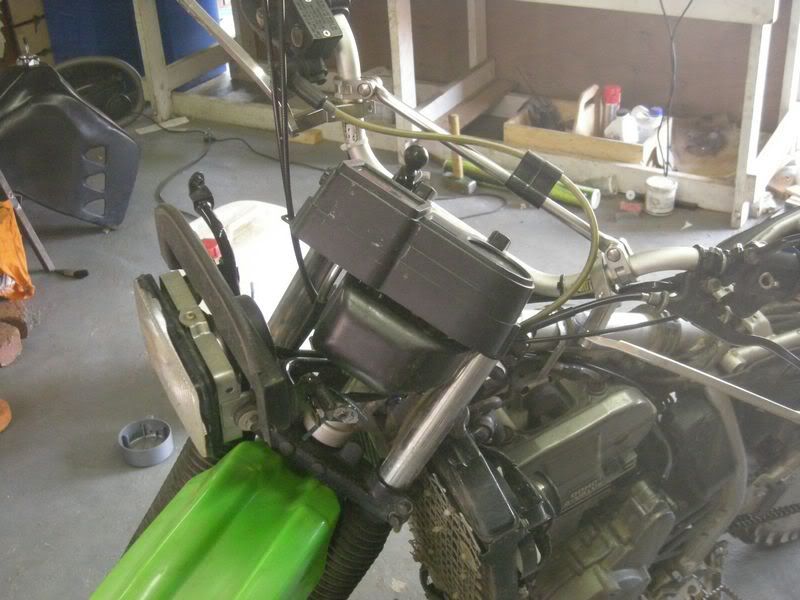
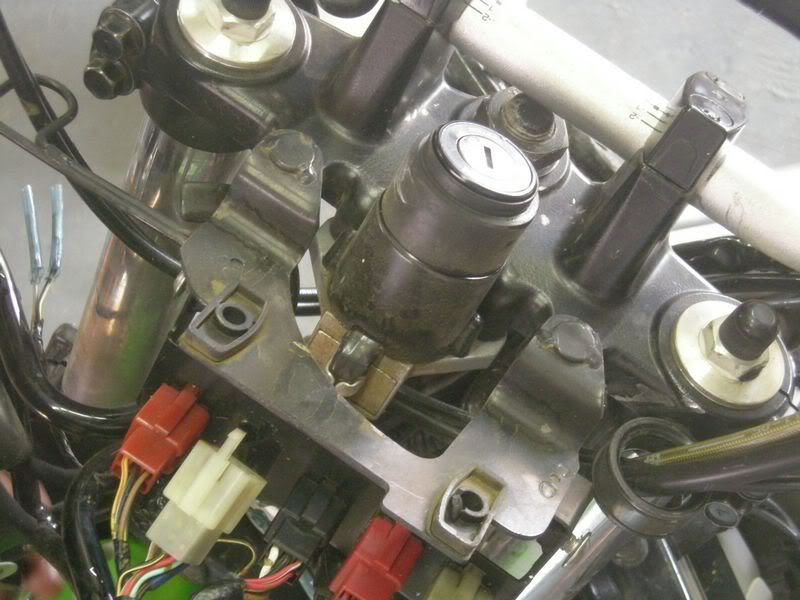
Remove instruments and disconnect the electrics of the old instrument cluster. This one here
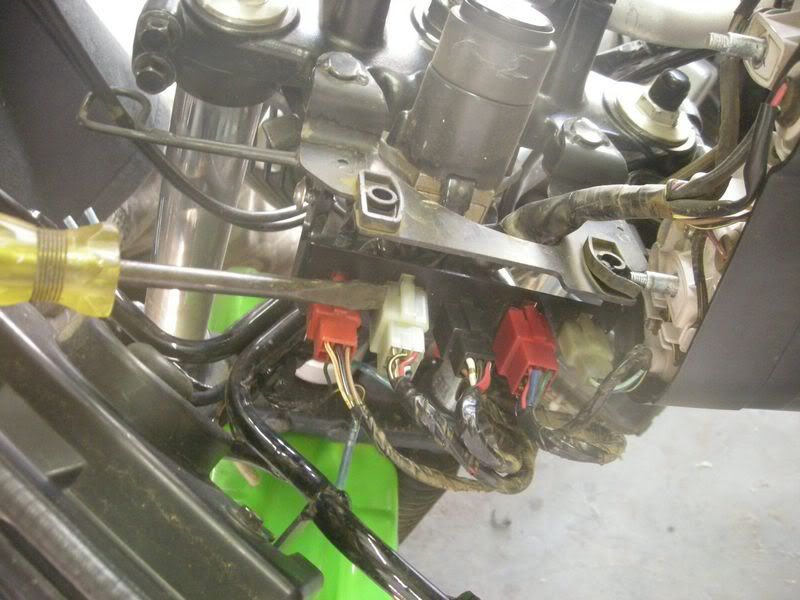
The plug can just be put back. Will be used later to provide high beam, flicker and neutral lights.
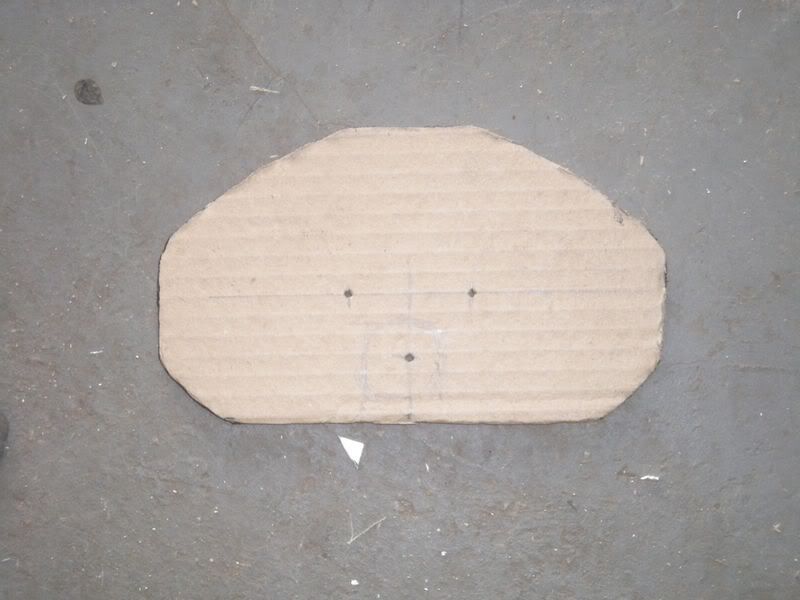
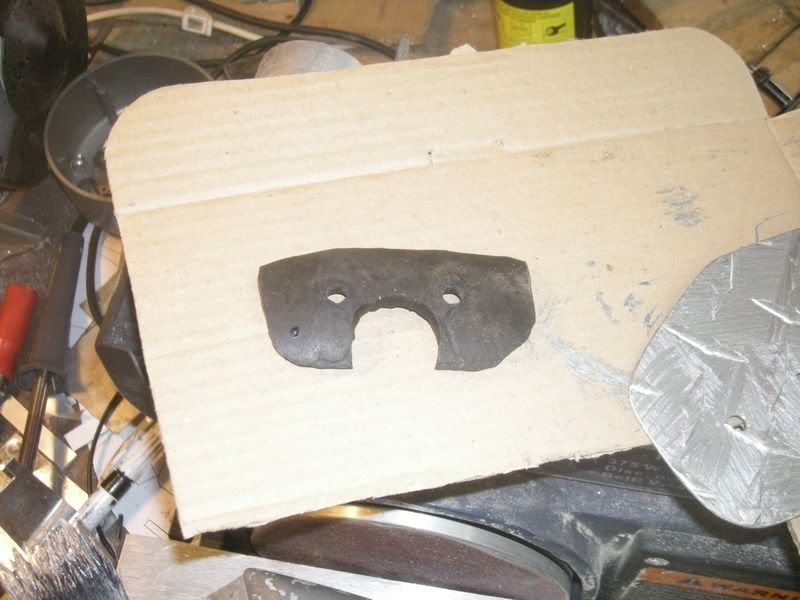
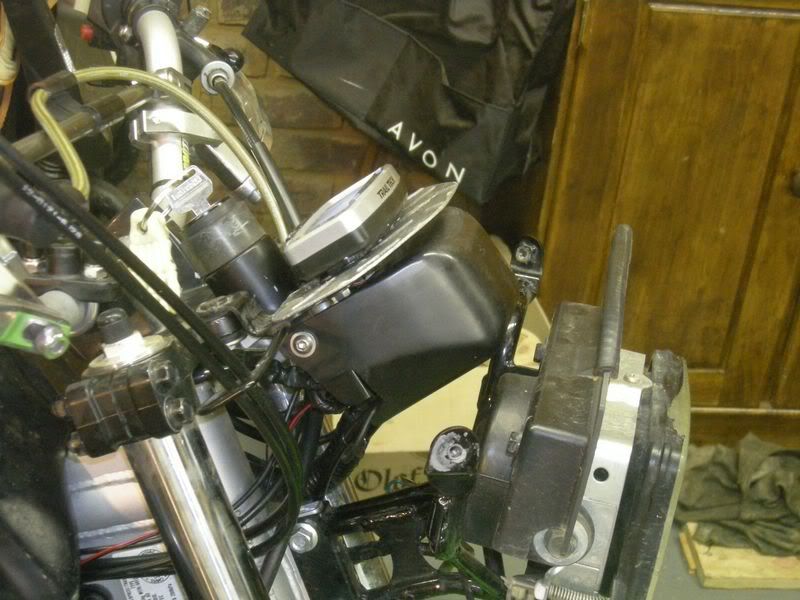
Make a template for the mounting plate
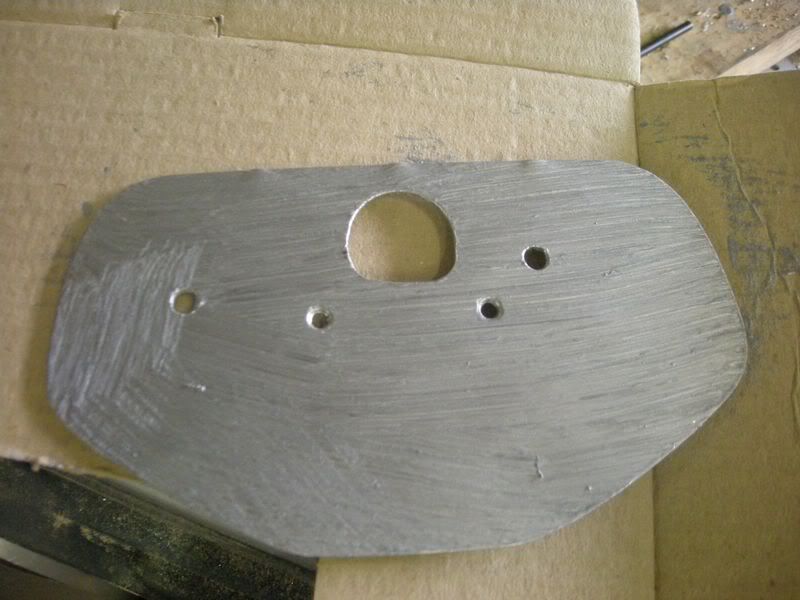
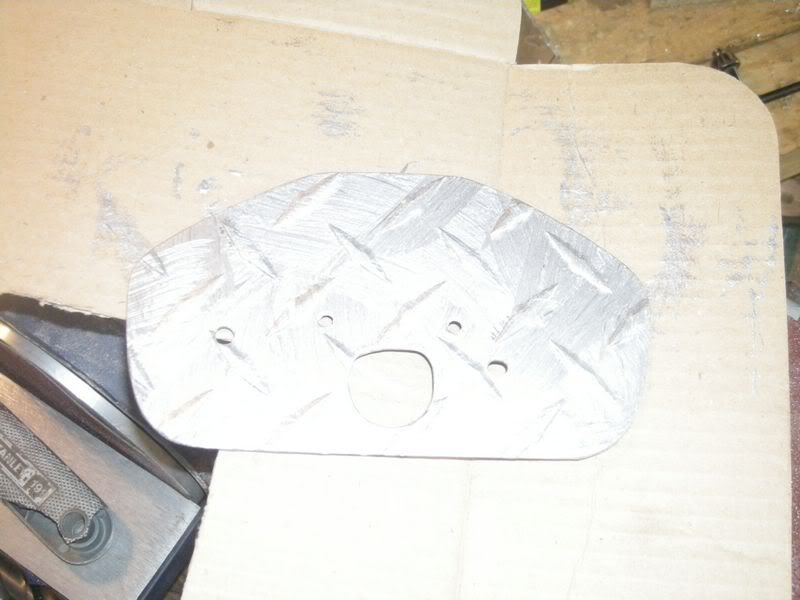
Cut from ally and give it a coat of Hammerite.
We also cut a piece of thick tube to take care of the vibes
Then you remove one of the brake disc bolts and replace it with the supplied magnetic bolt

Next, fit the speedo pick-up. The unit s designed for a KX, so it's quite dfficult to find a proper place for the pick-up. We decided to zip tie it to the fork.
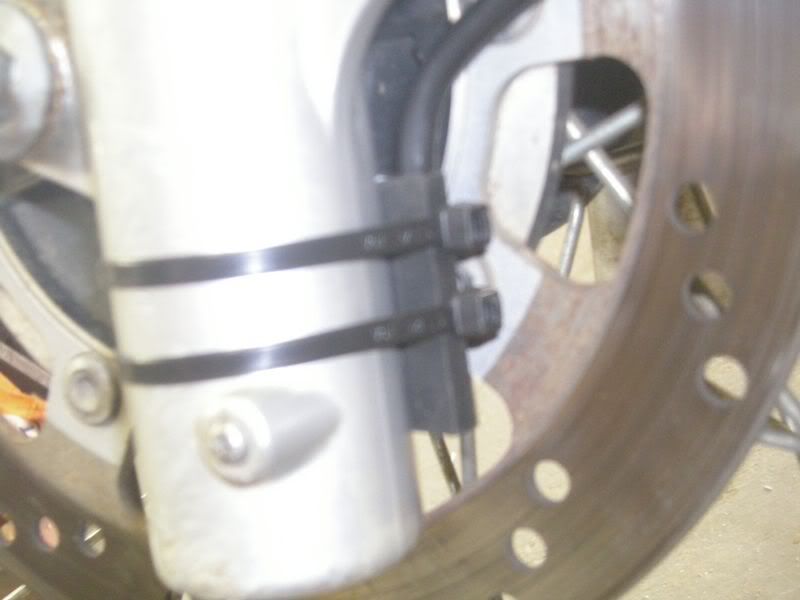
Plug it in and spin the front wheel to test.
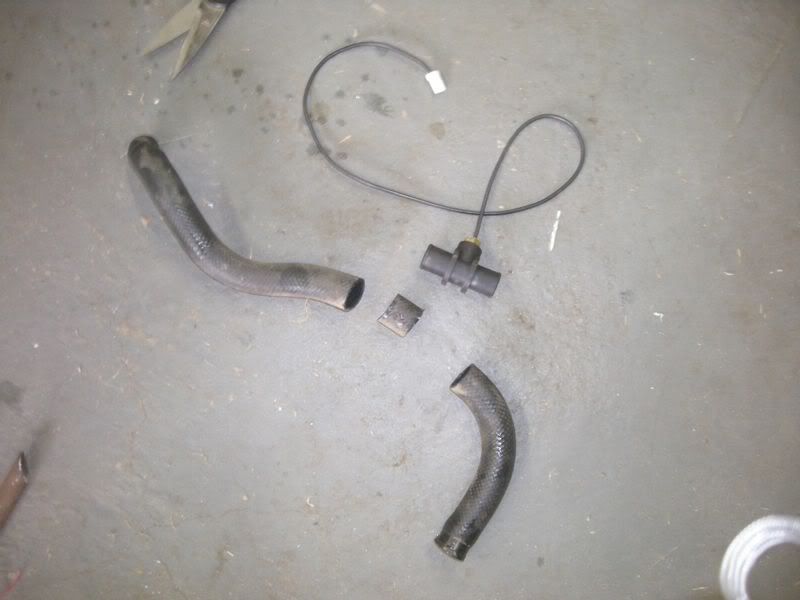
Next, remove the water hose between the head and radiator and install the temp probe.
The RPM sensor is just a piece of wire, coiled around the spark lead and held in place with heat-shrink tube. You can also see the temp probe in place.
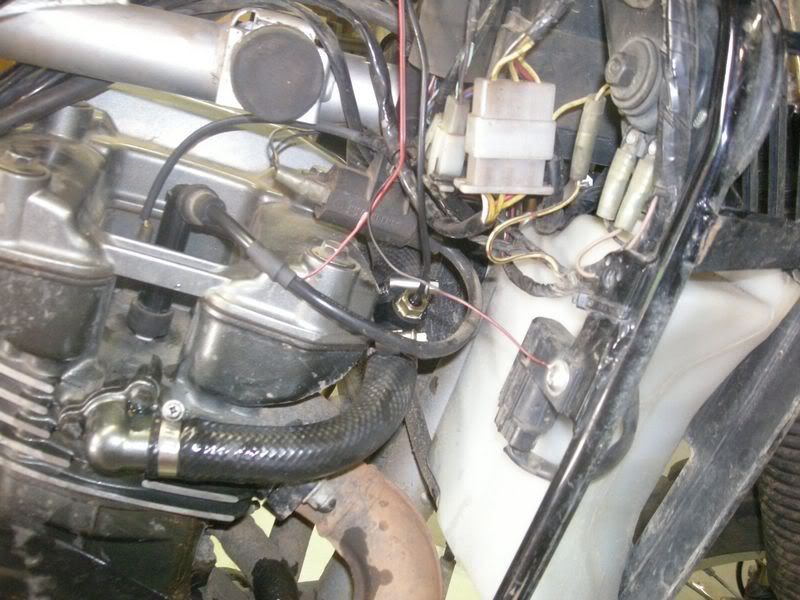
Connect the power leads to the "city lights" plugs behind the fairing. We didn't, so now the unit stays lit for 20 minutes after you switch the bike off. It will be changed when I install my own unit.
And there you have it
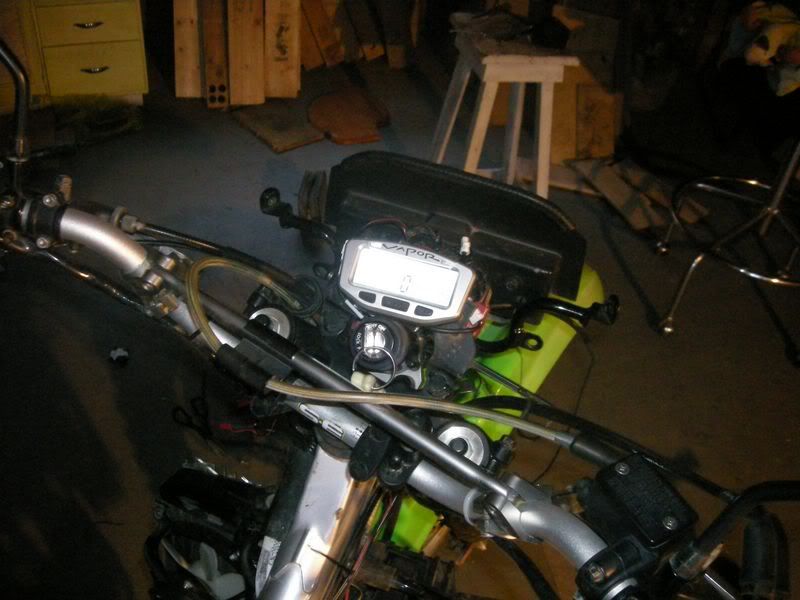
Time to remove the plastic from the screen
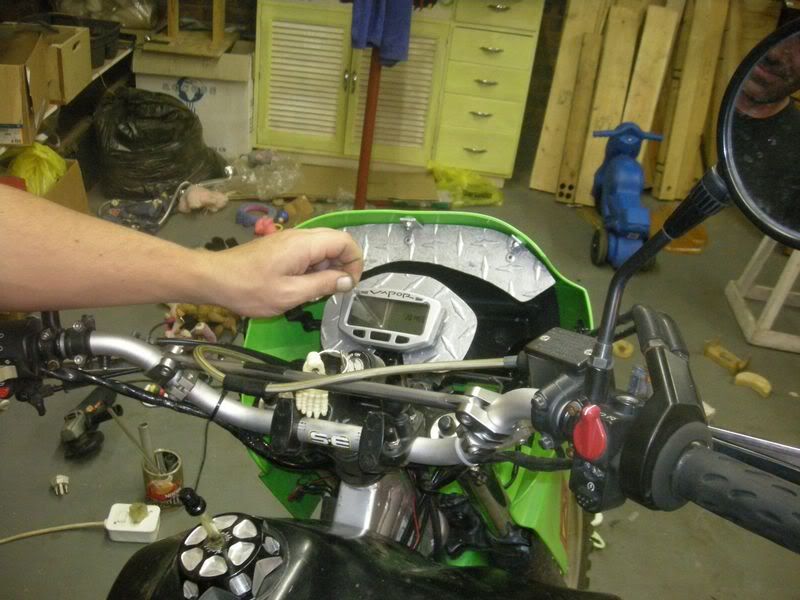
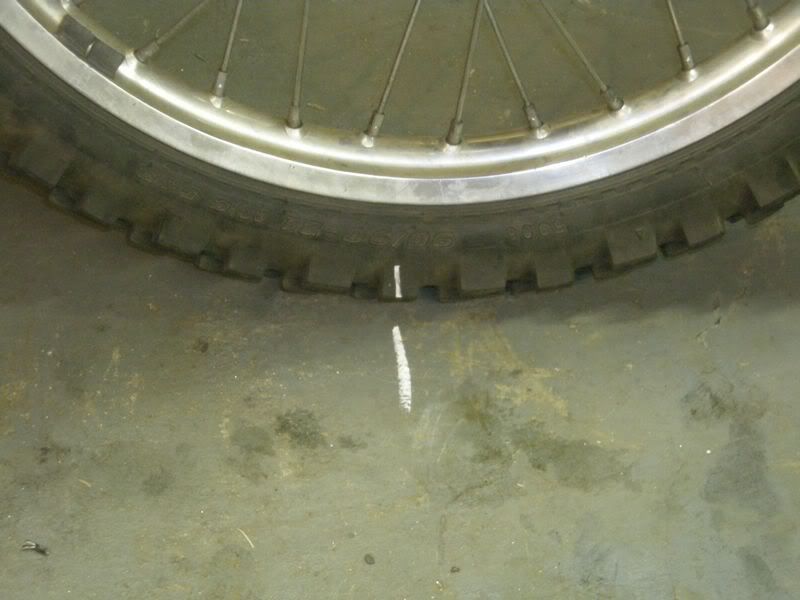
The final step is to calibrate the unit. For this you need to know the circumference of you front wheel. Very easy, just make and mark on the floor and the wheel, push the bike forward until the mark points down again and measure the distance.
Enter that into the unit, and viola, you now have the absolute coolest piece of bling.
Next will be to install LED lights for the neutral, high beam and flickers.
On Sunday, I helped D7 install his Vapor dash. For about R1000 you can bring your KLR into the 21st century.
How do you do it? Very easy actually. First, get the bike into the garage.
Then, remove tank and fairing
Remove instruments and disconnect the electrics of the old instrument cluster. This one here
The plug can just be put back. Will be used later to provide high beam, flicker and neutral lights.
Make a template for the mounting plate
Cut from ally and give it a coat of Hammerite.
We also cut a piece of thick tube to take care of the vibes
Then you remove one of the brake disc bolts and replace it with the supplied magnetic bolt
Next, fit the speedo pick-up. The unit s designed for a KX, so it's quite dfficult to find a proper place for the pick-up. We decided to zip tie it to the fork.
Plug it in and spin the front wheel to test.
Next, remove the water hose between the head and radiator and install the temp probe.
The RPM sensor is just a piece of wire, coiled around the spark lead and held in place with heat-shrink tube. You can also see the temp probe in place.
Connect the power leads to the "city lights" plugs behind the fairing. We didn't, so now the unit stays lit for 20 minutes after you switch the bike off. It will be changed when I install my own unit.
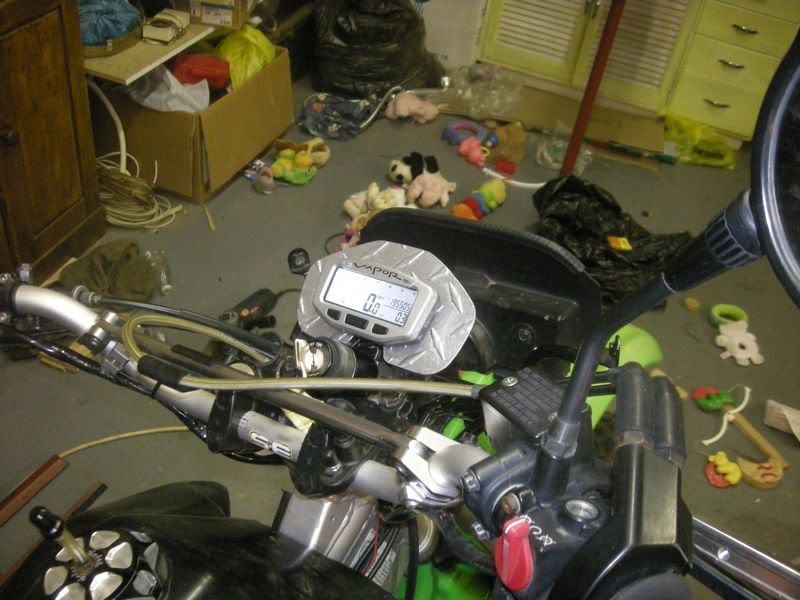
And there you have it
Time to remove the plastic from the screen
The final step is to calibrate the unit. For this you need to know the circumference of you front wheel. Very easy, just make and mark on the floor and the wheel, push the bike forward until the mark points down again and measure the distance.
Enter that into the unit, and viola, you now have the absolute coolest piece of bling.
Next will be to install LED lights for the neutral, high beam and flickers.