


Panne
Race Dog
Ok, here goes:
Iâ??m not the worldâ??s greatest DIY guy unless DIYâ??s the acronym for Destroy It Yourself. The oil seals on my 950â??s forks had to be replaced and I decided to tackle this myself. With some advice from Lito and a tool acquired from Runner, it actually went swimmingly in the end.
This is what you would need to do:
Step 1
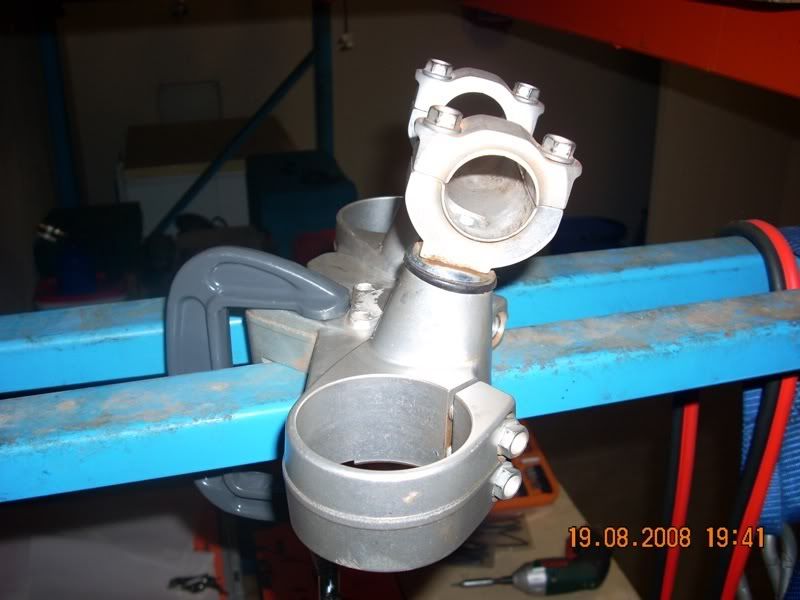
You will need a bench vice to clamp the fork. I do not have one, thus I used my old triple clamp like so:
Step 2
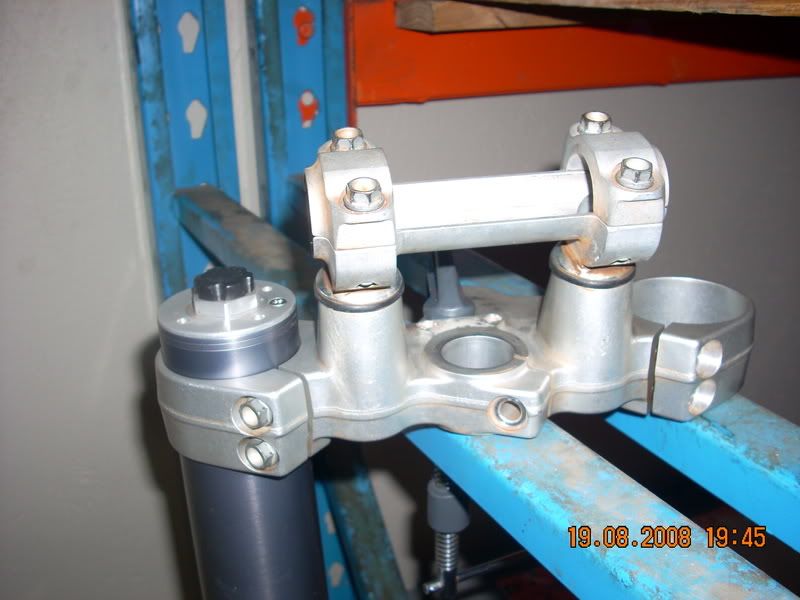
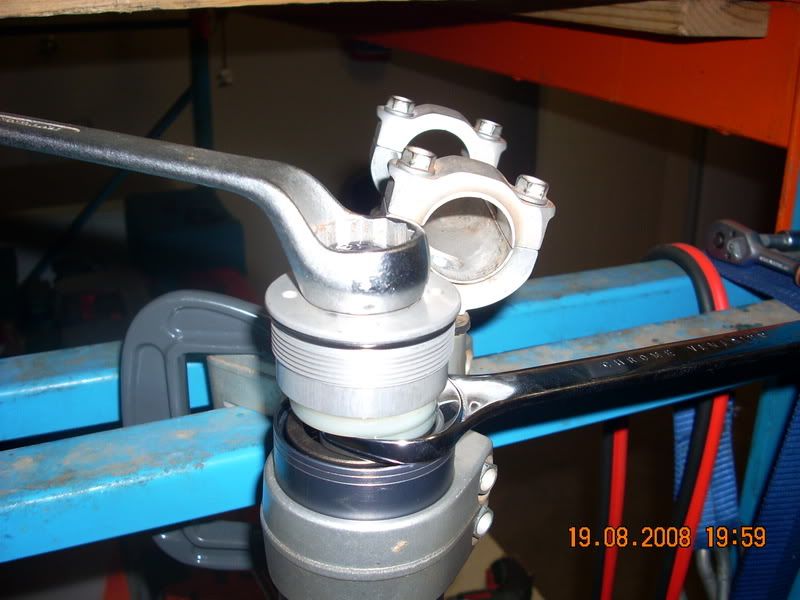
Fork inserted and pinch bolts tightened. Ready to loosen fork cap.
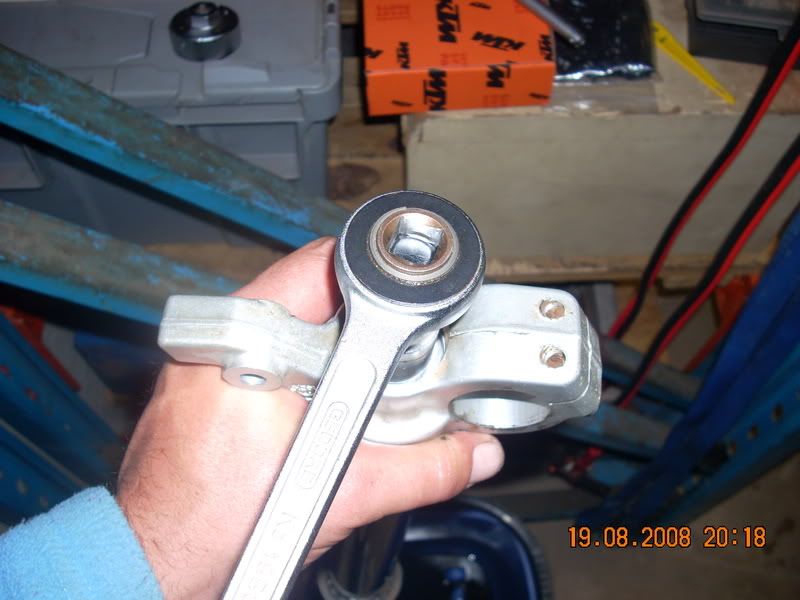
Step 3
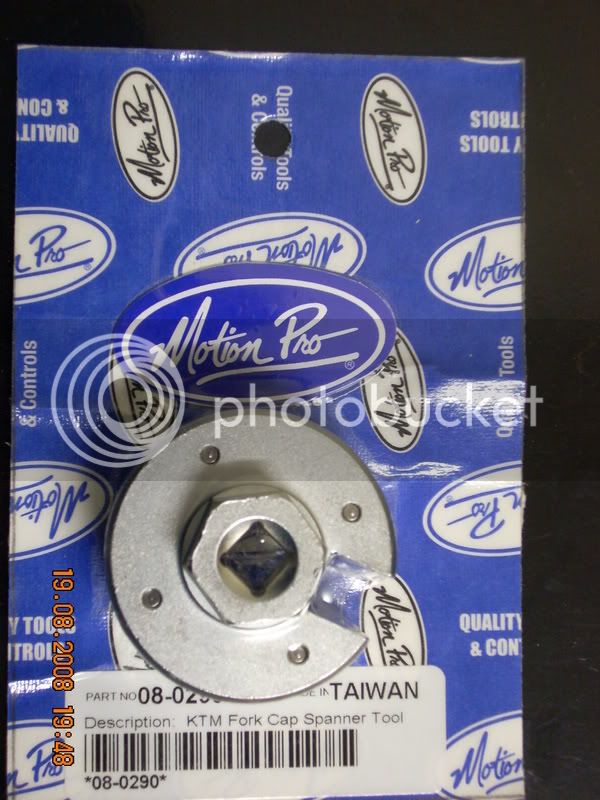
Now, you will need the tool pictured below. Got mine from Runner. You can also fashion a similar tool but please DO NOT use a punch and hammer to loosen the fork cap.
Step 4
Unscrew the fork cap.
Step 5
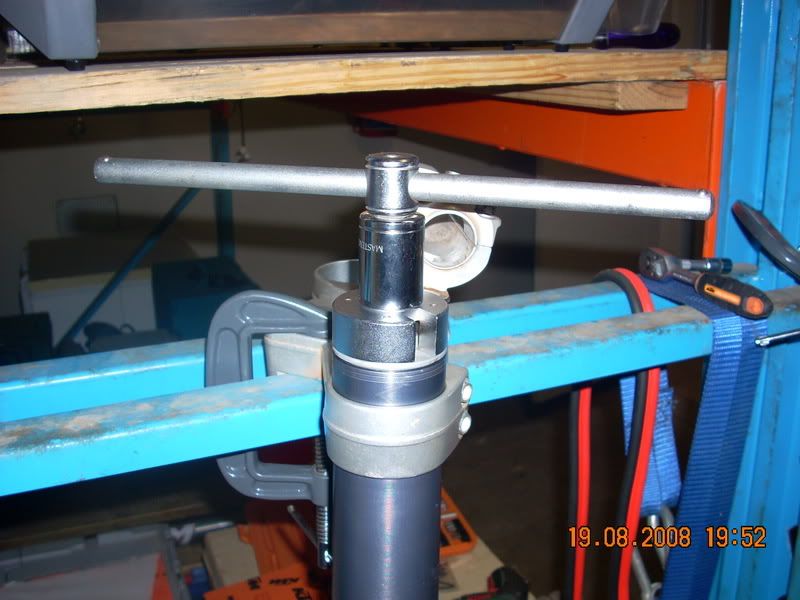
Compress the front spring and insert a thin 22mm open-end spanner to hold the damper rod in position. Remove the fork cap using a 24mm spanner as depicted.
Step 6
Remove the preload spacer and then the fork spring
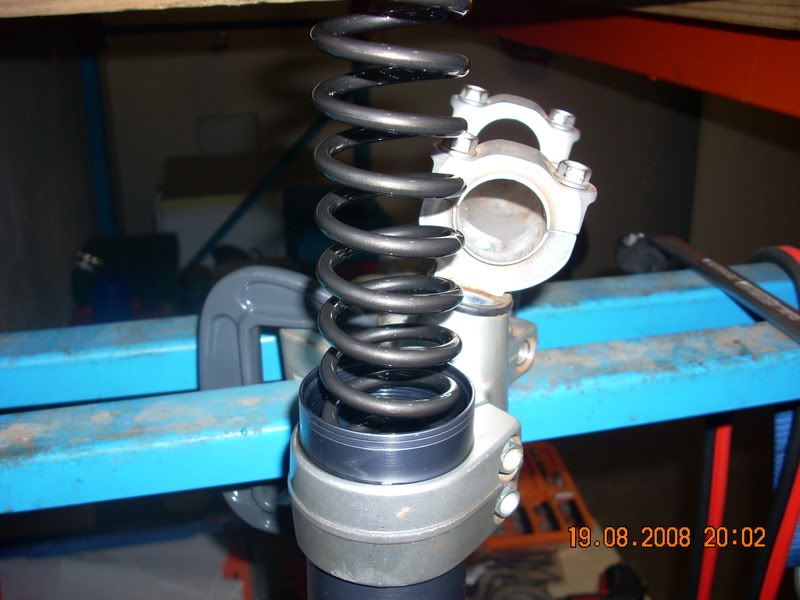
Step 7
Remove the adjustment tube.
Step 8
Turn the fork upside down over a suitable container to allow old oil to drain. You can also move the damper rod up and down a few times which will help it drain faster. I left mine overnight to ensure it drained properly.
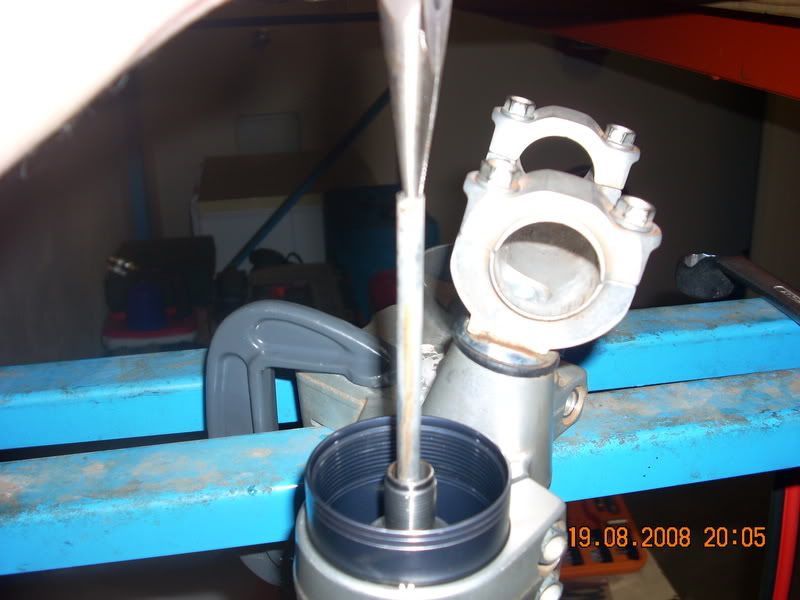
Step 9
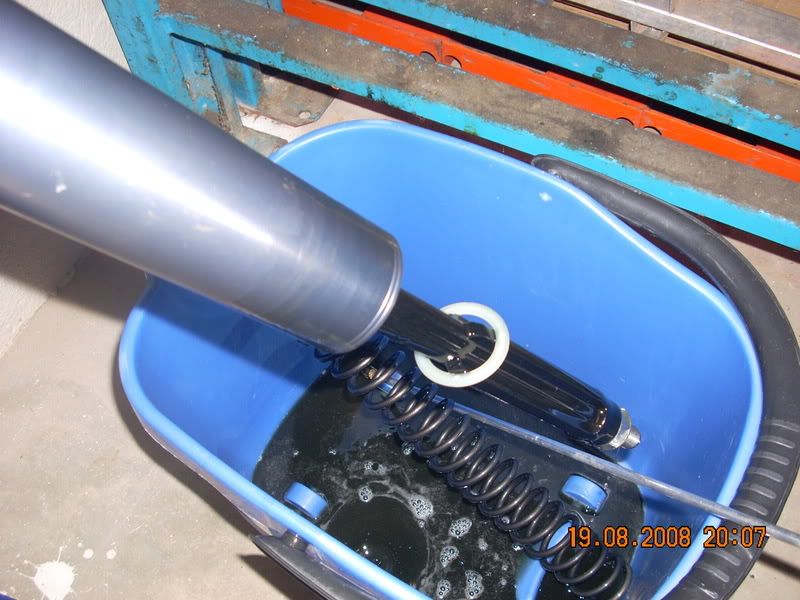
Using a 19mm socket, remove the compression piston. If it turns with the fork cartridge, bend the damper rod a bit to the side to prevent this. Patience is the keyword here, it took me a while and a few curses to remove it.
Second instalment to follow. :ricky:
Iâ??m not the worldâ??s greatest DIY guy unless DIYâ??s the acronym for Destroy It Yourself. The oil seals on my 950â??s forks had to be replaced and I decided to tackle this myself. With some advice from Lito and a tool acquired from Runner, it actually went swimmingly in the end.
This is what you would need to do:
Step 1
You will need a bench vice to clamp the fork. I do not have one, thus I used my old triple clamp like so:
Step 2
Fork inserted and pinch bolts tightened. Ready to loosen fork cap.
Step 3
Now, you will need the tool pictured below. Got mine from Runner. You can also fashion a similar tool but please DO NOT use a punch and hammer to loosen the fork cap.
Step 4
Unscrew the fork cap.
Step 5
Compress the front spring and insert a thin 22mm open-end spanner to hold the damper rod in position. Remove the fork cap using a 24mm spanner as depicted.
Step 6
Remove the preload spacer and then the fork spring
Step 7
Remove the adjustment tube.
Step 8
Turn the fork upside down over a suitable container to allow old oil to drain. You can also move the damper rod up and down a few times which will help it drain faster. I left mine overnight to ensure it drained properly.
Step 9
Using a 19mm socket, remove the compression piston. If it turns with the fork cartridge, bend the damper rod a bit to the side to prevent this. Patience is the keyword here, it took me a while and a few curses to remove it.
Second instalment to follow. :ricky: