


- Joined
- Feb 6, 2006
- Messages
- 10,625
- Reaction score
- 4,314
- Location
- Cape Town, deep in the lentils
- Bike
- KTM 990 Adventure
Right, the eternal quest to destroy cash flow along with a curiosity about an upgrade that I have long wanted to do.
My front wheel was filled with smileys from way too much abuse; I couldnâ??t get much over 170 without being shaken badly. No matter how well I had the wheels balanced it still hopped about. So, I took both wheels off and then also took out the suspension.
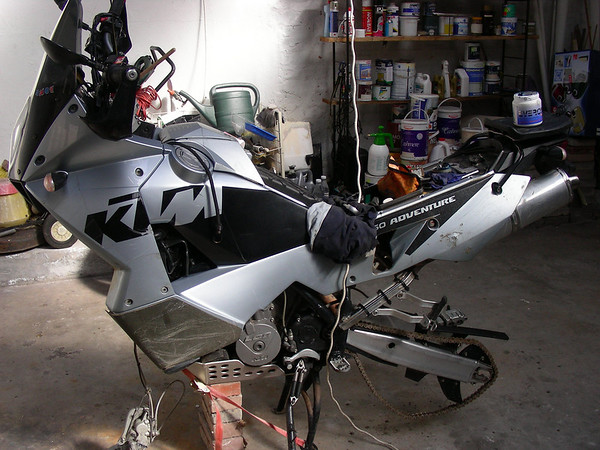
I tried to straighten the rim using a vice and some serious elbow grease, but all I did was make it look better from the side but it was not round and that would require some jig work that I donâ??t have and I wonder what it does for the strength of the rim. So for peace of mind, new rim it is. Getting a new front rim was half of the story, I wanted to get the suspension serviced and get heavier fork springs with an appropriate revalve from Superplush in USA. The guy has an agent in Jhb, Chris Lessing, so thatâ??s where they went.
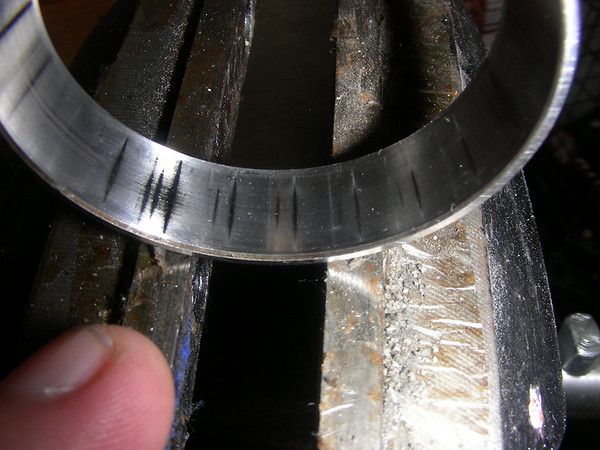
While this was out I noticed that the steering was a little notchy, ahh well that means the steering bearings need to be looked at too.
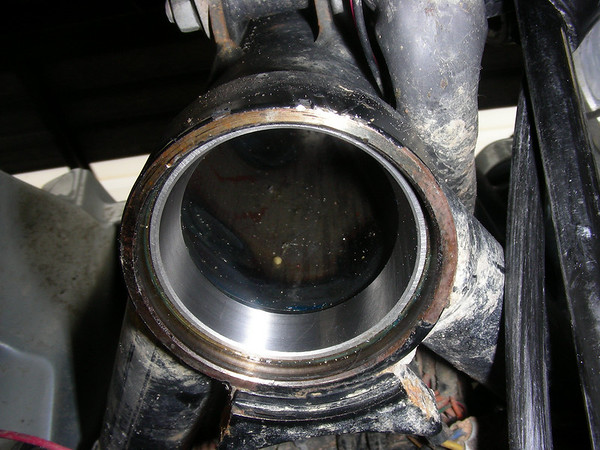
The Lower bearing race, aha! Here's the culprits.
The upper just out, bit of a bastid to get it out
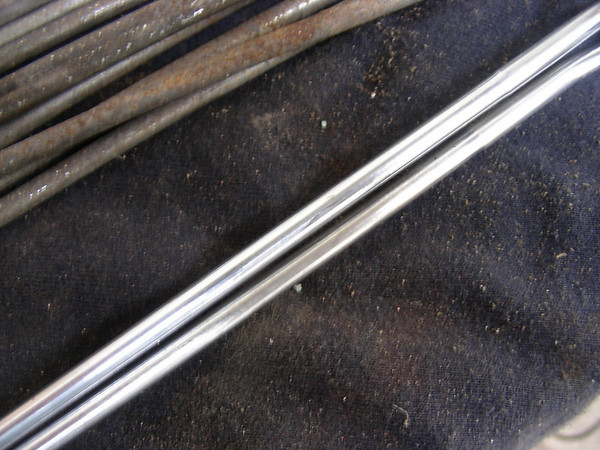
While the suspension went off to Jhb. I took the spokes off the front rim. They cost quite a bit and I thought I would try rehabilitate them before I splash out on a whole new set.
Starting
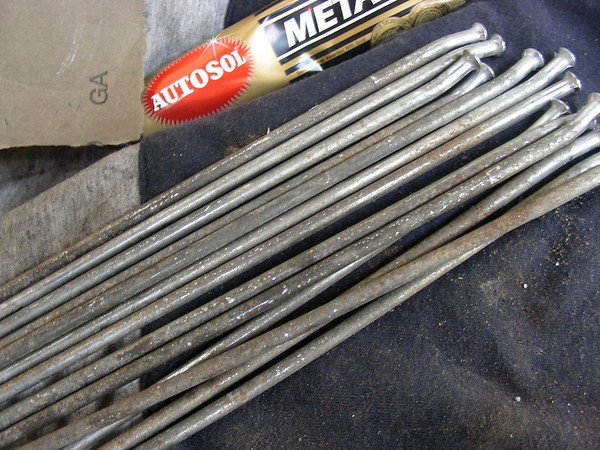
Turned out pretty good, only 6 of them needed to be replaced. Initially I tried to use Autosol only with a compacted cotton rubbing wheel. It didnâ??t do much good and only over heated the spoke. Just before I gave up and was doing the maths trying to work out how expensive the front wheel was going to cost me, I tried a little fine sand paper and amazingly it turned out real good. A bit of Autosol on top of that and I had a bunch of shiny bright new looking spokes! I was amazed at how well they came out. The before picture is not really clear. I presumed that they were corroded but it must just be on the surface. All the nipples looked serviceable and a bit of a rub got them looking pretty shiny too.
Not a good shot, sorry
I got a DID 950SE rim and had the rear rim retrued and all the bearings and seals replaced.
I had never taken a steering bearing off but it didnâ??t seem at all difficult judging by this video
https://www.garagenight.tv/?p=12
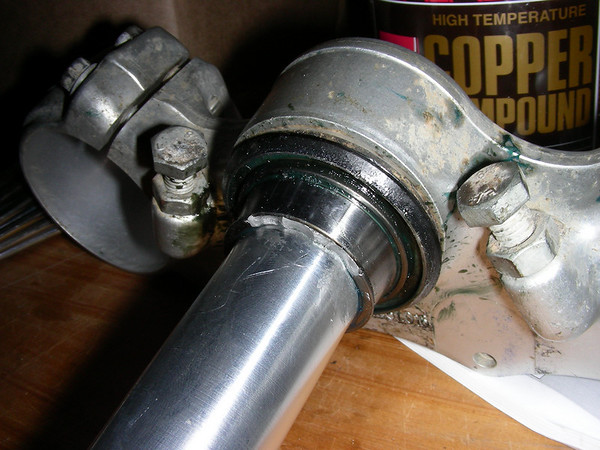
Wellâ?¦ getting my bottom steering head bearing off was a major hassle. I even tried the freezer trick and a heat gun and after half butchering it I had to send it off to KTM WC to get it off.
You can see the botched bits.
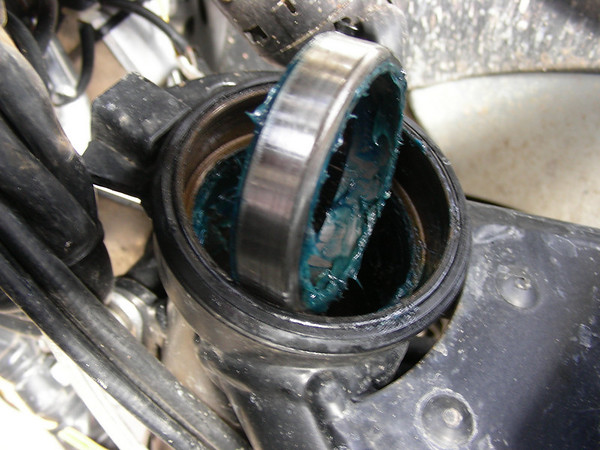
New bottom race in
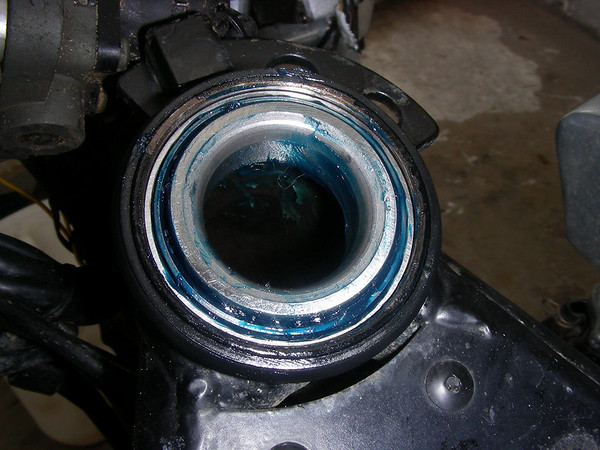
Top bearing in
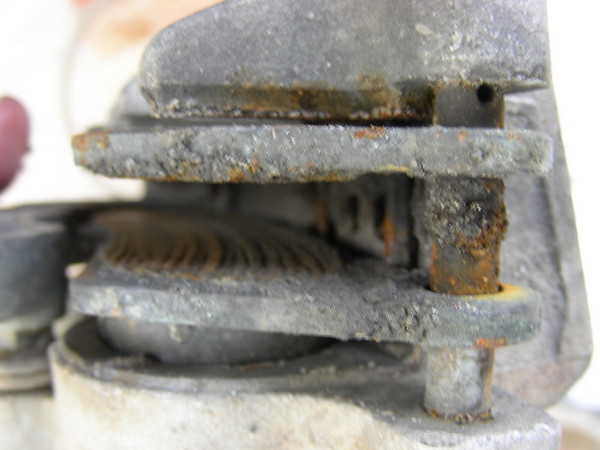
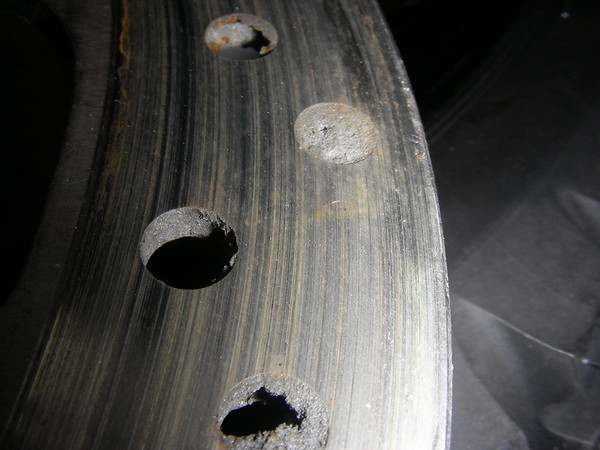
I have long been meaning to get at the brakes, it seemed a bit pointless to go to all this trouble and then not service the brakes. Good thing I did! The last ride was in mud and deep sand but this is just the top layer, there is 2 years of abuse under that. Not much left of the pads.
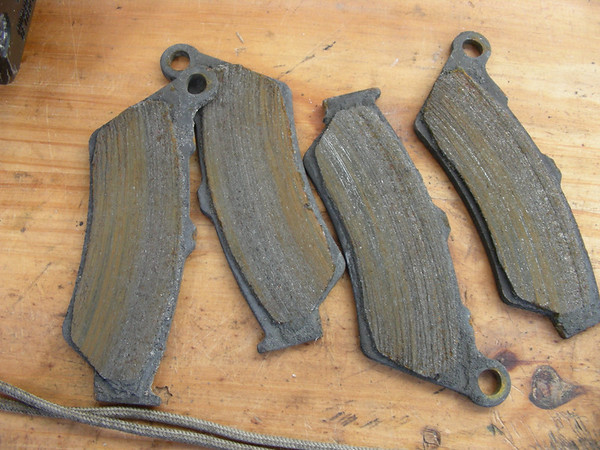
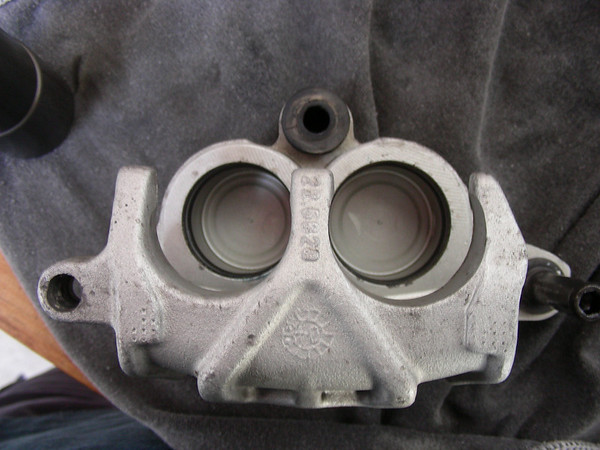
It took some elbow grease and an hour or so to get them back to reasonably good shape. I didnâ??t know that each barrel in the brakes is a different diameter. Learn something new every day.
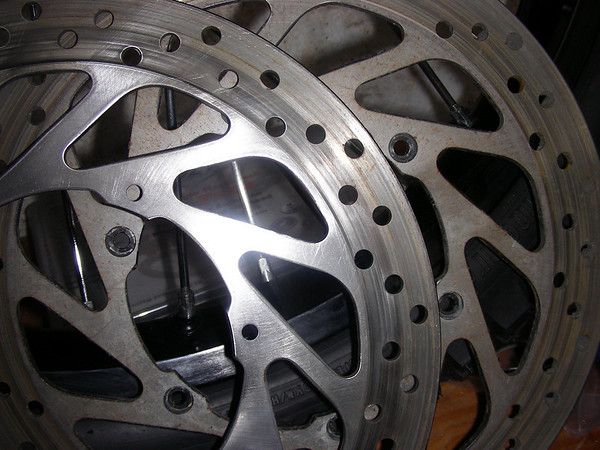
I also gave the discs a bit of a going over with a wire brush wheel, they came up pretty good.
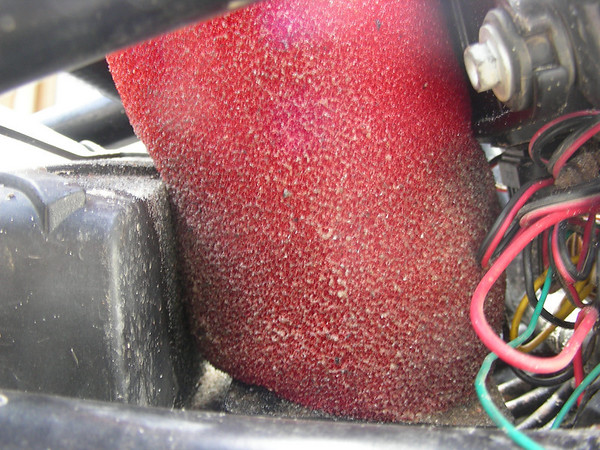
This was the mud left over from Lito's mud bash a few weeks ago.
The Prefilter was looking a bit sad for itself so it too got a working over.
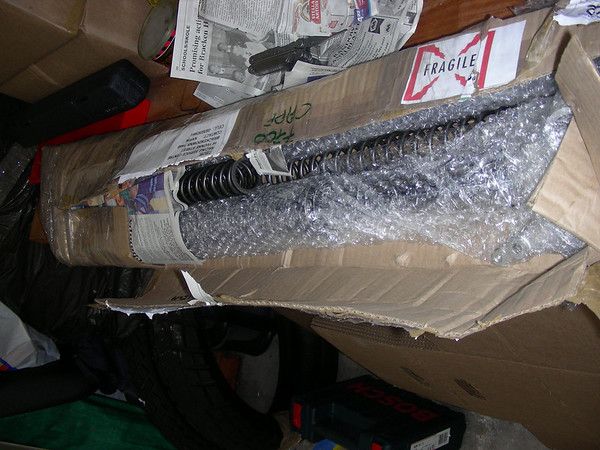
Getting the front jewels out of the packing along with the old springs.
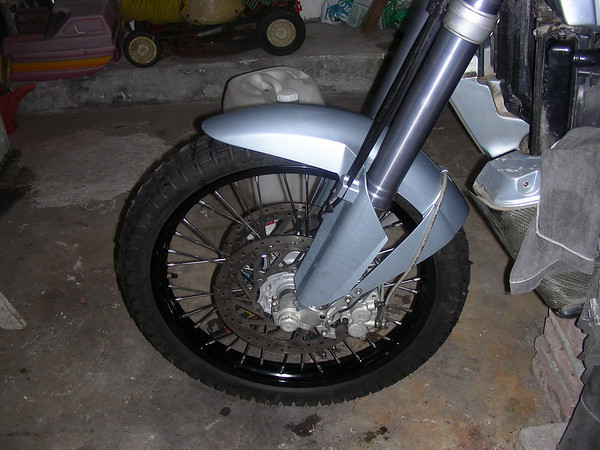
Not much to report about re-attaching them to the bike.
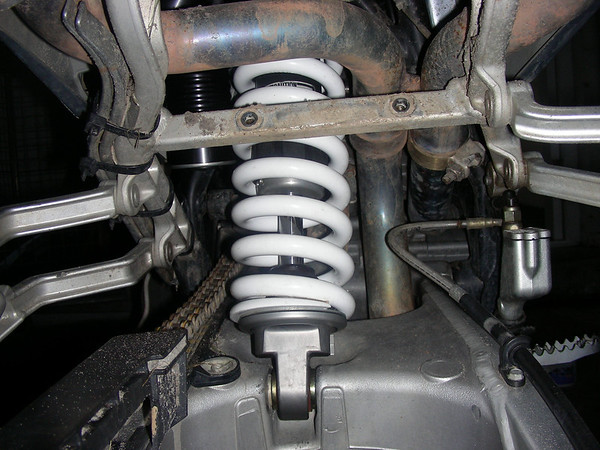
Getting the rear shock was a bit of a mission. Both ends take a bit of effort to get back into the allotted spot. It is heavy and difficult without a second pair of hands.
Done
I got everything back in yesterday but due to the weather could only go for a quick squirt today.
All I can say is the front is stunning and is now better matched to the rear, I tried a few deep ruts and gutters, it just sailed over it. I have a gutter close to home that has a little jump before it. I always had to be careful as it has given me a fright once or twice and it is quite jarring to ride it. This time I really didnâ??t even feel it, it was just a smooth experience. Amazing. Did some fairly big jumps at speed and instead of a teeth gritting and loosening experience it is more a magic carpet now and more sure footed. I tried a few tracks that had lots of twists and bumps and I am sure I was getting less tired and riding smoother and quickerâ?¦ but you know what they sayâ?¦ Everyone feels like Marc Coma now and again. It seems to sit a little higher, I still have to set my sag. Straight off it seems firmer yet much more, umâ?¦ dare I say it?... Plush? I have the .56â??s in with a Superplush revalve. I rode in some sand and it seems to turn better and was really easy to throw aroundâ?¦ relatively speaking of course. I had a very near highside moment from too much throttle and the suspension just ate it up. It is slightly firmer on the road but now it feels as if it is just using a smaller bit of the stroke then the OEM. On bumpier off road the faster the more lush it seems. What they say about the Superplush upgrade is true. I still have to set it to my liking â?? I was given some base settings. Should be fun figuring it out.
I highly recomend it if you push a bit and like the offroad. The wallet doesn't.
Expect to shell out about R5.5K for the upgrade and rear shock service - very good bang for the buck IMO! The bearings are very cheap, the rim was not!
My front wheel was filled with smileys from way too much abuse; I couldnâ??t get much over 170 without being shaken badly. No matter how well I had the wheels balanced it still hopped about. So, I took both wheels off and then also took out the suspension.
I tried to straighten the rim using a vice and some serious elbow grease, but all I did was make it look better from the side but it was not round and that would require some jig work that I donâ??t have and I wonder what it does for the strength of the rim. So for peace of mind, new rim it is. Getting a new front rim was half of the story, I wanted to get the suspension serviced and get heavier fork springs with an appropriate revalve from Superplush in USA. The guy has an agent in Jhb, Chris Lessing, so thatâ??s where they went.
While this was out I noticed that the steering was a little notchy, ahh well that means the steering bearings need to be looked at too.
The Lower bearing race, aha! Here's the culprits.
The upper just out, bit of a bastid to get it out
While the suspension went off to Jhb. I took the spokes off the front rim. They cost quite a bit and I thought I would try rehabilitate them before I splash out on a whole new set.
Starting
Turned out pretty good, only 6 of them needed to be replaced. Initially I tried to use Autosol only with a compacted cotton rubbing wheel. It didnâ??t do much good and only over heated the spoke. Just before I gave up and was doing the maths trying to work out how expensive the front wheel was going to cost me, I tried a little fine sand paper and amazingly it turned out real good. A bit of Autosol on top of that and I had a bunch of shiny bright new looking spokes! I was amazed at how well they came out. The before picture is not really clear. I presumed that they were corroded but it must just be on the surface. All the nipples looked serviceable and a bit of a rub got them looking pretty shiny too.
Not a good shot, sorry
I got a DID 950SE rim and had the rear rim retrued and all the bearings and seals replaced.
I had never taken a steering bearing off but it didnâ??t seem at all difficult judging by this video
https://www.garagenight.tv/?p=12
Wellâ?¦ getting my bottom steering head bearing off was a major hassle. I even tried the freezer trick and a heat gun and after half butchering it I had to send it off to KTM WC to get it off.
You can see the botched bits.
New bottom race in
Top bearing in
I have long been meaning to get at the brakes, it seemed a bit pointless to go to all this trouble and then not service the brakes. Good thing I did! The last ride was in mud and deep sand but this is just the top layer, there is 2 years of abuse under that. Not much left of the pads.
It took some elbow grease and an hour or so to get them back to reasonably good shape. I didnâ??t know that each barrel in the brakes is a different diameter. Learn something new every day.
I also gave the discs a bit of a going over with a wire brush wheel, they came up pretty good.
This was the mud left over from Lito's mud bash a few weeks ago.
The Prefilter was looking a bit sad for itself so it too got a working over.
Getting the front jewels out of the packing along with the old springs.
Not much to report about re-attaching them to the bike.
Getting the rear shock was a bit of a mission. Both ends take a bit of effort to get back into the allotted spot. It is heavy and difficult without a second pair of hands.
Done
I got everything back in yesterday but due to the weather could only go for a quick squirt today.
All I can say is the front is stunning and is now better matched to the rear, I tried a few deep ruts and gutters, it just sailed over it. I have a gutter close to home that has a little jump before it. I always had to be careful as it has given me a fright once or twice and it is quite jarring to ride it. This time I really didnâ??t even feel it, it was just a smooth experience. Amazing. Did some fairly big jumps at speed and instead of a teeth gritting and loosening experience it is more a magic carpet now and more sure footed. I tried a few tracks that had lots of twists and bumps and I am sure I was getting less tired and riding smoother and quickerâ?¦ but you know what they sayâ?¦ Everyone feels like Marc Coma now and again. It seems to sit a little higher, I still have to set my sag. Straight off it seems firmer yet much more, umâ?¦ dare I say it?... Plush? I have the .56â??s in with a Superplush revalve. I rode in some sand and it seems to turn better and was really easy to throw aroundâ?¦ relatively speaking of course. I had a very near highside moment from too much throttle and the suspension just ate it up. It is slightly firmer on the road but now it feels as if it is just using a smaller bit of the stroke then the OEM. On bumpier off road the faster the more lush it seems. What they say about the Superplush upgrade is true. I still have to set it to my liking â?? I was given some base settings. Should be fun figuring it out.
I highly recomend it if you push a bit and like the offroad. The wallet doesn't.
Expect to shell out about R5.5K for the upgrade and rear shock service - very good bang for the buck IMO! The bearings are very cheap, the rim was not!