


NIMMO
Race Dog
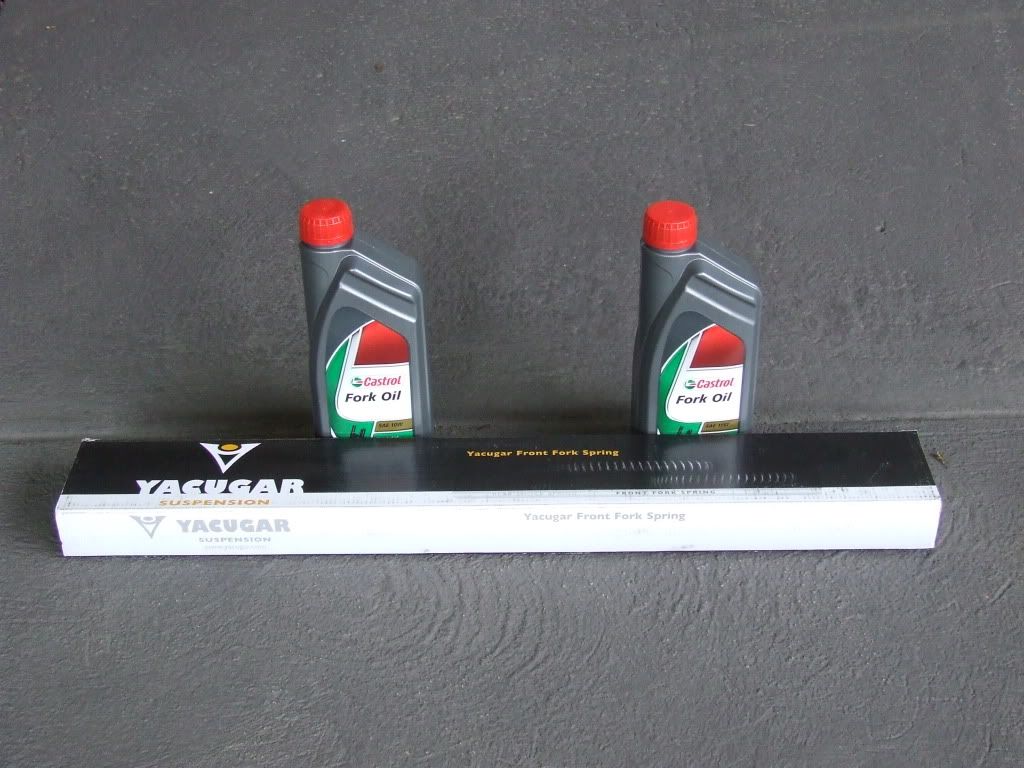
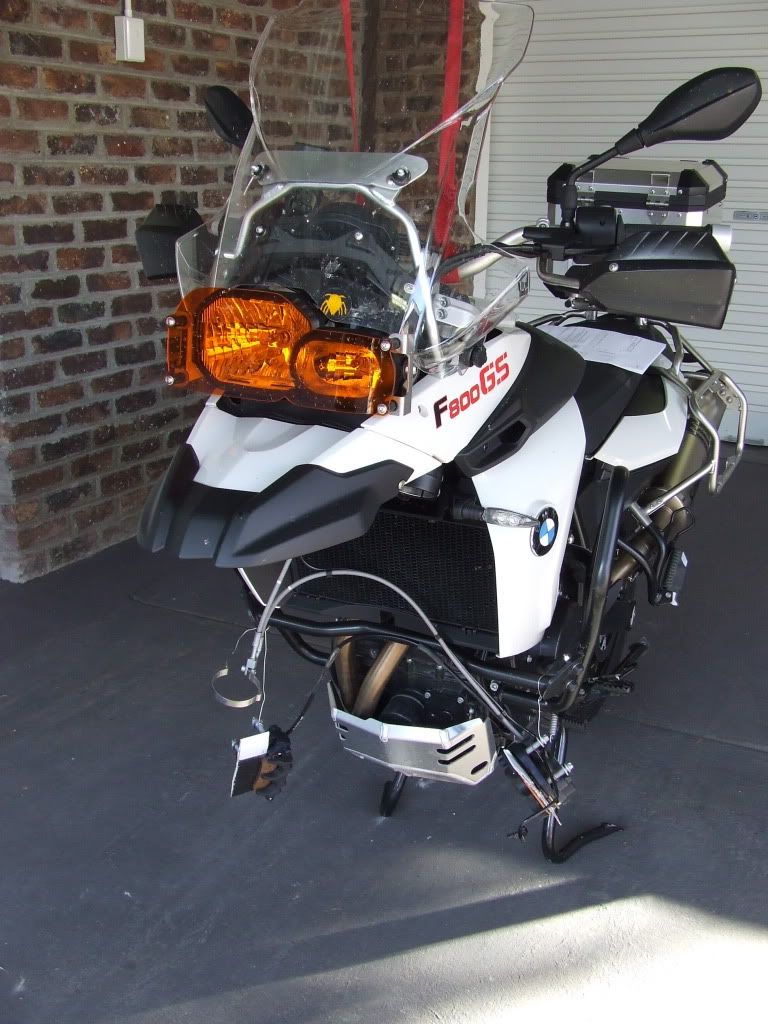
DIY upgrade on the F800 GS with the progressive Yacugar springs.
Bought from Superfoxi and the springs can be viewed at: https://www.yacugar.com :deal:
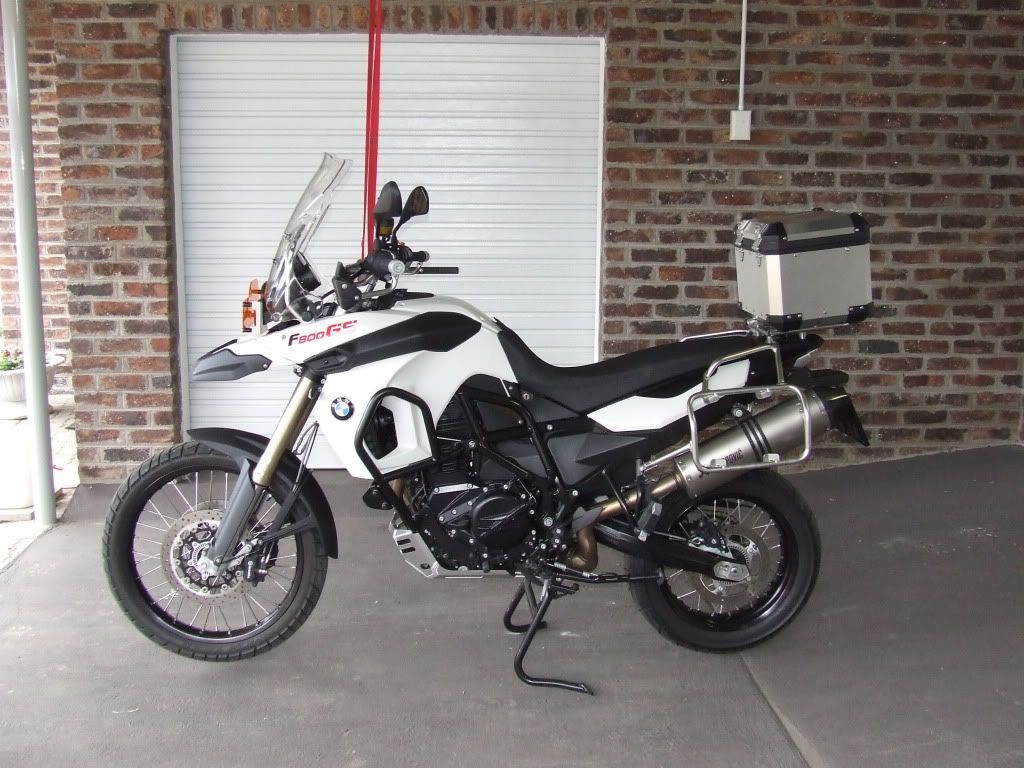
Find a suitable spot that is clean and easy to work around your bike
I left my topbox on to get some rear weight; this helped to get the front wheel in the air. I strapped the handlebar to an overhead beam to prevent it from falling forward.
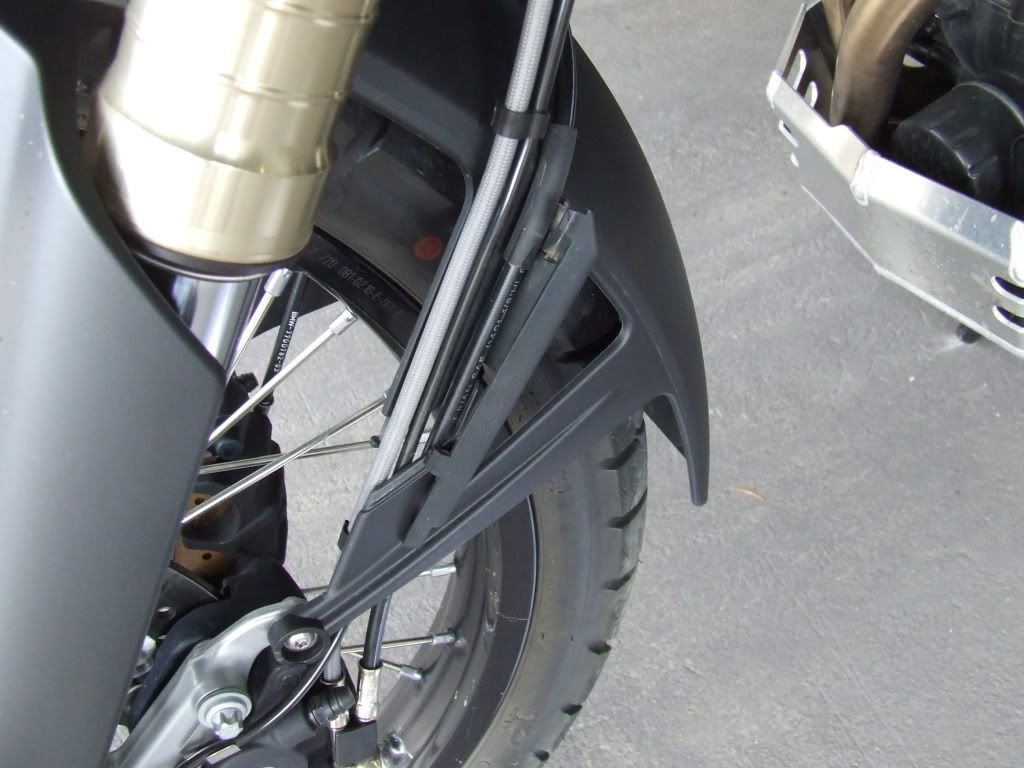
Front-wheel cover:
Unclip brake-hose cover L&R
Remove all screws holding it in place (6)
Remove cover
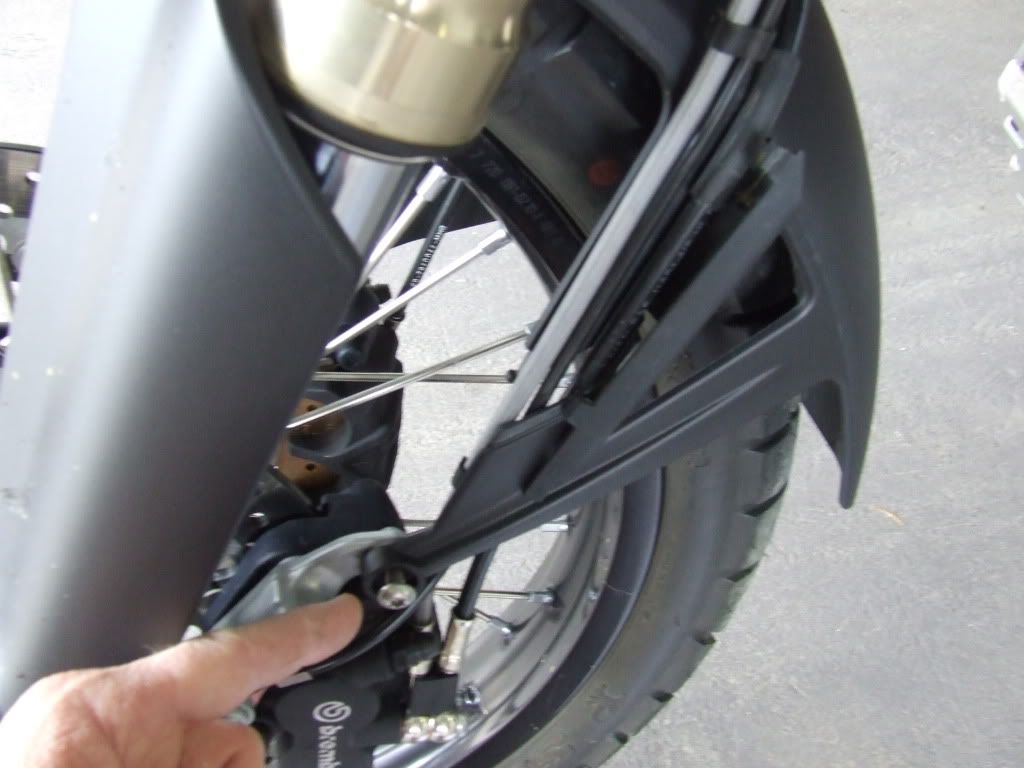
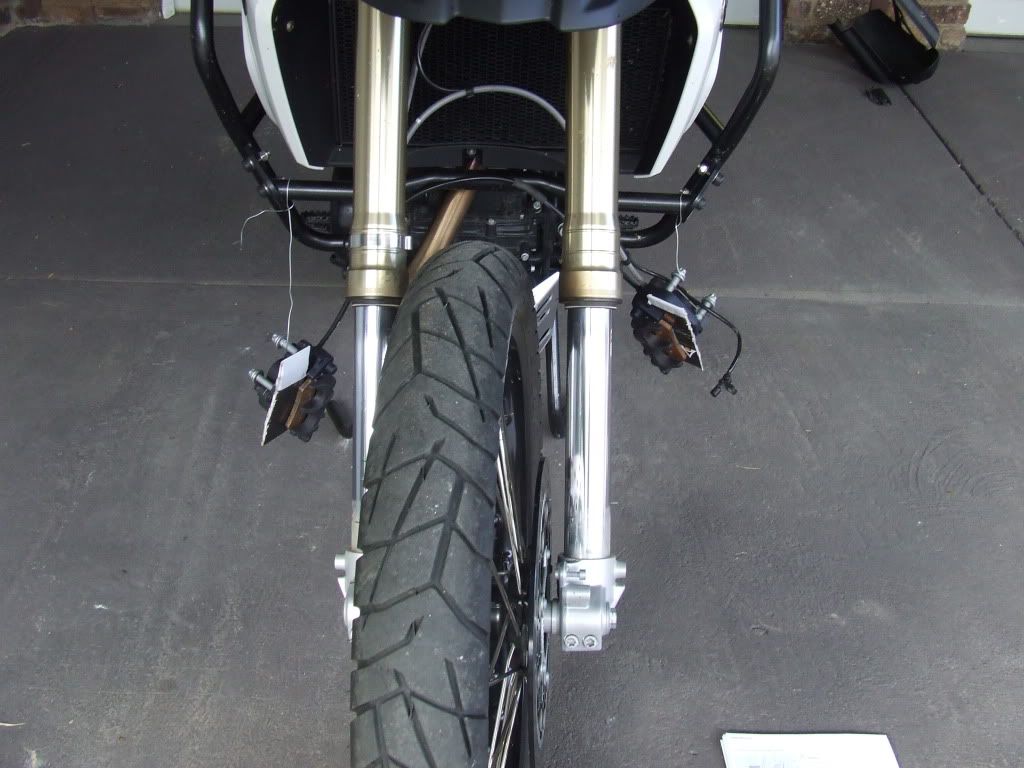
Remove brake calipers & ABS sensor:
Remove both bolts holding the calipers in place L&R
Take care that the pistons don’t press out (I used some cardboard to keep them apart)
Unscrew the ABS sensor and put the screw back in the hole (not to lose it)
Take a piece of wire or string and tie the calipers away (I did not want them hanging on the hoses)
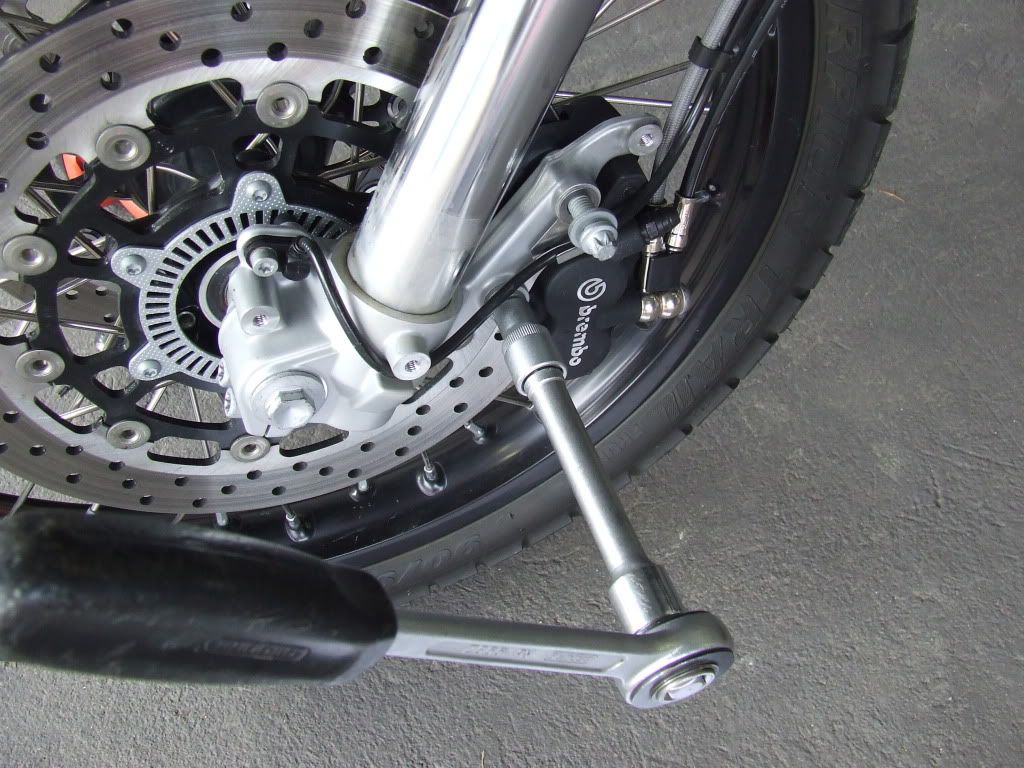
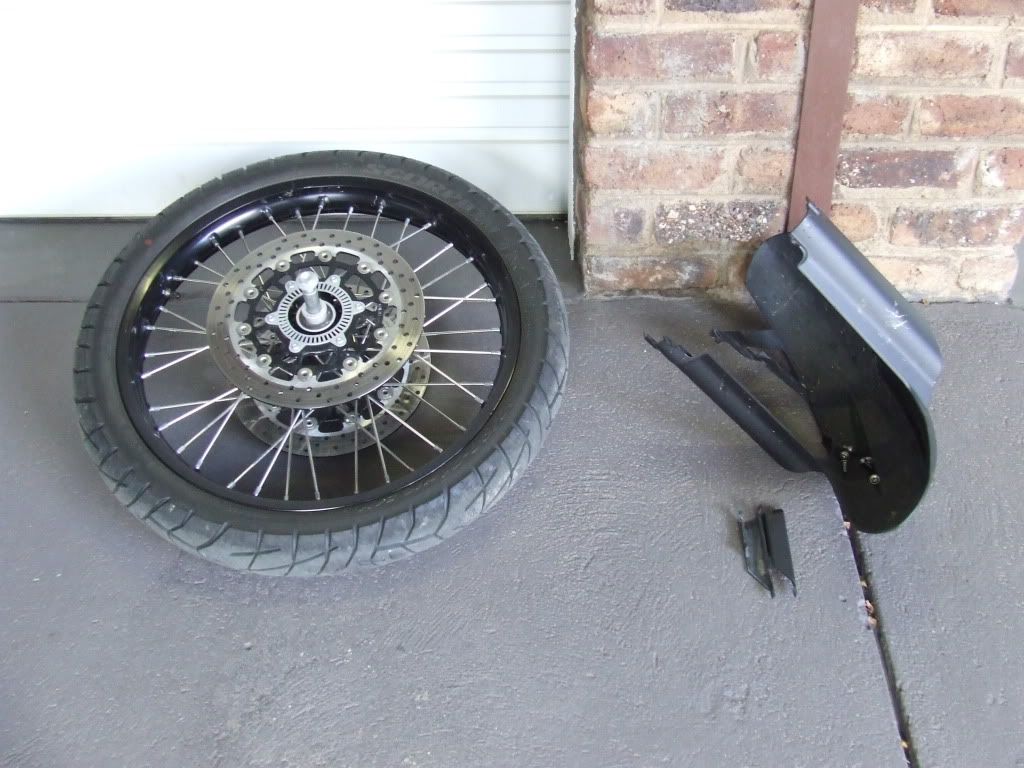
Removing front wheel:
Remove the bolt on the L hand side that screws into the axle
Slacken the 4 clamping screws
Pull the axle out and remove the wheel.

Removing forks:
At the top of the forks slacken the cap while the forks are clamped
Now clean the forks before your remove them
Remove the clamp that is on the r-hand fork holding the brake lines
Slacken the 4 clamping screws on each fork
Your forks could fall out at any time so support them at the base
Remove the forks
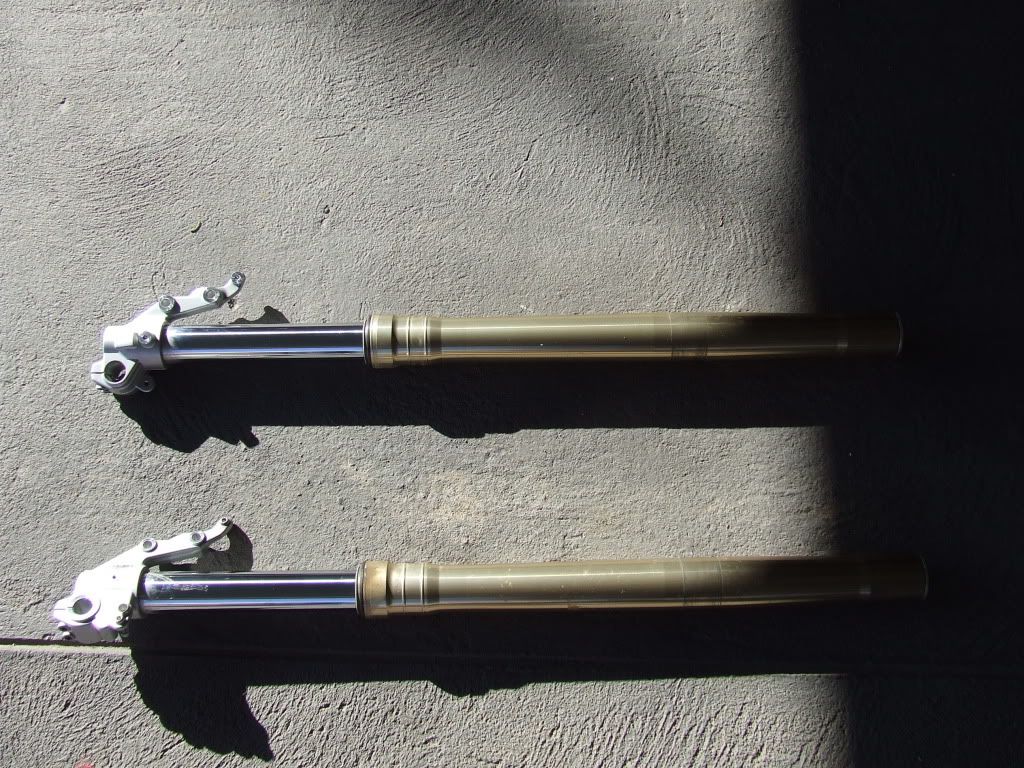
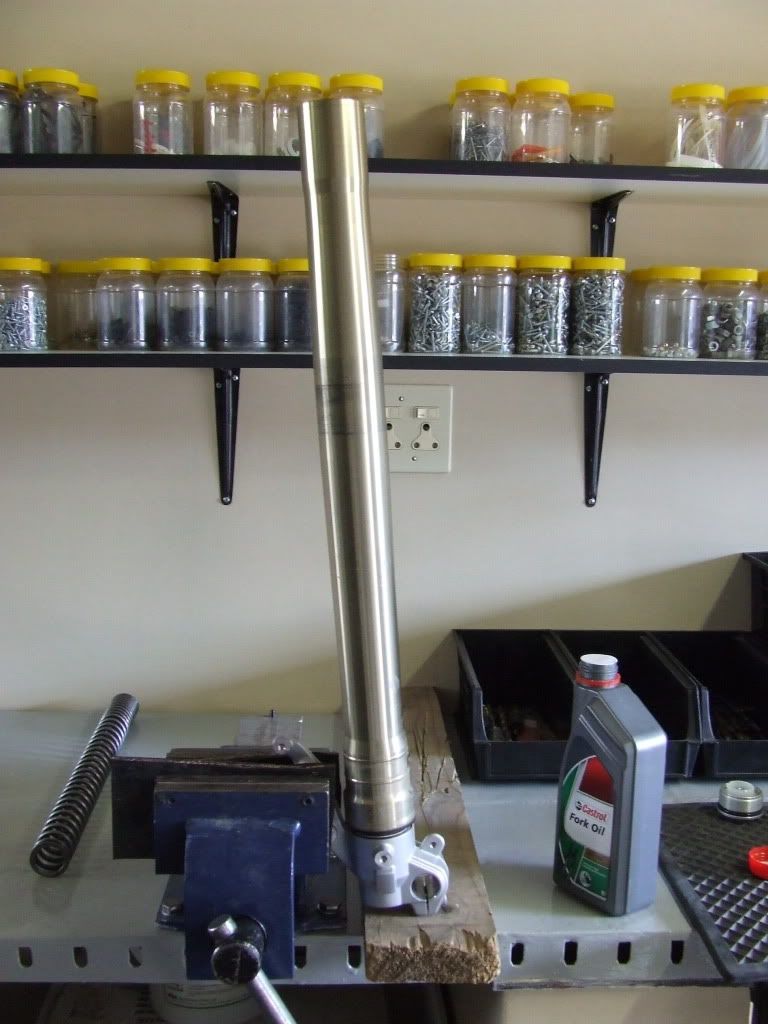
Removing and replacing the springs and oil:
Clamp the fork in a vice (at the caliper bracket) with something protecting the fork (I used 2 pieces of belting)
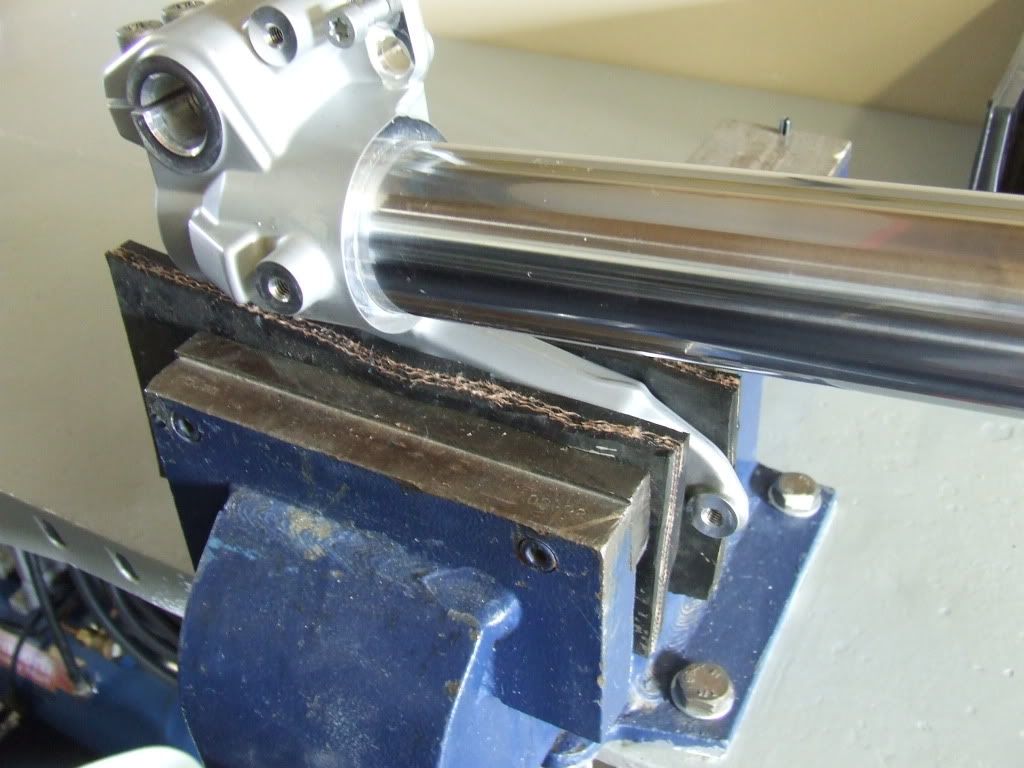
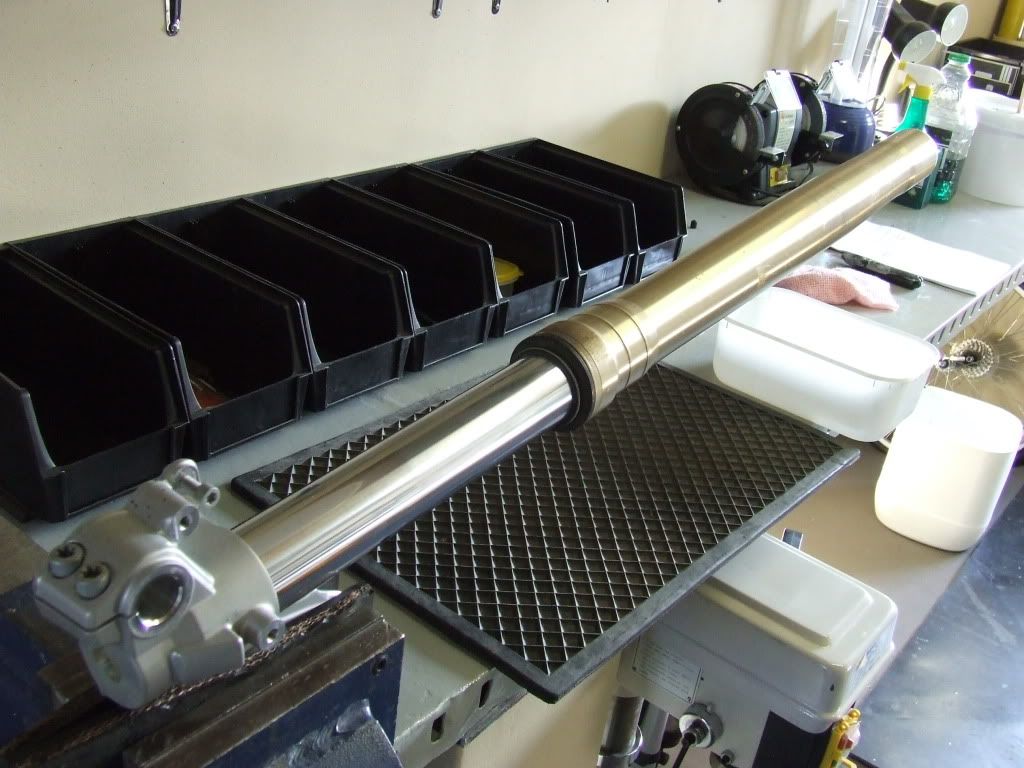
Put something underneath the cap to catch oil while you unscrew the cap
Holding the cap with a spanner loosen the locking nut underneath the cap
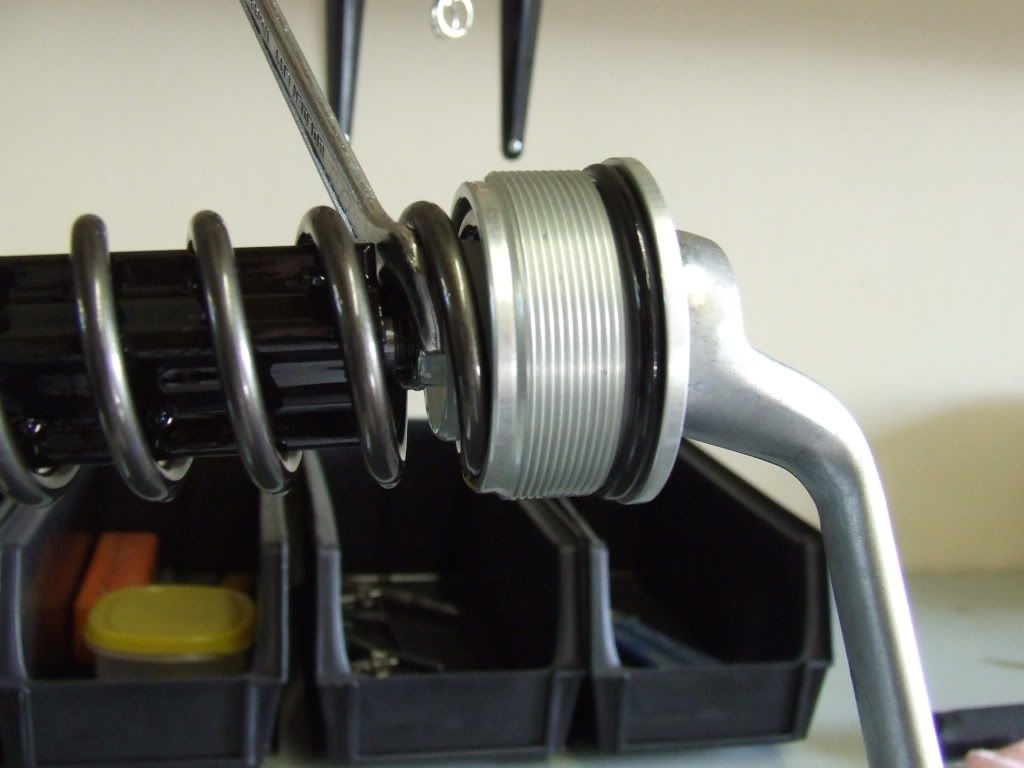
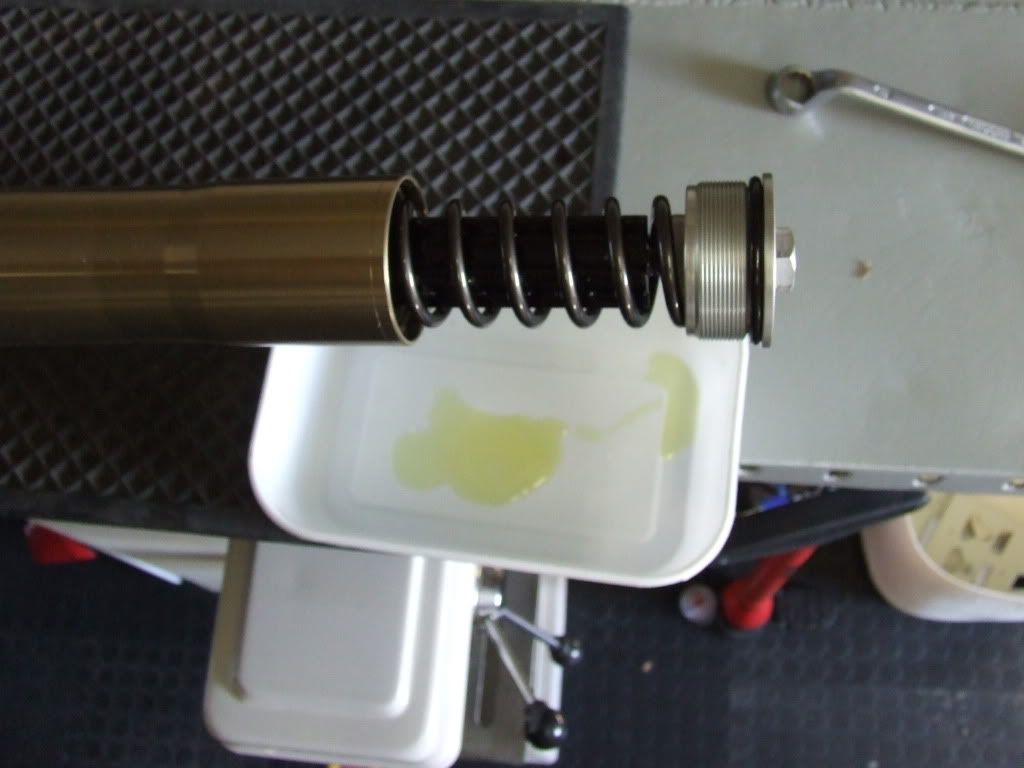
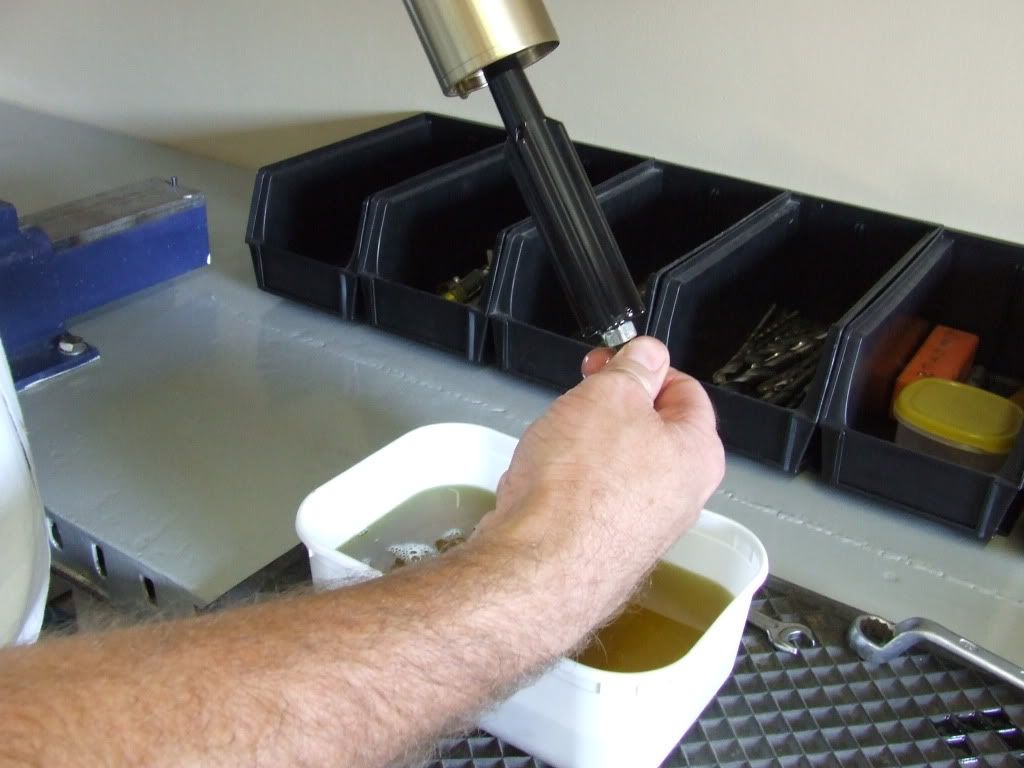
Remove the cap pull out the spring and turn the fork upside down pouring out the oil
While upside down repeatedly pump the piston rod to get all the oil out
There is a black nylon spacer that will come loose at some stage - just put it with the cap as not to lose it
Also there might be an alu spacer that might come loose – leave it in the fork
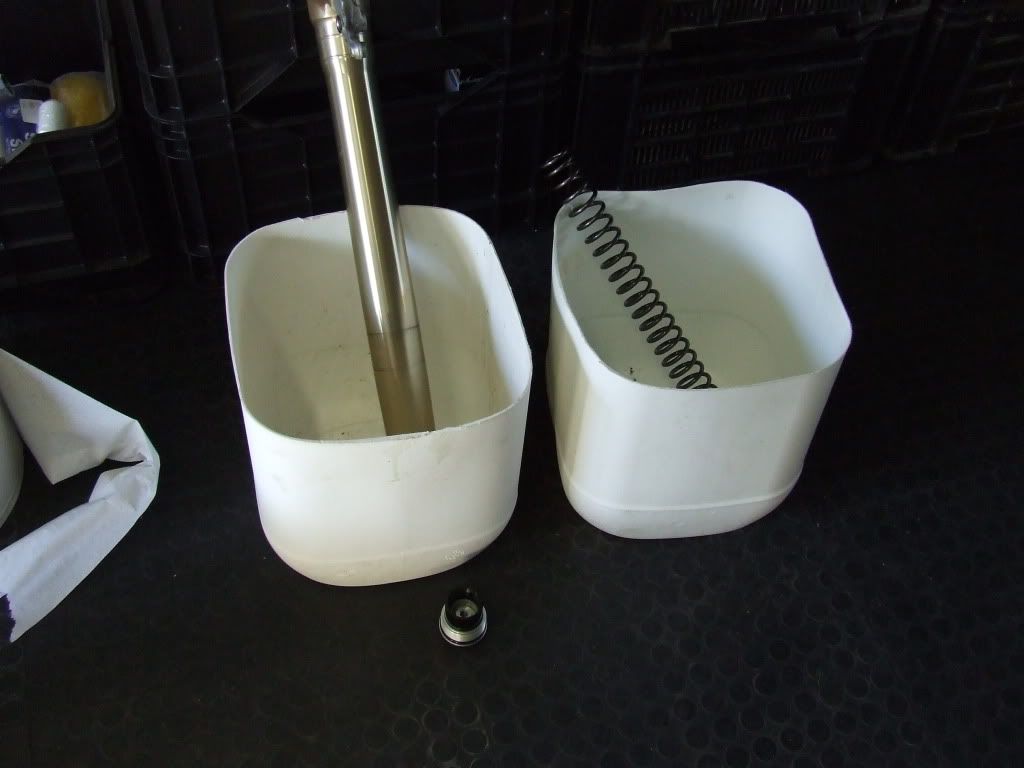
Leave the forks upside down to drain ALL the oil out
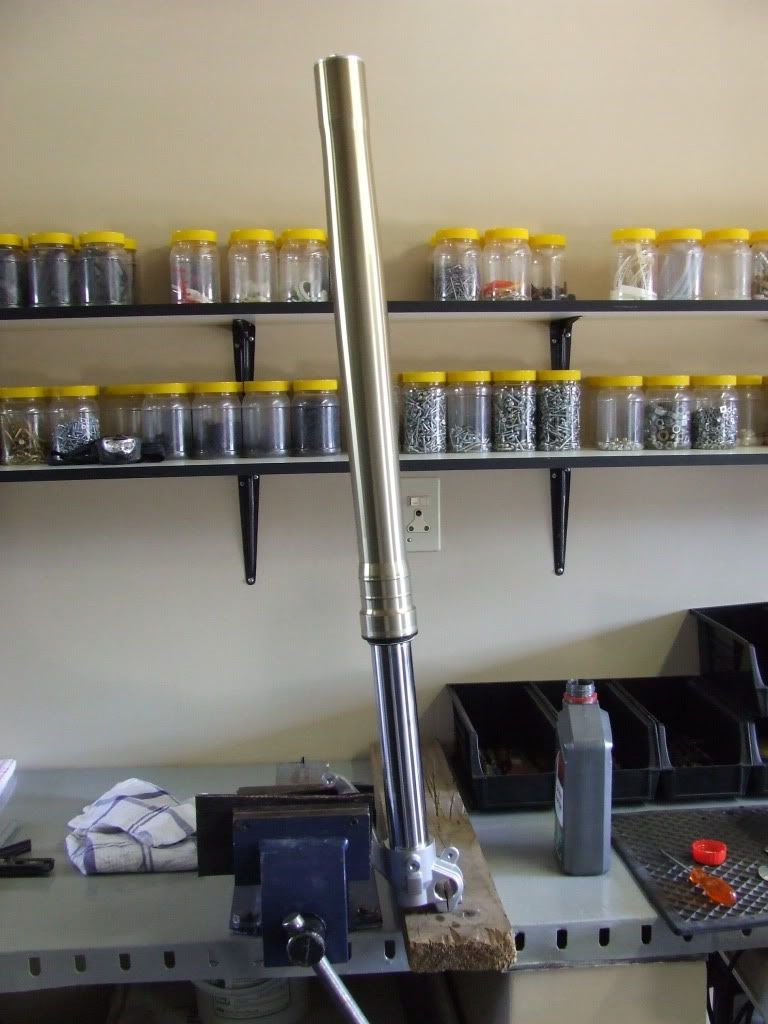
The new springs:
Clamp the fork upright in your vice
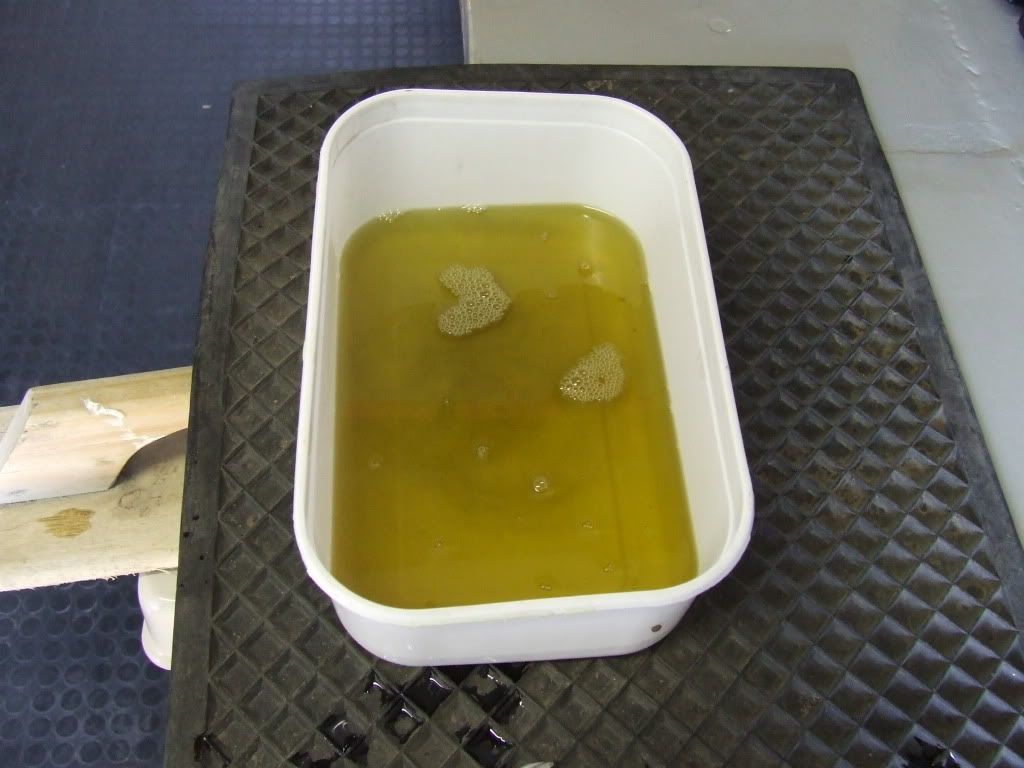
The standard oil put in by BMW is 7.5 viscosity I am replacing it with 10.
Compress everything (outer fork tube down to bottom of shaft and piston all the way in as well)
Putt the black nylon spacer back in
Pour in the oil roughly to the bottom of the spring spacer on the piston rod
Pump the piston up and down repeatedly to get oil to the bottom and get unwanted air out
If you put your ear on the fork you can hear the air bubbles
Leave it for a while
The oil level should be 120mm from the top of the fork to the oil (with everything compressed and back in, except the spring, meaning spacer in piston down etc.)
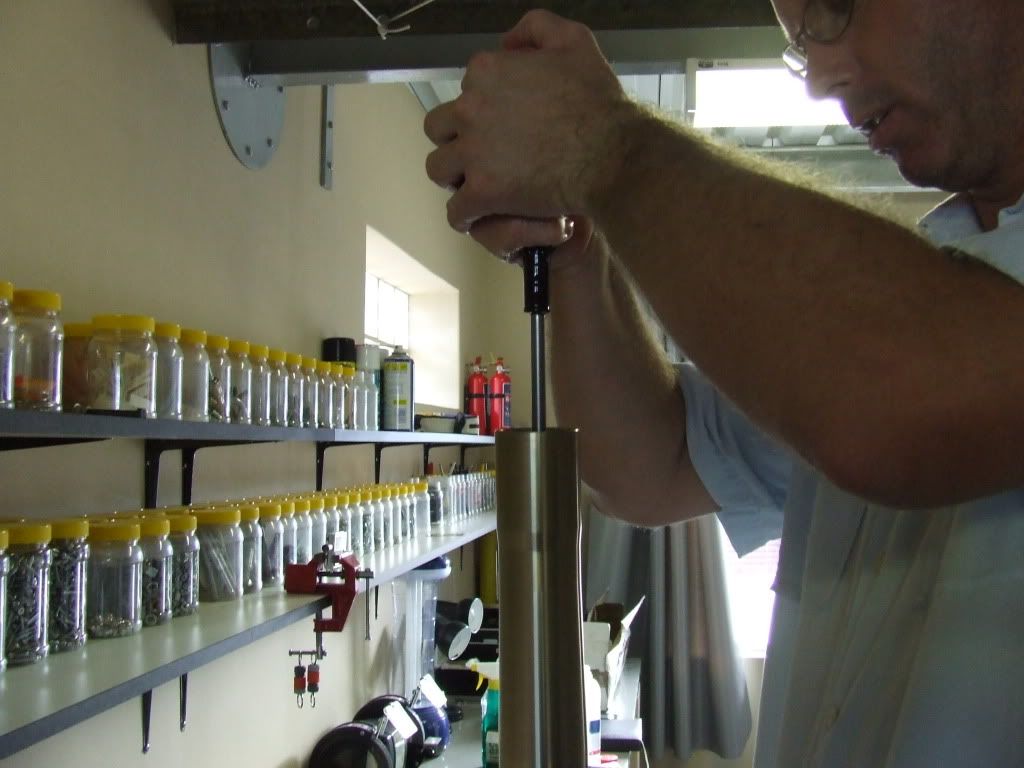
Once you are happy the level is correct pull the piston all the way to the top taking care not to spill any oil
Slide the new spring (narrow spread to the bottom) over the piston while using a screwdriver to prevent the piston from pressing back down again.
Turn the lock nut all the way down and then turn on the cap again
Once the cap is turned back on, lock the lock nut against it
Now lift the outer fork tube up and turn back in the cap
Seeing as you are working with oil take this opportunity to take some benzene and clean the fork outer – you DON’T WANT IT TO SLIP out of the clamps when you put it back in again. :-[
Replacing the forks:
Put the forks back into the head clamps and tighten the upper bolts first to 20NM
Then tighten the bottom bolt to 20NM as well
Make sure both forks are evenly clamped in the head clamps
Now that the forks are tightened tighten the cap (at the top of the fork) as well
Replacing the wheel:
Put the wheel back in and slide the axle in
Level the axle on the r- hand side and tighten the clamp bolts to 19NM
Now tighten the bolt on the l- hand side (that turns into the axle) to 30NM
Now tighten the clamp on the l-hand side to 19NM as well
Calipers:
Now replace the calipers (taking care not to have the piston press out) and tighten them to 38NM
The brake line clamp around the r fork and ABS sensor you can hand tighten
Now you can replace the front wheel cover with the 6 screws.
MAKE SURE YOU TIGHTENED ALL THE SCREWS AND BOLTS
Take the bike for a test run smiling all the way because all that bottom end hitting is gone.
;D :biggrin: ;D :biggrin:
Once you have returned from your happy ride torque all the bolts again. >
Hope this helps someone – it helped me in understanding my bike even more… :thumleft:
Bought from Superfoxi and the springs can be viewed at: https://www.yacugar.com :deal:
Find a suitable spot that is clean and easy to work around your bike
I left my topbox on to get some rear weight; this helped to get the front wheel in the air. I strapped the handlebar to an overhead beam to prevent it from falling forward.
Front-wheel cover:
Unclip brake-hose cover L&R
Remove all screws holding it in place (6)
Remove cover
Remove brake calipers & ABS sensor:
Remove both bolts holding the calipers in place L&R
Take care that the pistons don’t press out (I used some cardboard to keep them apart)
Unscrew the ABS sensor and put the screw back in the hole (not to lose it)
Take a piece of wire or string and tie the calipers away (I did not want them hanging on the hoses)
Removing front wheel:
Remove the bolt on the L hand side that screws into the axle
Slacken the 4 clamping screws
Pull the axle out and remove the wheel.
Removing forks:
At the top of the forks slacken the cap while the forks are clamped
Now clean the forks before your remove them
Remove the clamp that is on the r-hand fork holding the brake lines
Slacken the 4 clamping screws on each fork
Your forks could fall out at any time so support them at the base
Remove the forks
Removing and replacing the springs and oil:
Clamp the fork in a vice (at the caliper bracket) with something protecting the fork (I used 2 pieces of belting)
Put something underneath the cap to catch oil while you unscrew the cap
Holding the cap with a spanner loosen the locking nut underneath the cap
Remove the cap pull out the spring and turn the fork upside down pouring out the oil
While upside down repeatedly pump the piston rod to get all the oil out
There is a black nylon spacer that will come loose at some stage - just put it with the cap as not to lose it
Also there might be an alu spacer that might come loose – leave it in the fork
Leave the forks upside down to drain ALL the oil out
The new springs:
Clamp the fork upright in your vice
The standard oil put in by BMW is 7.5 viscosity I am replacing it with 10.
Compress everything (outer fork tube down to bottom of shaft and piston all the way in as well)
Putt the black nylon spacer back in
Pour in the oil roughly to the bottom of the spring spacer on the piston rod
Pump the piston up and down repeatedly to get oil to the bottom and get unwanted air out
If you put your ear on the fork you can hear the air bubbles
Leave it for a while
The oil level should be 120mm from the top of the fork to the oil (with everything compressed and back in, except the spring, meaning spacer in piston down etc.)
Once you are happy the level is correct pull the piston all the way to the top taking care not to spill any oil
Slide the new spring (narrow spread to the bottom) over the piston while using a screwdriver to prevent the piston from pressing back down again.
Turn the lock nut all the way down and then turn on the cap again
Once the cap is turned back on, lock the lock nut against it
Now lift the outer fork tube up and turn back in the cap
Seeing as you are working with oil take this opportunity to take some benzene and clean the fork outer – you DON’T WANT IT TO SLIP out of the clamps when you put it back in again. :-[
Replacing the forks:
Put the forks back into the head clamps and tighten the upper bolts first to 20NM
Then tighten the bottom bolt to 20NM as well
Make sure both forks are evenly clamped in the head clamps
Now that the forks are tightened tighten the cap (at the top of the fork) as well
Replacing the wheel:
Put the wheel back in and slide the axle in
Level the axle on the r- hand side and tighten the clamp bolts to 19NM
Now tighten the bolt on the l- hand side (that turns into the axle) to 30NM
Now tighten the clamp on the l-hand side to 19NM as well
Calipers:
Now replace the calipers (taking care not to have the piston press out) and tighten them to 38NM
The brake line clamp around the r fork and ABS sensor you can hand tighten
Now you can replace the front wheel cover with the 6 screws.
MAKE SURE YOU TIGHTENED ALL THE SCREWS AND BOLTS
Take the bike for a test run smiling all the way because all that bottom end hitting is gone.
;D :biggrin: ;D :biggrin:
Once you have returned from your happy ride torque all the bolts again. >
Hope this helps someone – it helped me in understanding my bike even more… :thumleft: