


Plothond
Race Dog
- Joined
- Sep 11, 2006
- Messages
- 4,929
- Reaction score
- 10
- Location
- Pretoria East - Home of Jameson
- Bike
- KTM 1090 Adventure R
Quite a few months ago, I got the opportunity to purchase H & B panniers racks at a good price.
I decided to put them on as they would also help to protect the bike in the event of it falling over.
It now became time to purchase panniers and FRIGGEN HECK these things are pricy. After shopping around I came across the SW Motech stuff. You will have seen that Adventurer has become an agent here in Gauteng.
I got into contact with Harold at Bikegear ( www.bikegear.co.za ) and two days after paying, the panniers arrived from PE via courier (for those out of town - about 1200km from us)
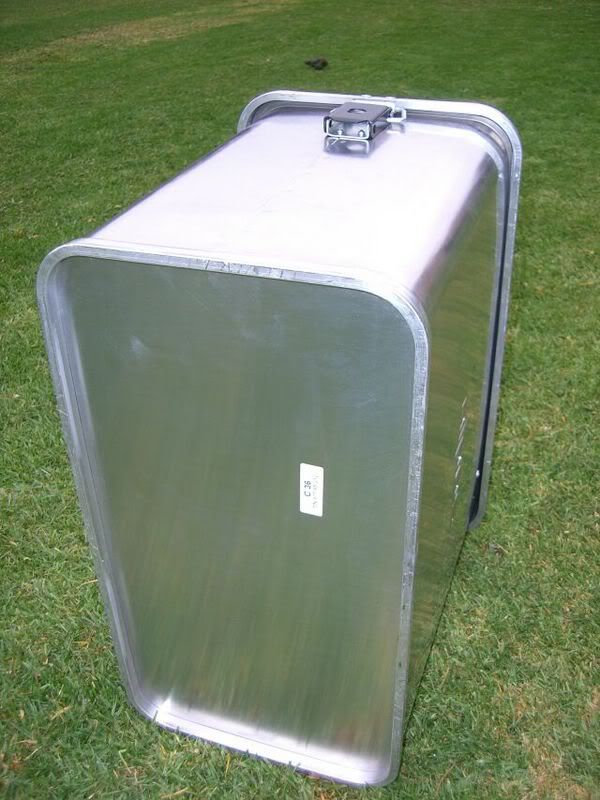
Yes, my oversized bread tins had arrived
So, lets take a look at them:
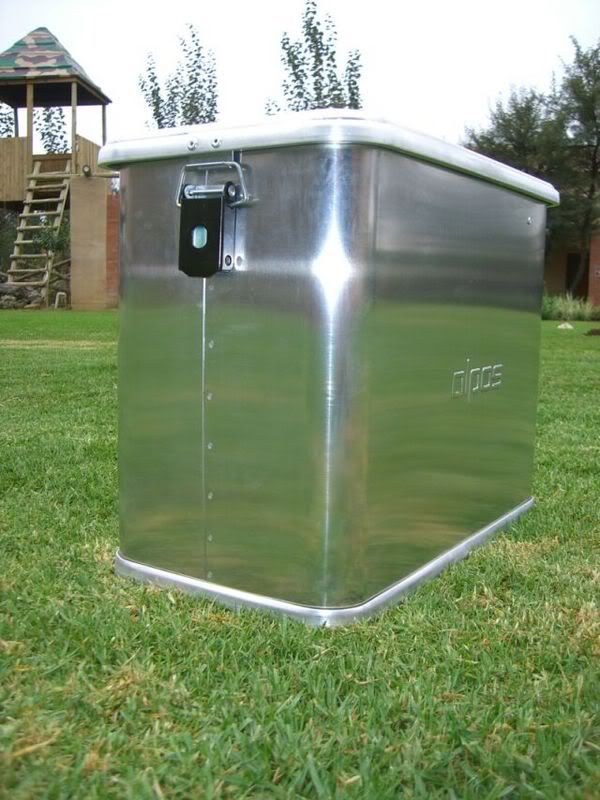
The panniers front. The locks come separately and need to be fitted separately
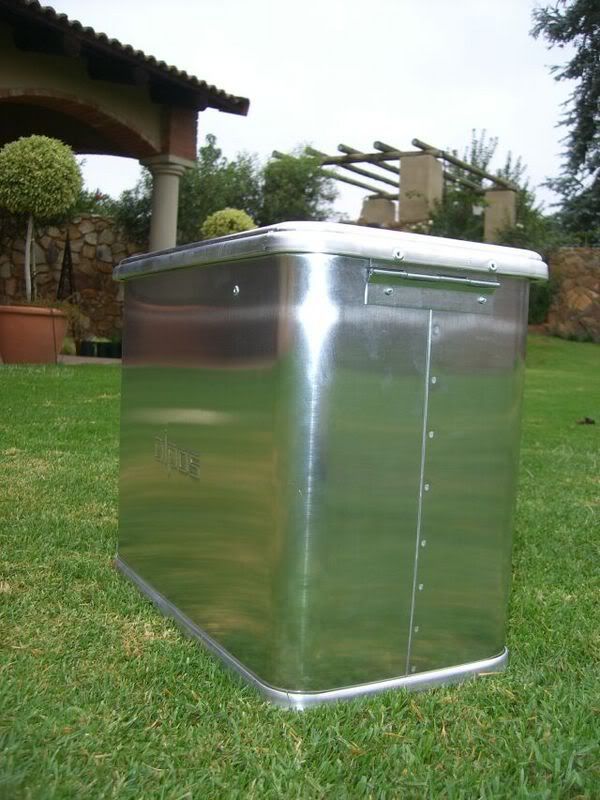
Panniers back. Not happy with the type / quality / quantity of rivets used. This needs to be looked at
Panniers underneath. Note the 9mm aluminium beading underneath. I like this as it makes it stronger on the edges and does not pick up so much grime and dirt when standing on the ground
Panniers on top. I'm not too impressed with the rivets. If this panniers has any reasonable weight in it - I suspect that these rivets will eventually work loose
So where to from here ? :wink:
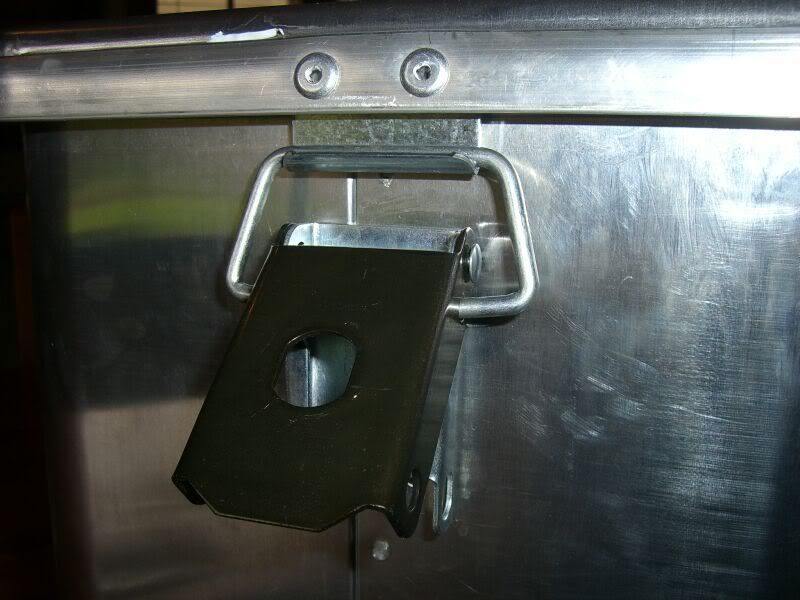
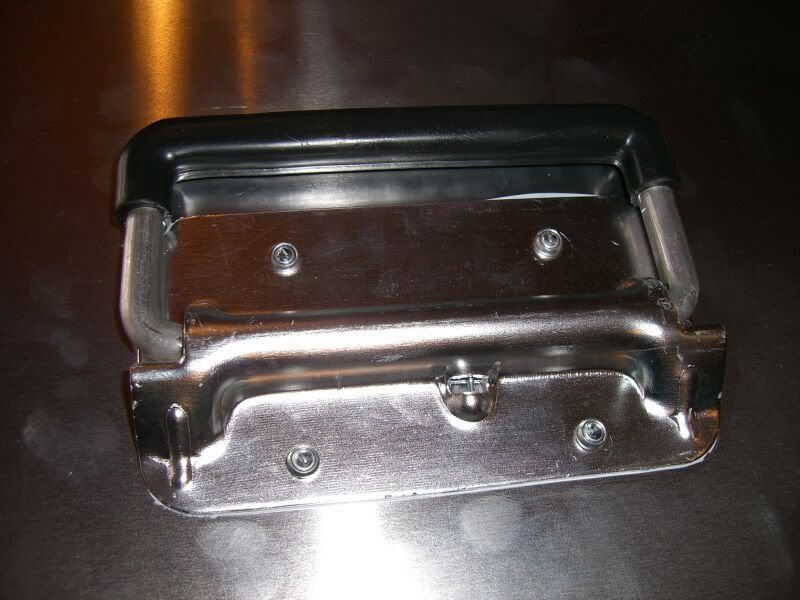
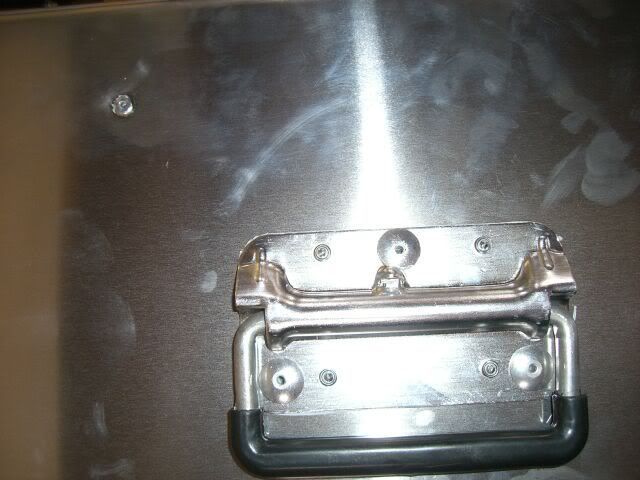
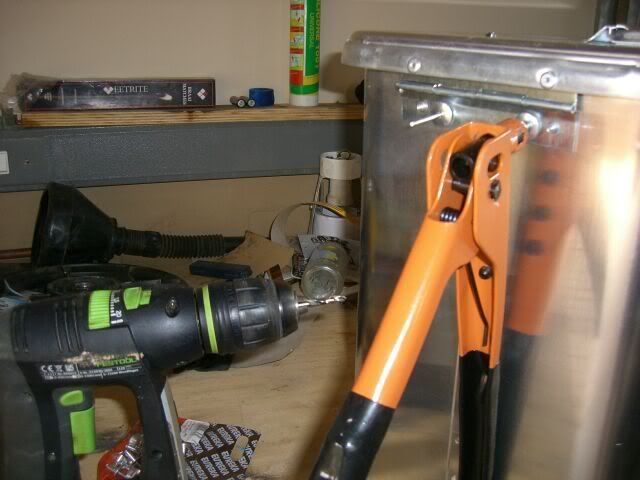
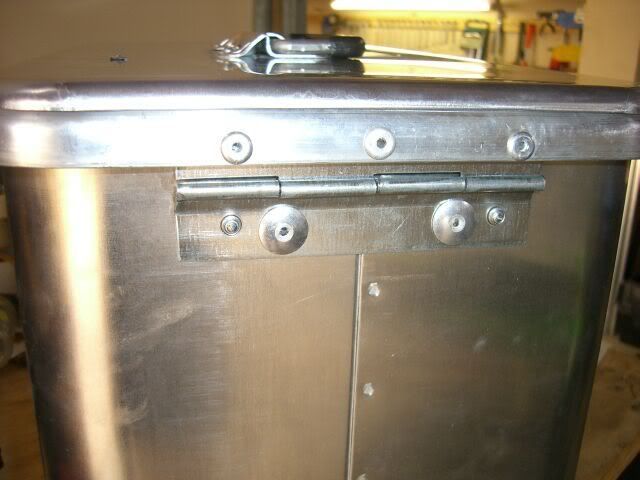
First I tackled the handles and strengthened them. Drilled 3 extra holes and put in rivets with washers on the other side - Now better
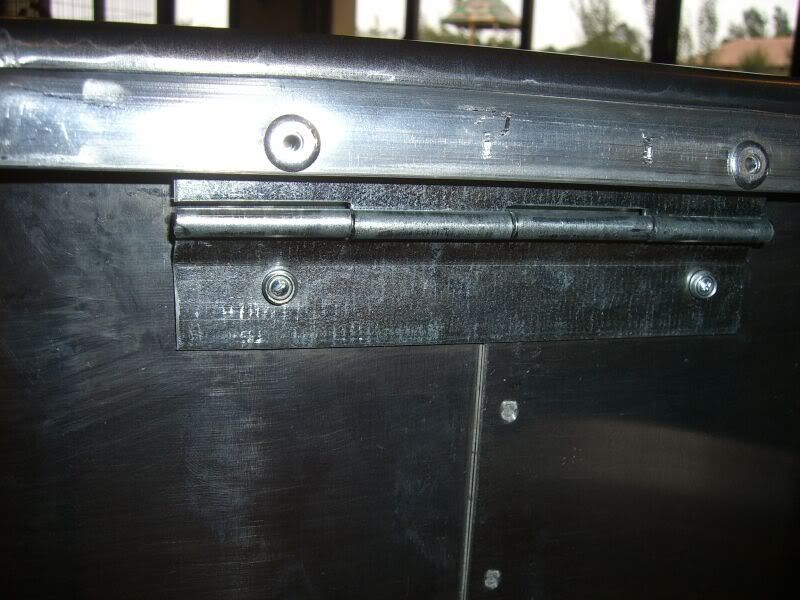
Then I looked and the hinge and sorted that out as well
Right thats done !!
Now the inside got some attention. Went and got some high density closed cell foam

Used the thicker 10mm one for the base
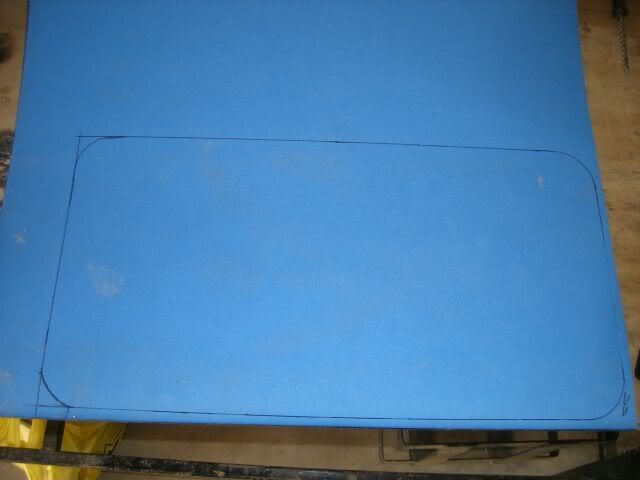
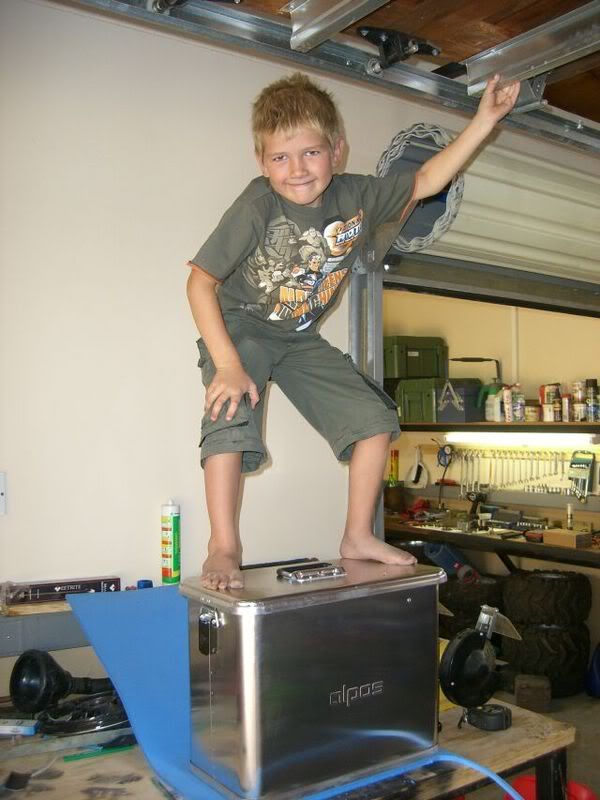
This foam does not deform for too long and springs back to it's original shape, so to mark out as above caused some head scratch. Aaah, but wait, add a willing helper to put some weight on the box, and voila you have just enough time to add some pen marks
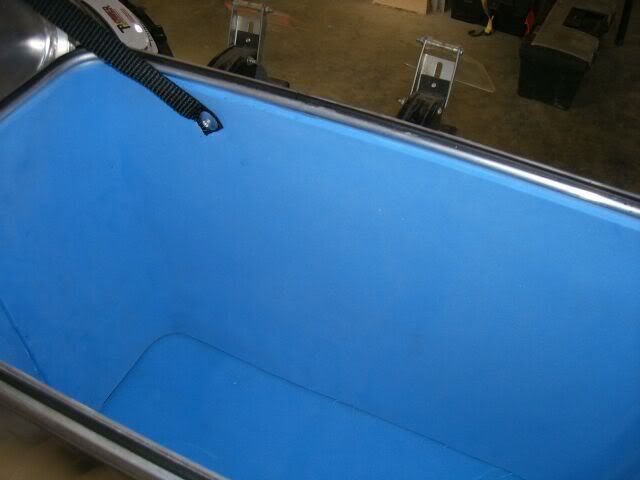
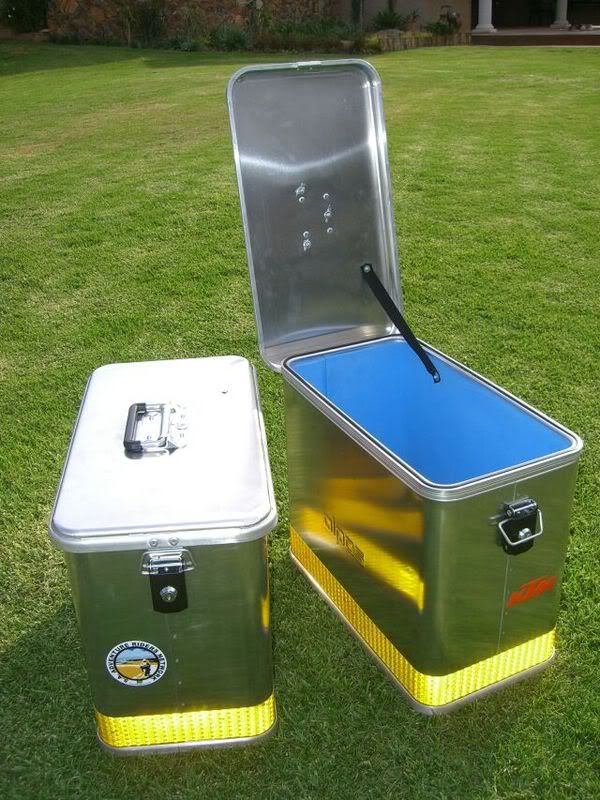
The completed product inside. I used a 5mm thick one for the sides and glued it too the sides with contact adhesive. There is a lekker product available with is a contact adhesive in an aerosol form. It's a bit pricy but worked well
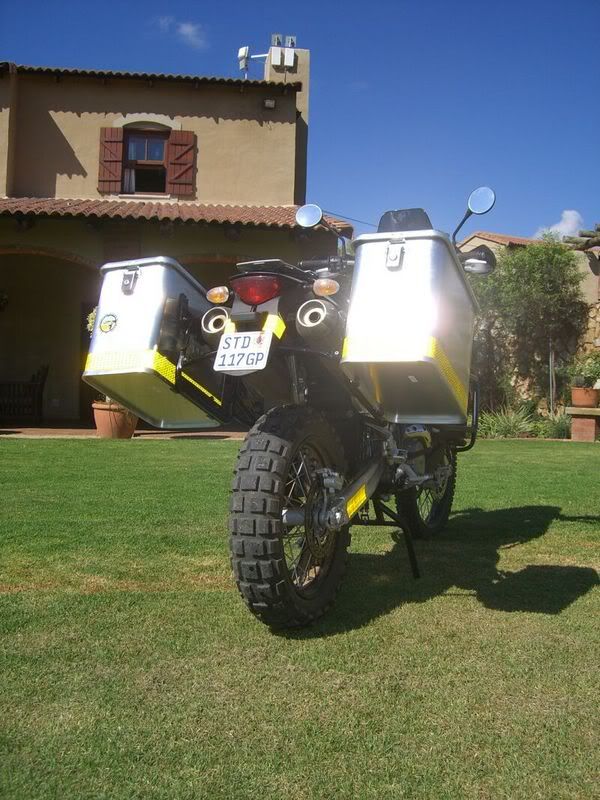
Next the outside got sorted. Now that badge is all important, so it went on first. Then as visibility is also a good idea - reflective tape got added. My donner this stuff is mega moola. A roll (enough for 3 panniers) costs over 20 tigers
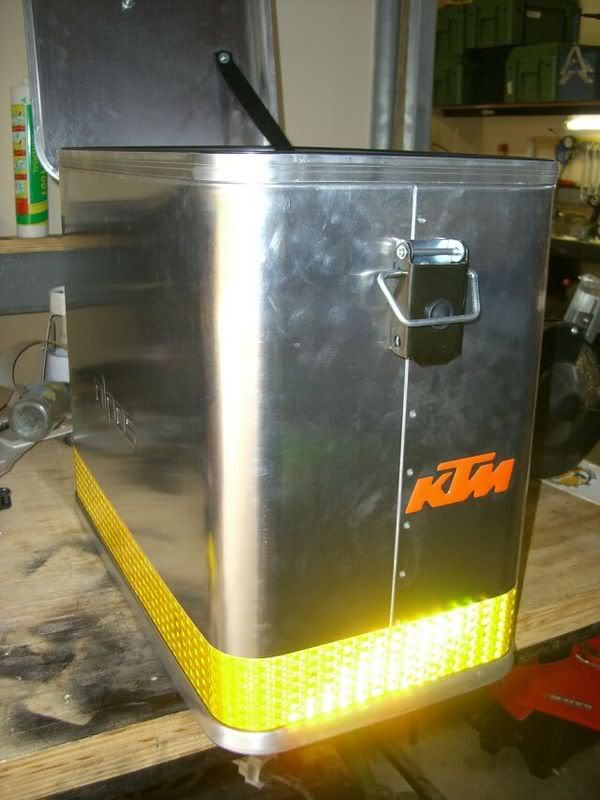
The panniers in their new found glory
Now for the mounting of the panniers and this is where I came unstuck (for a while)
I sent harold a pic of my bike and the existing frames and this is what he sent me

I suspect that I should have got a mounting frame as well (will edit this post and add a pic later)
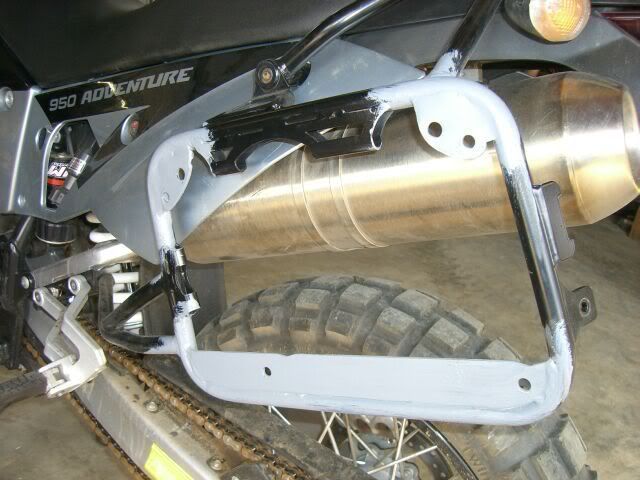
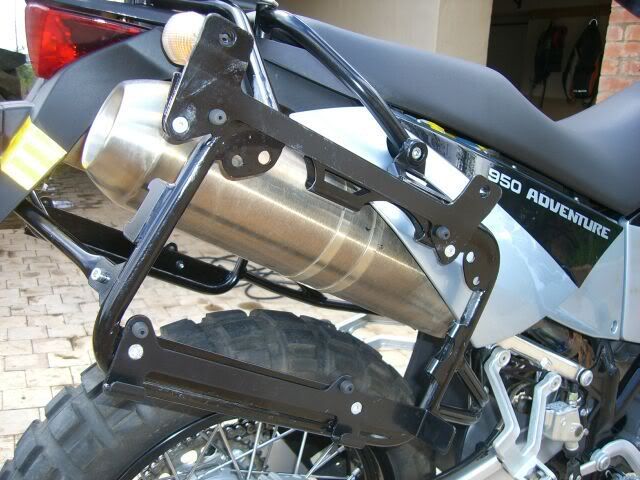
Although I was a bit miffed, I decided not to dwell on it and did my own mod. The pic you see is the frame on the bike before I finished it off
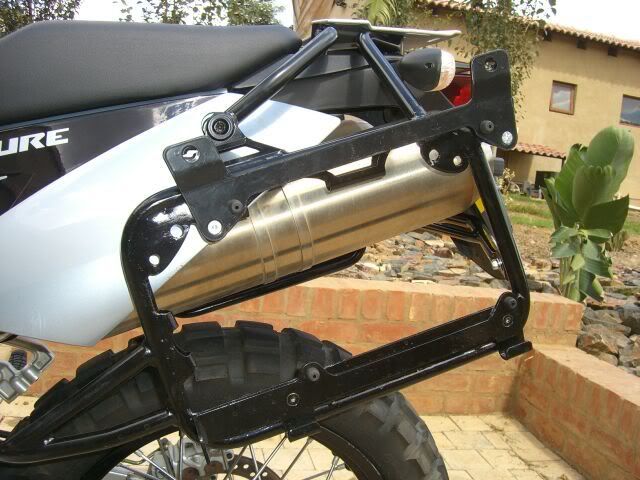
The completed product
The stabilising bracket at the back also worried me a bit as I suspect that if it takes a knock, it may just bend further
As it normally is
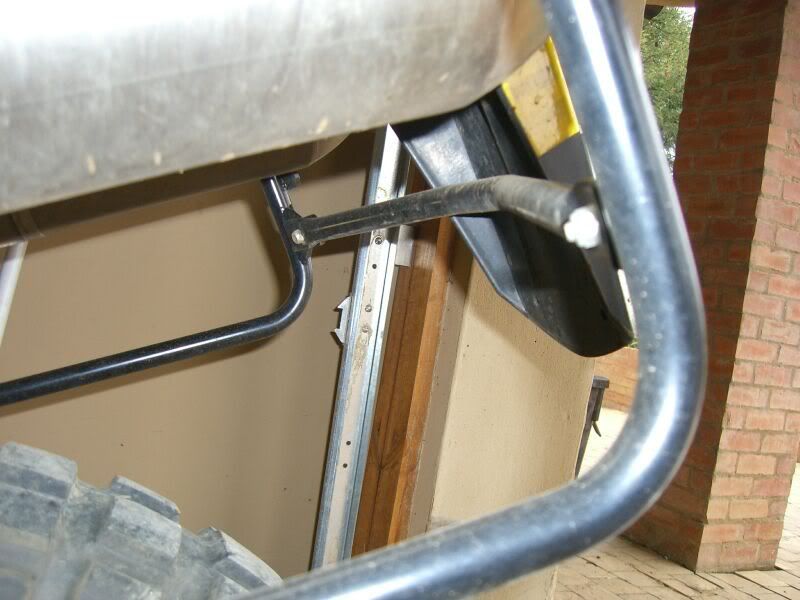
And after the mod

Ok, so thats it
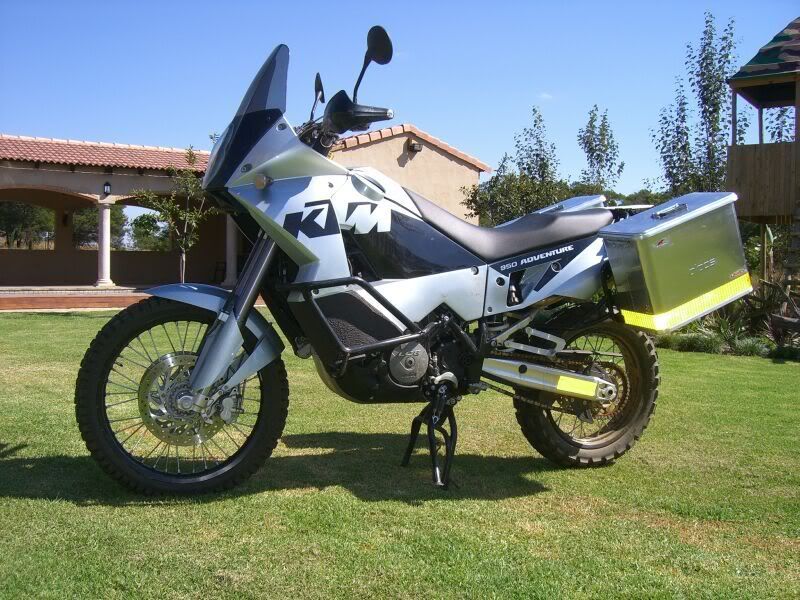
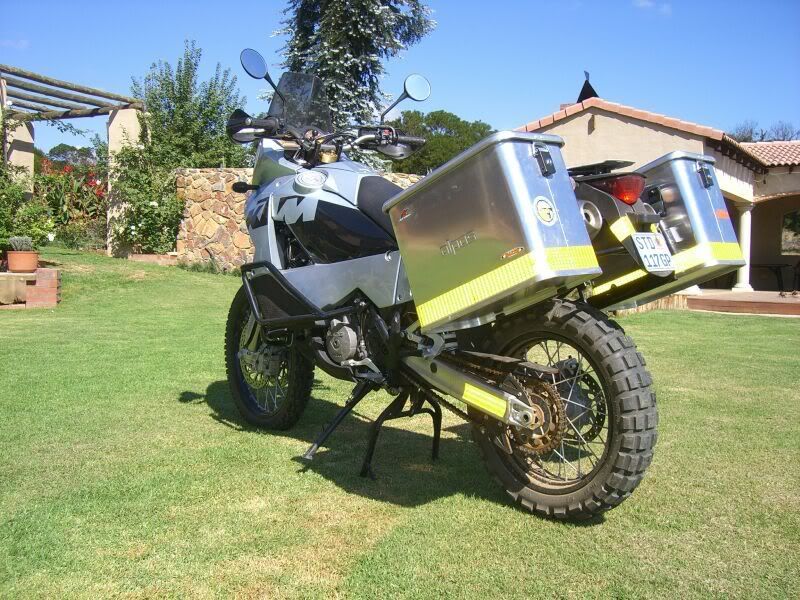
And now fitted to the 950
Now for the road test - coming soon !!!
I decided to put them on as they would also help to protect the bike in the event of it falling over.
It now became time to purchase panniers and FRIGGEN HECK these things are pricy. After shopping around I came across the SW Motech stuff. You will have seen that Adventurer has become an agent here in Gauteng.
I got into contact with Harold at Bikegear ( www.bikegear.co.za ) and two days after paying, the panniers arrived from PE via courier (for those out of town - about 1200km from us)
Yes, my oversized bread tins had arrived
So, lets take a look at them:
The panniers front. The locks come separately and need to be fitted separately
Panniers back. Not happy with the type / quality / quantity of rivets used. This needs to be looked at
Panniers underneath. Note the 9mm aluminium beading underneath. I like this as it makes it stronger on the edges and does not pick up so much grime and dirt when standing on the ground
Panniers on top. I'm not too impressed with the rivets. If this panniers has any reasonable weight in it - I suspect that these rivets will eventually work loose
So where to from here ? :wink:
First I tackled the handles and strengthened them. Drilled 3 extra holes and put in rivets with washers on the other side - Now better
Then I looked and the hinge and sorted that out as well
Right thats done !!
Now the inside got some attention. Went and got some high density closed cell foam
Used the thicker 10mm one for the base
This foam does not deform for too long and springs back to it's original shape, so to mark out as above caused some head scratch. Aaah, but wait, add a willing helper to put some weight on the box, and voila you have just enough time to add some pen marks
The completed product inside. I used a 5mm thick one for the sides and glued it too the sides with contact adhesive. There is a lekker product available with is a contact adhesive in an aerosol form. It's a bit pricy but worked well
Next the outside got sorted. Now that badge is all important, so it went on first. Then as visibility is also a good idea - reflective tape got added. My donner this stuff is mega moola. A roll (enough for 3 panniers) costs over 20 tigers
The panniers in their new found glory
Now for the mounting of the panniers and this is where I came unstuck (for a while)
I sent harold a pic of my bike and the existing frames and this is what he sent me
I suspect that I should have got a mounting frame as well (will edit this post and add a pic later)
Although I was a bit miffed, I decided not to dwell on it and did my own mod. The pic you see is the frame on the bike before I finished it off
The completed product
The stabilising bracket at the back also worried me a bit as I suspect that if it takes a knock, it may just bend further
As it normally is
And after the mod
Ok, so thats it
And now fitted to the 950
Now for the road test - coming soon !!!