


I have been wondering if I could make a kettle braai that was small and light enough to take on rides.
I was thinking of getting a Cobb, but it is just a little bit too big and heavy so I started looking about for off-the-shelf stuff that I could fashion into a kettle braai.
The requirements are:-
- Small enough to go into or onto the panniers or top box.
- Must not rust – I am close to the sea.
- Must be constructed without complex tools – I stay in a small cottage here in Durban and all I have is a cordless drill and a few simple hand tools.
- Must be able to cook a whole chicken or a small roast.
My version 1 is a reasonable start, and today’s chicken test tells me I may be on the right track. I have a few ideas for version 2, and I am sure that you clever guys out there could do a lot better than me in design and building ideas.
I started with a pair of stainless steel bowls I got from Makro (R35 each) and a 230mm Diam stainless steel plate from the Outdoor Whorehouse (R25) - When not in use the two bowls fit neatly into each other and the feet and hooks fit in a small bag. Total cost is under R120
The biggest problem was to cut holes in the stainless steel without a proper drill-press – man that stuff is hard! Eventually I managed with a 3mm drill bit and a “step drill” (4-12mm in 1mm steps). After destroying about five drill bits and some seriously bad language I found a working pressure and speed to get the holes done.
Where is a six-axis laser cutter when you need it?
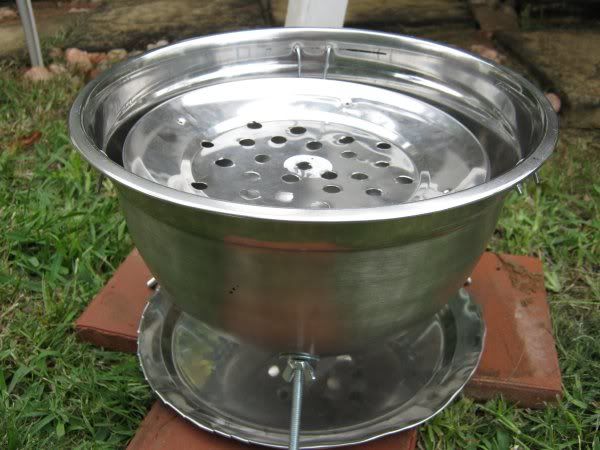
The bottom half.
The plate is suspended from three wire hooks hanging from holes in the side.
The feet are 6mm bolts and washers with wing nuts for easy assembly and disassembly.
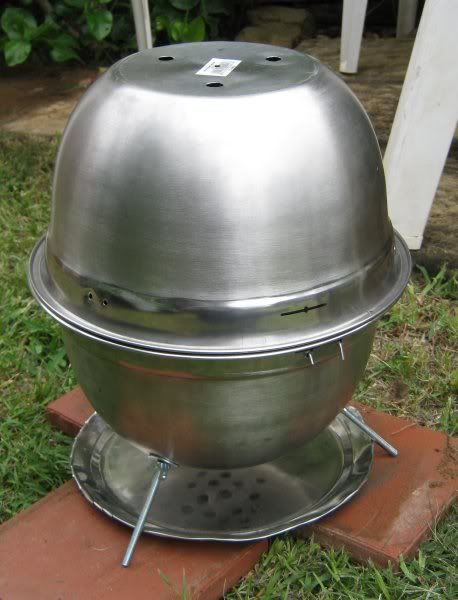
The top lid in place. It has three 12mm holes in the top. I was going to place metal stubs on the bottom rim to mate with holes in the top rim but it proved unnecessary. Gravity works fine.
The briquettes loaded. I suspect a few more than I needed.

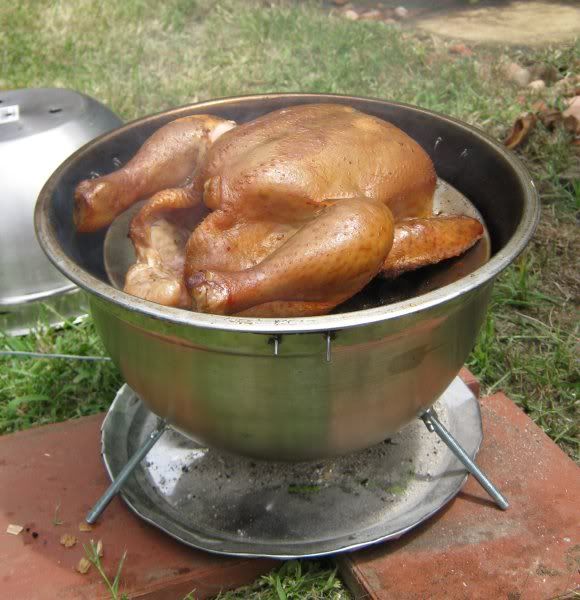
The chicken after an hour. I added a few wet oak chips for flavour and colour.
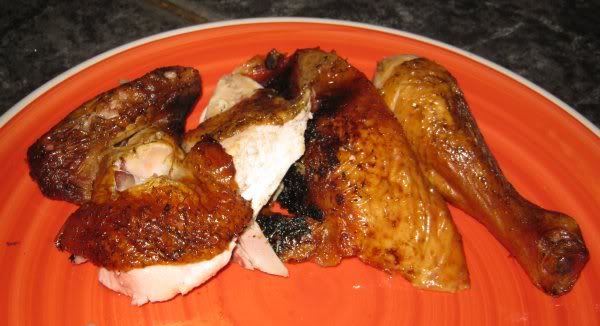
Lunch !
Todays lessons :-
1. I think I could use a few more holes in the lid. There was still a lot of briquette left after an hour and a half of cooking – I think more air would heat it up a bit. I may make one of the adjustable breathers you get on a Weber.
2. Go easy on the oak chips – the chicken was a little too “smoky”
I was thinking of getting a Cobb, but it is just a little bit too big and heavy so I started looking about for off-the-shelf stuff that I could fashion into a kettle braai.
The requirements are:-
- Small enough to go into or onto the panniers or top box.
- Must not rust – I am close to the sea.
- Must be constructed without complex tools – I stay in a small cottage here in Durban and all I have is a cordless drill and a few simple hand tools.
- Must be able to cook a whole chicken or a small roast.
My version 1 is a reasonable start, and today’s chicken test tells me I may be on the right track. I have a few ideas for version 2, and I am sure that you clever guys out there could do a lot better than me in design and building ideas.
I started with a pair of stainless steel bowls I got from Makro (R35 each) and a 230mm Diam stainless steel plate from the Outdoor Whorehouse (R25) - When not in use the two bowls fit neatly into each other and the feet and hooks fit in a small bag. Total cost is under R120
The biggest problem was to cut holes in the stainless steel without a proper drill-press – man that stuff is hard! Eventually I managed with a 3mm drill bit and a “step drill” (4-12mm in 1mm steps). After destroying about five drill bits and some seriously bad language I found a working pressure and speed to get the holes done.
Where is a six-axis laser cutter when you need it?
The bottom half.
The plate is suspended from three wire hooks hanging from holes in the side.
The feet are 6mm bolts and washers with wing nuts for easy assembly and disassembly.
The top lid in place. It has three 12mm holes in the top. I was going to place metal stubs on the bottom rim to mate with holes in the top rim but it proved unnecessary. Gravity works fine.
The briquettes loaded. I suspect a few more than I needed.
The chicken after an hour. I added a few wet oak chips for flavour and colour.
Lunch !
Todays lessons :-
1. I think I could use a few more holes in the lid. There was still a lot of briquette left after an hour and a half of cooking – I think more air would heat it up a bit. I may make one of the adjustable breathers you get on a Weber.
2. Go easy on the oak chips – the chicken was a little too “smoky”