


grego
Race Dog
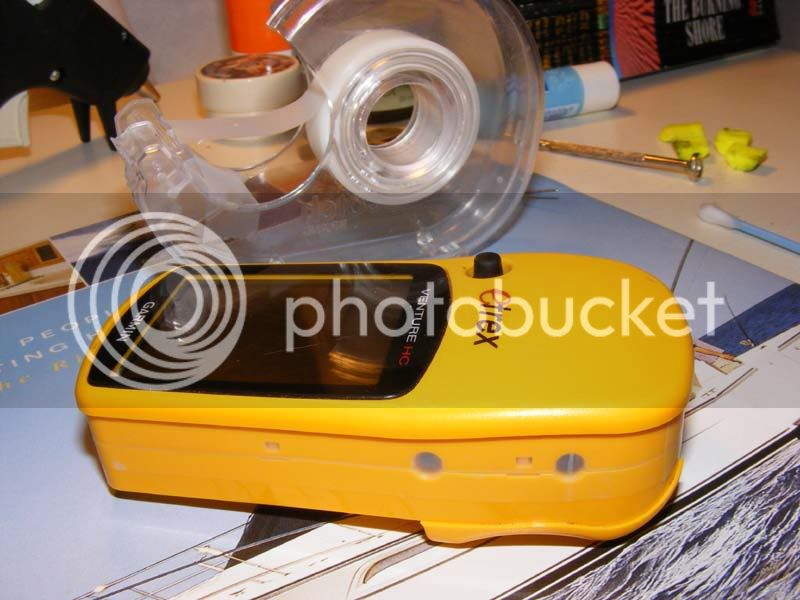
i recently bought a Garmin eTrex Venture HC, my first ever GPS!
i was very impressed with its functionality and thought i'd scored myself a real bargain.
everything was going great until i took the GPS on its first proper offroad ride.
i had it mounted to the bars with a ram mount, but soon after hitting the gravel it switched itself off. :-\
sometimes i could turn it back on, but it would never stay on for more than a couple of minutes.
the issue got worse all through the ride!
i eventually figured out that by slowing down, or holding the GPS with one hand (to reduce vibrations) i could get it to stay on. 8)
i did a bit of research and found this problem to be well documented.
it seems to be most prevalent in the older etrex range (venture, vista, legend, etc), but users of other garmin units (both old and new) have reported similar issues. :")
a couple of easy fixes i found online included shoving bits of foam or rubber under the battery contacts, to provide a tighter fit, and lining the battery compartment with a strip of insulation tape to prevent the batteries from vibrating.
my Venture HC already had rubber bits under the battery terminals (garmin must've addressed the issue when launching the etrex HC range), and the insulation tape made no difference!
this led me to believe that the issue must lie deeper inside the GPS.
i found this article online explaining how to disassemble an etrex vista and used it as a guide...
https://www.loshombres.org/californication/2005/11/deconstructing-garmin-etrex-vista.html
first step is to remove the battery cover and batteries.
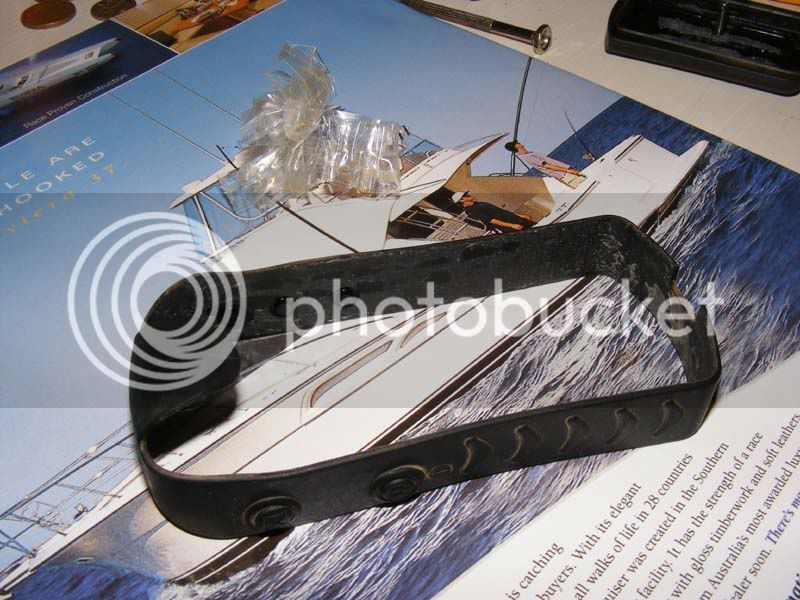
next you need to carefully remove the rubber band around the GPS.
i used a thin electrical screw driver, slid it under the rubber just above the USB connector and worked it around the circumference of the GPS to pry the rubber loose (its glued into place).
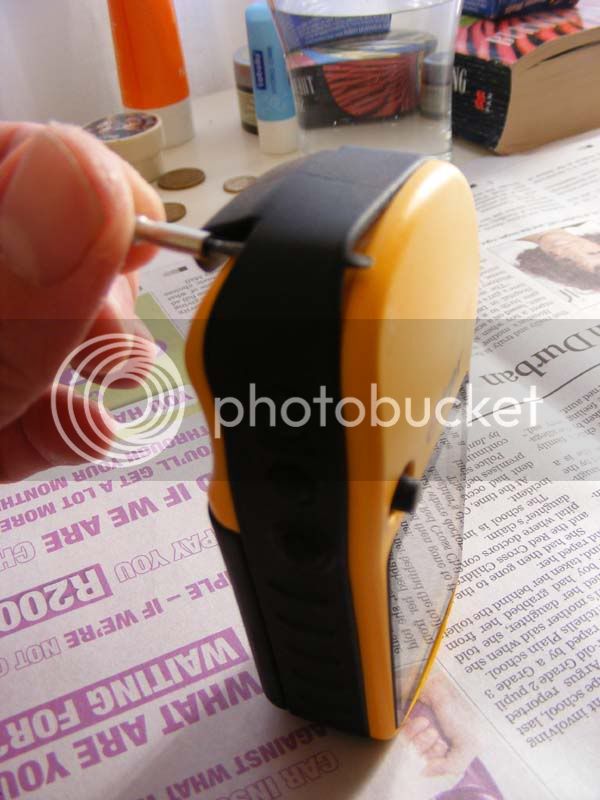
the glue is very sticky, so clean it off before it gets everywhere!
a lappie and some turps did the trick for me.
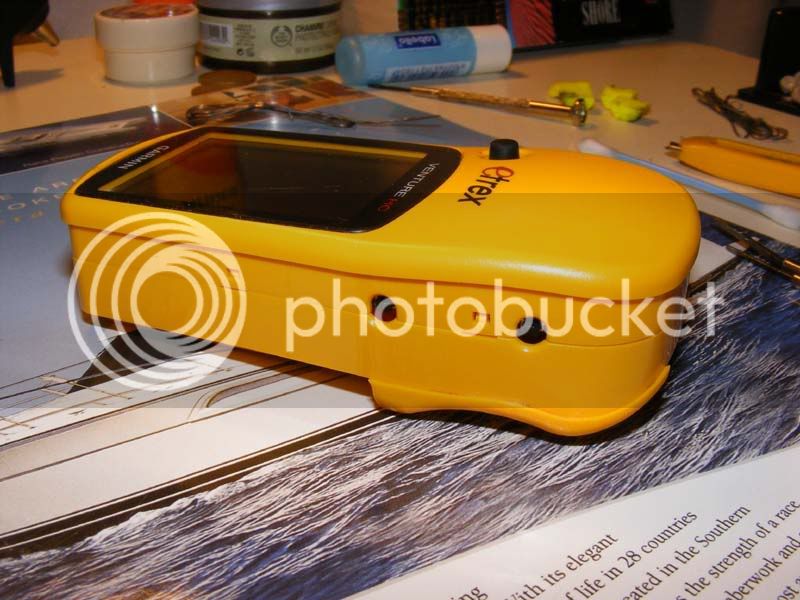
there is some tape covering the joint between the covers and the botton holes... remove it
the cover simply clips together. there are 2 clips on each side and one at the bottom... release them by inserting a small screw driver into the holes.
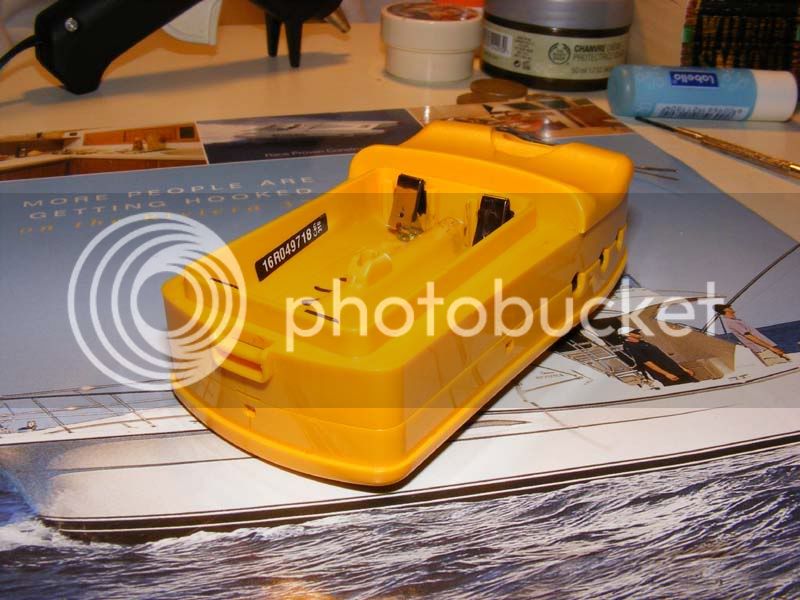
then gently lift off the bottom cover...
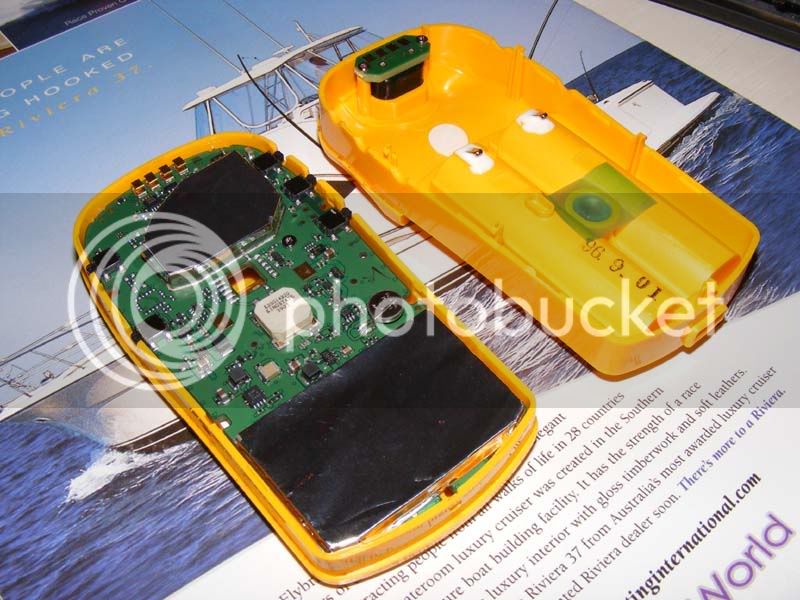
the source of the problem is clearly the spring contacts connecting the battery terminals to the PCB.
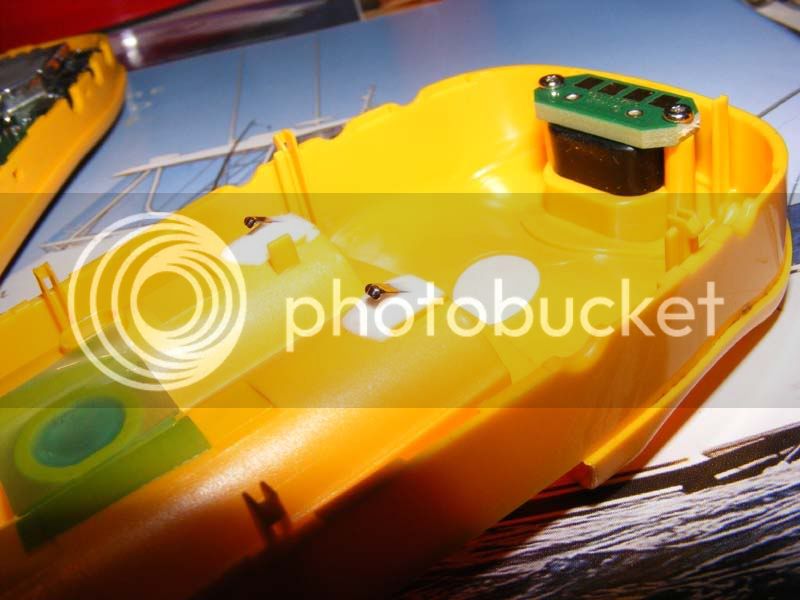
the USB connection also uses crappy spring type contacts.
the problem arises when the GPS is exposed to certain frequencies of vibration and the spring contacts start to bounce, causing a loss of power to the PCB.
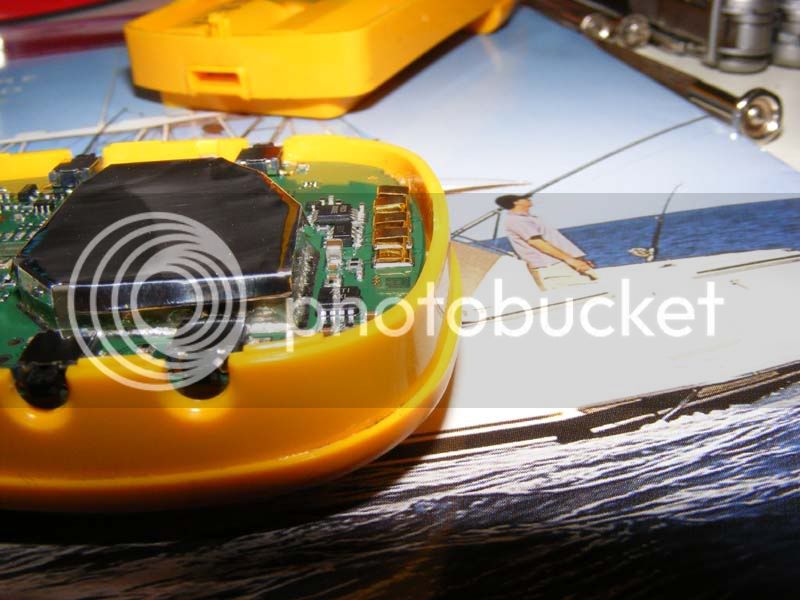
the gold pads on the PCB had tiny arcing marks on them... clear evidence that the contacts were bouncing!
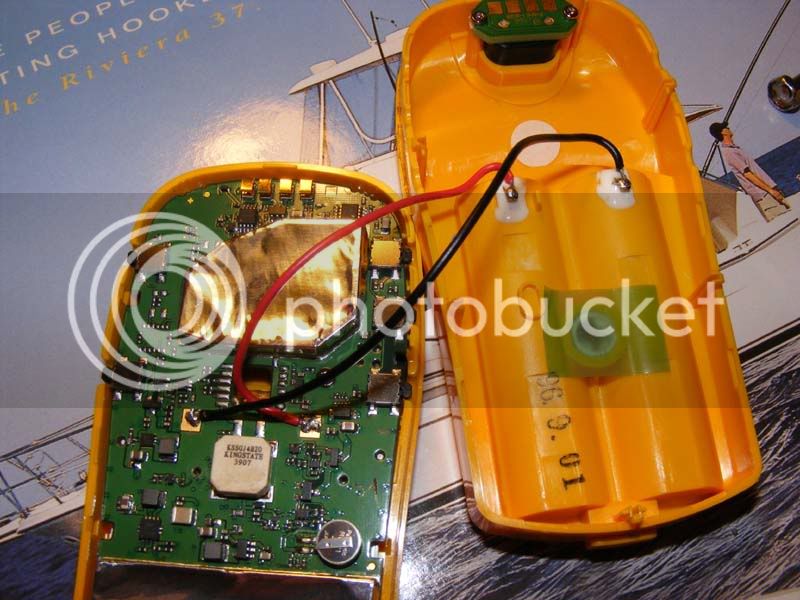
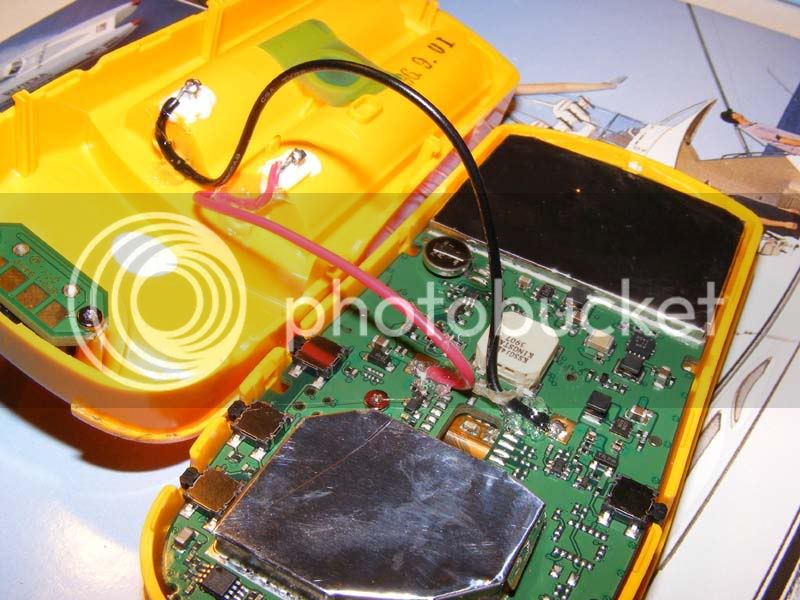
to fix the problem i decided to hard wire the battery terminals directly to the PCB (you could also fit a capacitor across the PCB contacts).
when soldering on the PCB you need to be EXTREMELY careful not to apply to much heat!!!
heating the PCB too much can cause the pads and tracks to lift and destroy sensitive components, rendering your GPS useless!
the best method to use is to heat a bit of solder then apply it to the PCB contact. then tin the wire and get another blob of solder ready on the iron... position the wire on the PCB contact and apply the soldering iron just long enough to melt all the solder together (about 2 seconds).
once you are happy that the wires are secure, hot glue them into place close to the solder joints to prevent further vibration issues...
clip the cover back together (making sure the wires don't get caught/squashed).
apply some tape around the joint to seal it and the button holes off...
now you need to refit the rubber.
i applied a thin layer of bositck super gasket to the GPS then slipped the rubber band over and used some elastic bands to apply some pressure to stick it...
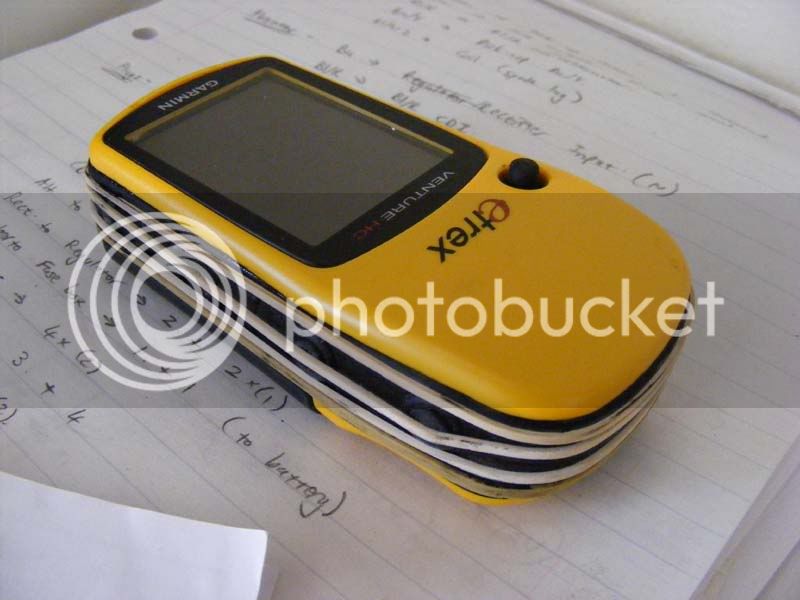
make sure to line the buttons on the rubber up with the button contacts on the GPS!!
job done!
i took it for a very rough 15km test ride yesterday and it didn't turn off once! :mwink:
hopefully thats the end of that issue. ;D
the whole job took me under an hour to do.
apart from the soldering on the PCB it was very straight forward. i would not recommend trying this is you haven't done any finicky soldering before.
if you choose to do this fix, do so at your own risk... i accept no responsibility for any destroyed GPS units!
hopefully others can gain something from this.
i was very impressed with its functionality and thought i'd scored myself a real bargain.
everything was going great until i took the GPS on its first proper offroad ride.
i had it mounted to the bars with a ram mount, but soon after hitting the gravel it switched itself off. :-\
sometimes i could turn it back on, but it would never stay on for more than a couple of minutes.
the issue got worse all through the ride!
i eventually figured out that by slowing down, or holding the GPS with one hand (to reduce vibrations) i could get it to stay on. 8)
i did a bit of research and found this problem to be well documented.
it seems to be most prevalent in the older etrex range (venture, vista, legend, etc), but users of other garmin units (both old and new) have reported similar issues. :
a couple of easy fixes i found online included shoving bits of foam or rubber under the battery contacts, to provide a tighter fit, and lining the battery compartment with a strip of insulation tape to prevent the batteries from vibrating.
my Venture HC already had rubber bits under the battery terminals (garmin must've addressed the issue when launching the etrex HC range), and the insulation tape made no difference!
this led me to believe that the issue must lie deeper inside the GPS.
i found this article online explaining how to disassemble an etrex vista and used it as a guide...
https://www.loshombres.org/californication/2005/11/deconstructing-garmin-etrex-vista.html
first step is to remove the battery cover and batteries.
next you need to carefully remove the rubber band around the GPS.
i used a thin electrical screw driver, slid it under the rubber just above the USB connector and worked it around the circumference of the GPS to pry the rubber loose (its glued into place).
the glue is very sticky, so clean it off before it gets everywhere!
a lappie and some turps did the trick for me.
there is some tape covering the joint between the covers and the botton holes... remove it
the cover simply clips together. there are 2 clips on each side and one at the bottom... release them by inserting a small screw driver into the holes.
then gently lift off the bottom cover...
the source of the problem is clearly the spring contacts connecting the battery terminals to the PCB.
the USB connection also uses crappy spring type contacts.
the problem arises when the GPS is exposed to certain frequencies of vibration and the spring contacts start to bounce, causing a loss of power to the PCB.
the gold pads on the PCB had tiny arcing marks on them... clear evidence that the contacts were bouncing!
to fix the problem i decided to hard wire the battery terminals directly to the PCB (you could also fit a capacitor across the PCB contacts).
when soldering on the PCB you need to be EXTREMELY careful not to apply to much heat!!!
heating the PCB too much can cause the pads and tracks to lift and destroy sensitive components, rendering your GPS useless!
the best method to use is to heat a bit of solder then apply it to the PCB contact. then tin the wire and get another blob of solder ready on the iron... position the wire on the PCB contact and apply the soldering iron just long enough to melt all the solder together (about 2 seconds).
once you are happy that the wires are secure, hot glue them into place close to the solder joints to prevent further vibration issues...
clip the cover back together (making sure the wires don't get caught/squashed).
apply some tape around the joint to seal it and the button holes off...
now you need to refit the rubber.
i applied a thin layer of bositck super gasket to the GPS then slipped the rubber band over and used some elastic bands to apply some pressure to stick it...
make sure to line the buttons on the rubber up with the button contacts on the GPS!!
job done!
i took it for a very rough 15km test ride yesterday and it didn't turn off once! :mwink:
hopefully thats the end of that issue. ;D
the whole job took me under an hour to do.
apart from the soldering on the PCB it was very straight forward. i would not recommend trying this is you haven't done any finicky soldering before.
if you choose to do this fix, do so at your own risk... i accept no responsibility for any destroyed GPS units!
hopefully others can gain something from this.