


- Joined
- Feb 6, 2006
- Messages
- 10,573
- Reaction score
- 4,185
- Location
- Cape Town, deep in the lentils
- Bike
- KTM 990 Adventure
I replaced my oil pressure regulator (OPR).
I’ve had a really noisy bike since the day I got it. It is a 04 950 with 60 000k's on it. Recently I couldn’t find the oil I like – Castrol Power Synth 4T 10W50 so I put some Castrol Edge Fully synthetic 10W 60 in and the effect was huge. I can hear the exhausts now!
Anyway, I was keen to see what a bit of preventative maintenance on the OPR would do. Of course knowing that someone else might also be keen to try, here’s the story. I can't imagine a bike under 60-70 000k's needing this done to it. Some of the older noisier bikes could well benefit. Higher oil pressure saves the main crank shell bearings and cam journals and surfaces.
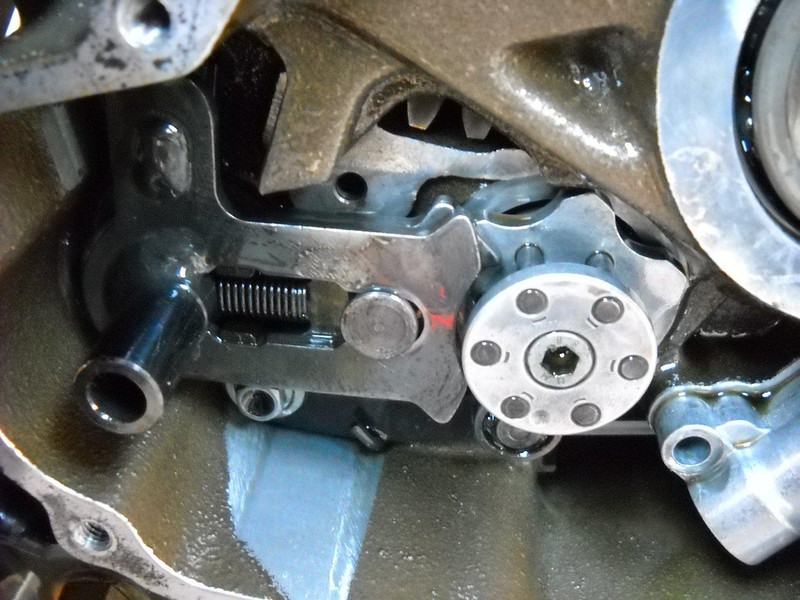
First you will need to drain the coolant. Then off with the right side cover.
To save you a bit of work and tools. Once you get the clutch pressure plate and clutch basket nut off you don’t need to take that huge nut that holds the timing wheel off to get the basket off.
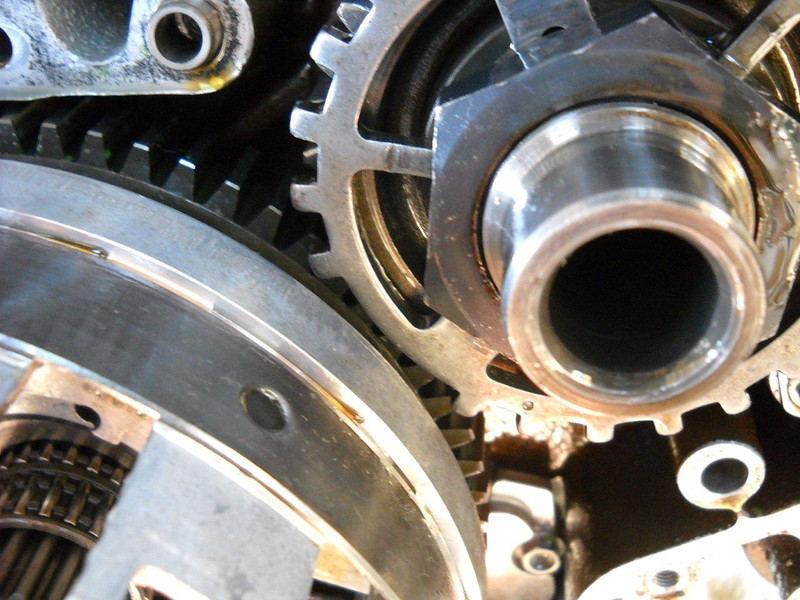
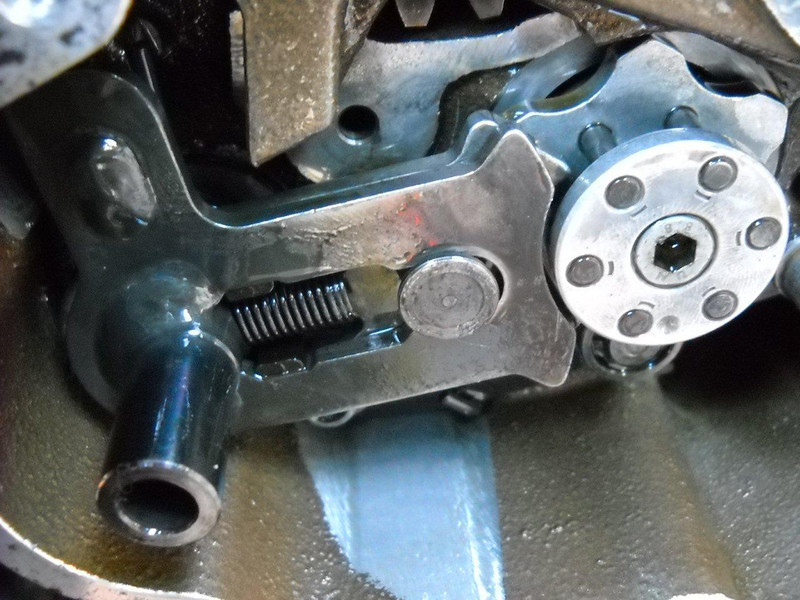
First loosen the locking nut that kept the engine from turning while you got the basket nut off, then turn the engine till the toothless part of the wheel is here;
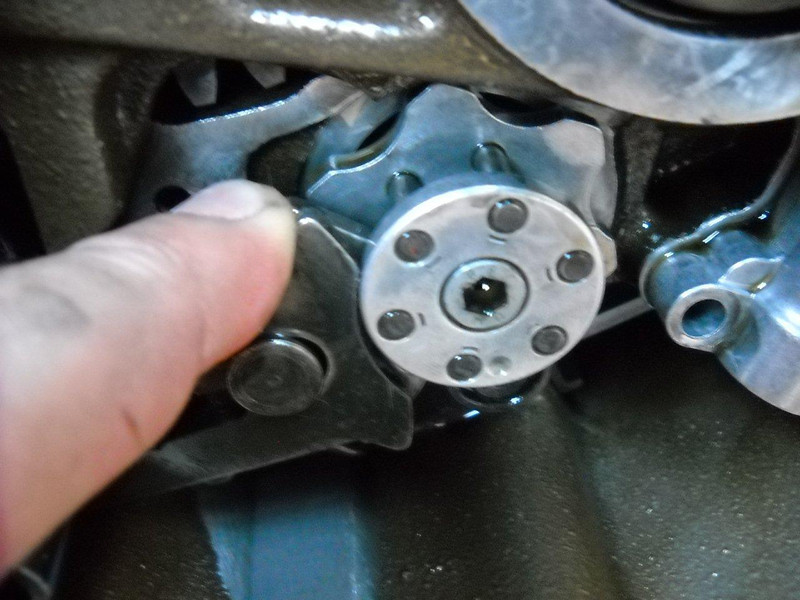
Now the magic. If you pull the basket slightly out and put a cocking pressure on the basket as if you were trying to pull it off skew you can get the needle bearing to move out just enough to hook it with a wire. Be patient, it can take a few goes before the bearing moves enough to hook it.
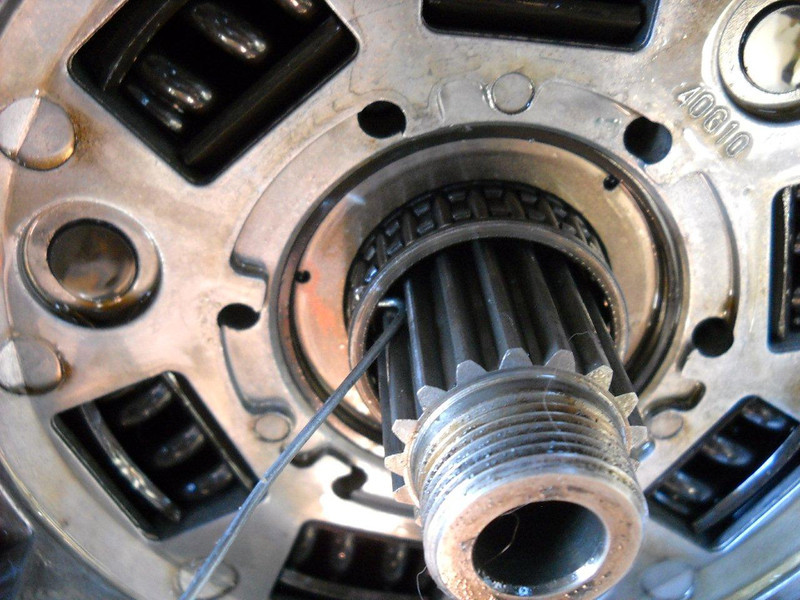
Once you’ve got the bearing out the basket can be worked past the timing ring.
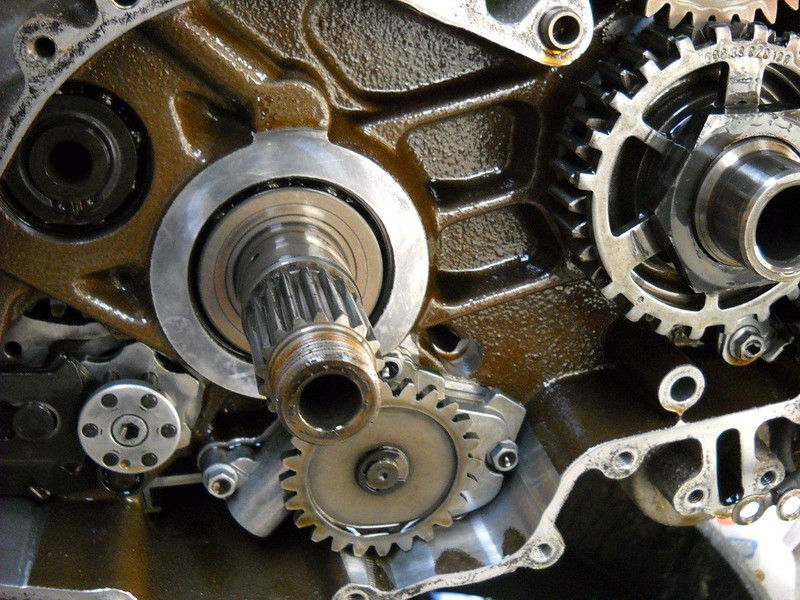
Then off with this circlip and pull the gear off.
Be careful there is a pin behind it that easily can go walkabout.
Also there are these two fine washers either side of the gear that can also get missed.
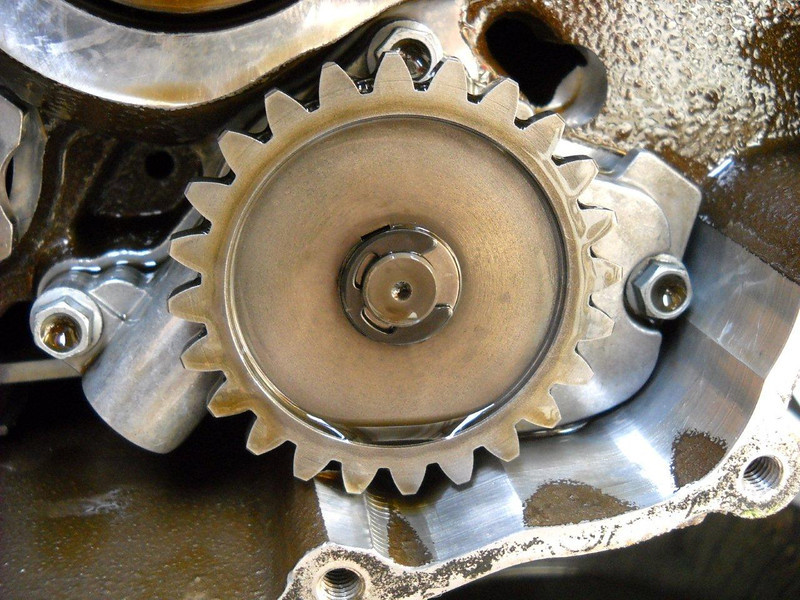
Once the bolts have been removed carefully pull the housing off, you should be left with this;
NB - screw the bolts back in. There is another pump assembly on the other side is only held on with dowels and an O-ring. If you pull the pumps the inner assembly will fall into the engine and you will then invent a whole new dictionary of words as well as needing to please explain to the wife why you need to extend the bond.
The new housing has a different configuration for the retention of the spring and piston. You only need to order the housing, it comes assembled.
Old
New
The difference being that you could get the spring out to check it without taking that housing off before. That’s not going to work with this one. Although, having once checked the spring without removing the housing before, it was a royal pain to do and it would have been so much easier to do it this way.
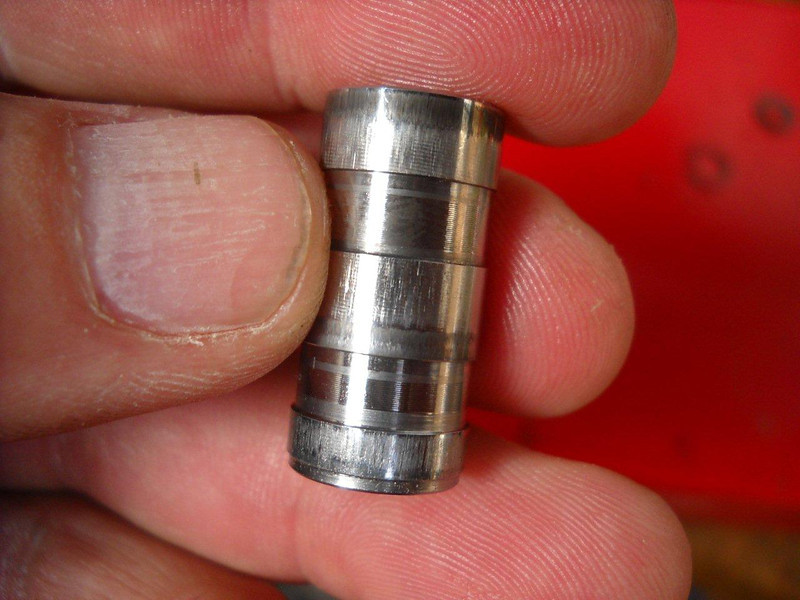
My piston was pretty scored and worn.
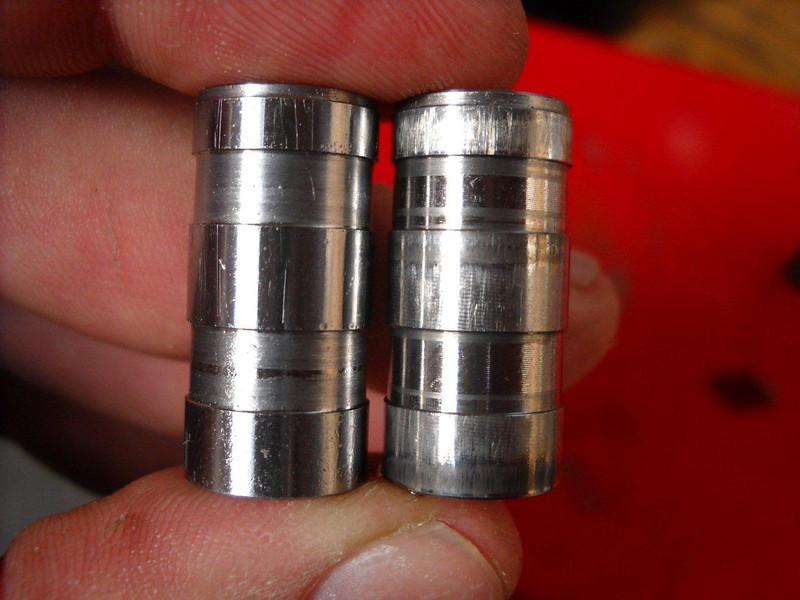
Also the spring looks a little less beefy compared to the old one. The bottom one is the new one.

Put it all back the way you found it and you should be golden.
Don’t make the same mistake I made. With the cover off the gear selector can move along its axis. Notice the second photo it has moved towards us a bit?
Once it does this it fouls this bit here – the shift arrestor coupling.
This makes changing gears impossible. Before I put the cover on but after I had put all the plates back in I tried the gears and of course nothing would happen. So I took it all apart before I worked out what had gone wrong. Slightly irritating!
Once all back together, it all made like it should. However there is much less mechanical noise.
Assembly part No: 60038010133 R330.00 @ KTM WC
Tools needed;
Clutch holder... if you don’t have an impact tool.
Engine locking bolt
Torque wrench
Fresh engine coolant.
The gaskets for the water pump cover and right side cover can be re-used if you are gentle with them.
I’ve had a really noisy bike since the day I got it. It is a 04 950 with 60 000k's on it. Recently I couldn’t find the oil I like – Castrol Power Synth 4T 10W50 so I put some Castrol Edge Fully synthetic 10W 60 in and the effect was huge. I can hear the exhausts now!
Anyway, I was keen to see what a bit of preventative maintenance on the OPR would do. Of course knowing that someone else might also be keen to try, here’s the story. I can't imagine a bike under 60-70 000k's needing this done to it. Some of the older noisier bikes could well benefit. Higher oil pressure saves the main crank shell bearings and cam journals and surfaces.
First you will need to drain the coolant. Then off with the right side cover.
To save you a bit of work and tools. Once you get the clutch pressure plate and clutch basket nut off you don’t need to take that huge nut that holds the timing wheel off to get the basket off.
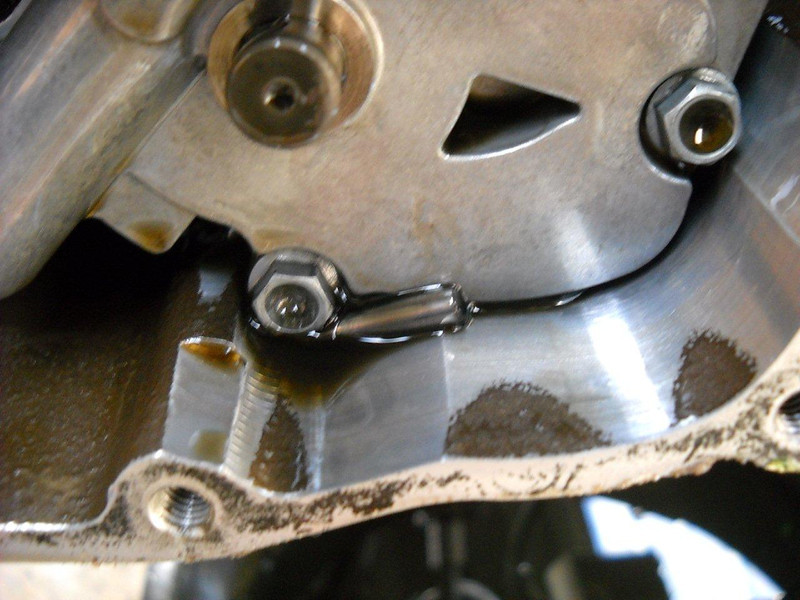
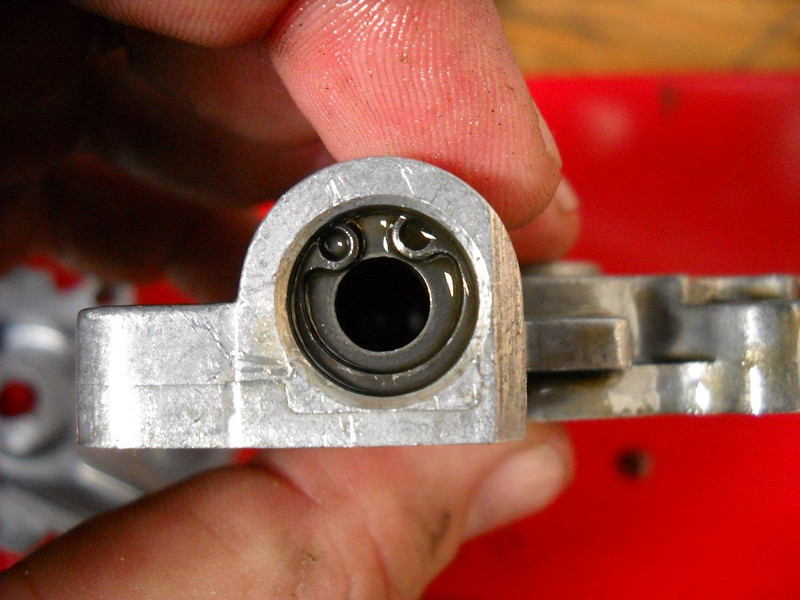
First loosen the locking nut that kept the engine from turning while you got the basket nut off, then turn the engine till the toothless part of the wheel is here;
Now the magic. If you pull the basket slightly out and put a cocking pressure on the basket as if you were trying to pull it off skew you can get the needle bearing to move out just enough to hook it with a wire. Be patient, it can take a few goes before the bearing moves enough to hook it.
Once you’ve got the bearing out the basket can be worked past the timing ring.
Then off with this circlip and pull the gear off.
Be careful there is a pin behind it that easily can go walkabout.
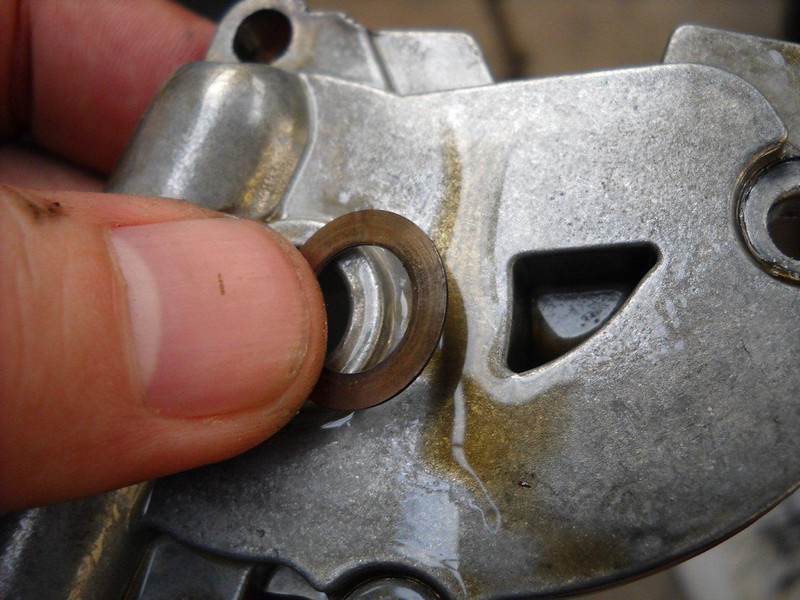
Also there are these two fine washers either side of the gear that can also get missed.
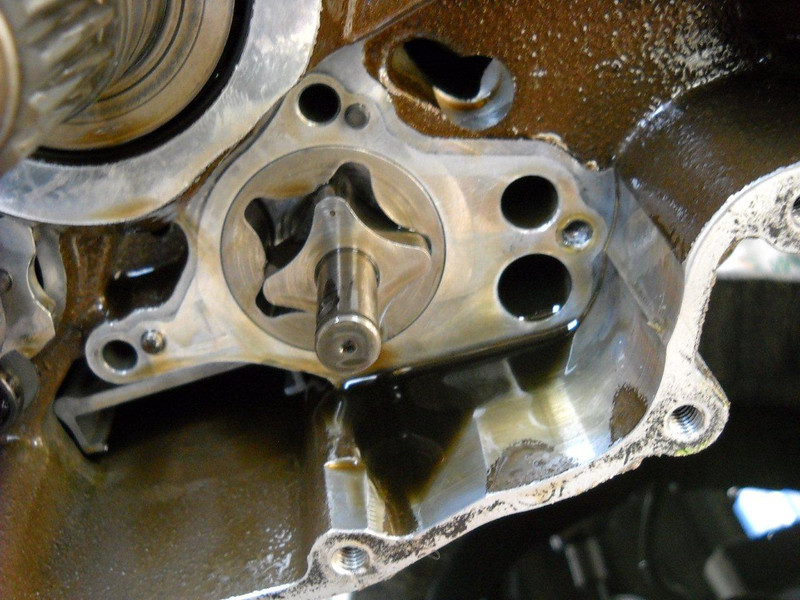
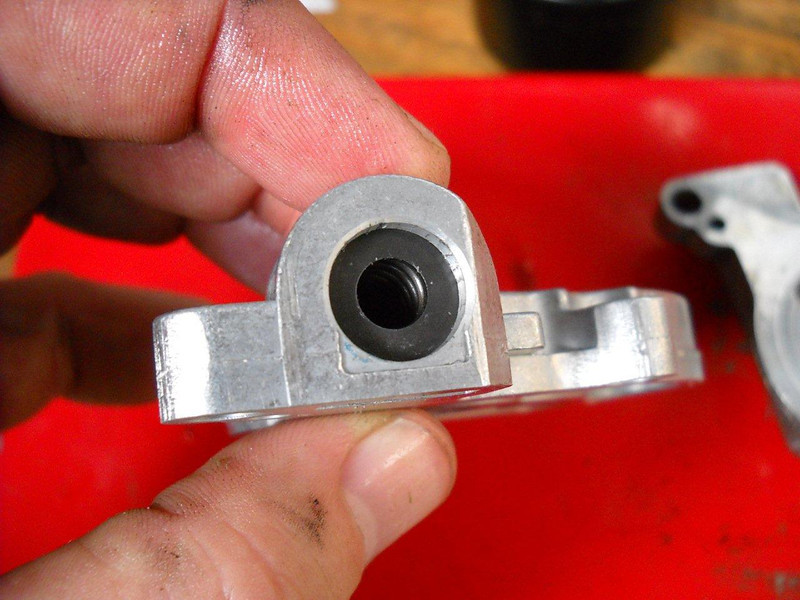
Once the bolts have been removed carefully pull the housing off, you should be left with this;
NB - screw the bolts back in. There is another pump assembly on the other side is only held on with dowels and an O-ring. If you pull the pumps the inner assembly will fall into the engine and you will then invent a whole new dictionary of words as well as needing to please explain to the wife why you need to extend the bond.
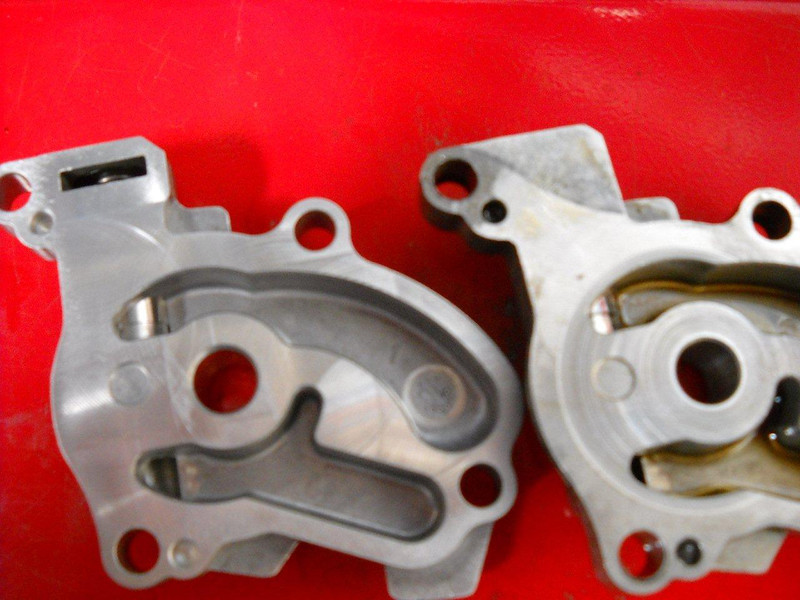
The new housing has a different configuration for the retention of the spring and piston. You only need to order the housing, it comes assembled.
Old
New
The difference being that you could get the spring out to check it without taking that housing off before. That’s not going to work with this one. Although, having once checked the spring without removing the housing before, it was a royal pain to do and it would have been so much easier to do it this way.
My piston was pretty scored and worn.
Also the spring looks a little less beefy compared to the old one. The bottom one is the new one.
Put it all back the way you found it and you should be golden.
Don’t make the same mistake I made. With the cover off the gear selector can move along its axis. Notice the second photo it has moved towards us a bit?
Once it does this it fouls this bit here – the shift arrestor coupling.
This makes changing gears impossible. Before I put the cover on but after I had put all the plates back in I tried the gears and of course nothing would happen. So I took it all apart before I worked out what had gone wrong. Slightly irritating!
Once all back together, it all made like it should. However there is much less mechanical noise.
Assembly part No: 60038010133 R330.00 @ KTM WC
Tools needed;
Clutch holder... if you don’t have an impact tool.
Engine locking bolt
Torque wrench
Fresh engine coolant.
The gaskets for the water pump cover and right side cover can be re-used if you are gentle with them.
Last edited: